How to check if your seeds are duds before you plant them
There is a simple test to take

Your support helps us to tell the story
From reproductive rights to climate change to Big Tech, The Independent is on the ground when the story is developing. Whether it's investigating the financials of Elon Musk's pro-Trump PAC or producing our latest documentary, 'The A Word', which shines a light on the American women fighting for reproductive rights, we know how important it is to parse out the facts from the messaging.
At such a critical moment in US history, we need reporters on the ground. Your donation allows us to keep sending journalists to speak to both sides of the story.
The Independent is trusted by Americans across the entire political spectrum. And unlike many other quality news outlets, we choose not to lock Americans out of our reporting and analysis with paywalls. We believe quality journalism should be available to everyone, paid for by those who can afford it.
Your support makes all the difference.I’ve had just about enough of winter and am itching to get my hands dirty. I can’t do that yet in my New York garden, but I have been distracting myself by growing microgreens and dwarf strawberries on the kitchen counter.
It will be another month before I bring out my seed-starting supplies, but I can do some pregaming by testing my old stash for viability.
In the past, I’ve had luck growing seeds several years past their expiration dates. You can, too, but it will take some forethought: Attempting to grow seeds that turn out to be duds could set you too far behind to start over. And that’s a gamble no gardener wants to take.
On the other hand, tossing seeds just because they’re two, three or even five years old could be wasteful. So, before springing for new ones, conduct a simple test on each batch of your leftover seeds:
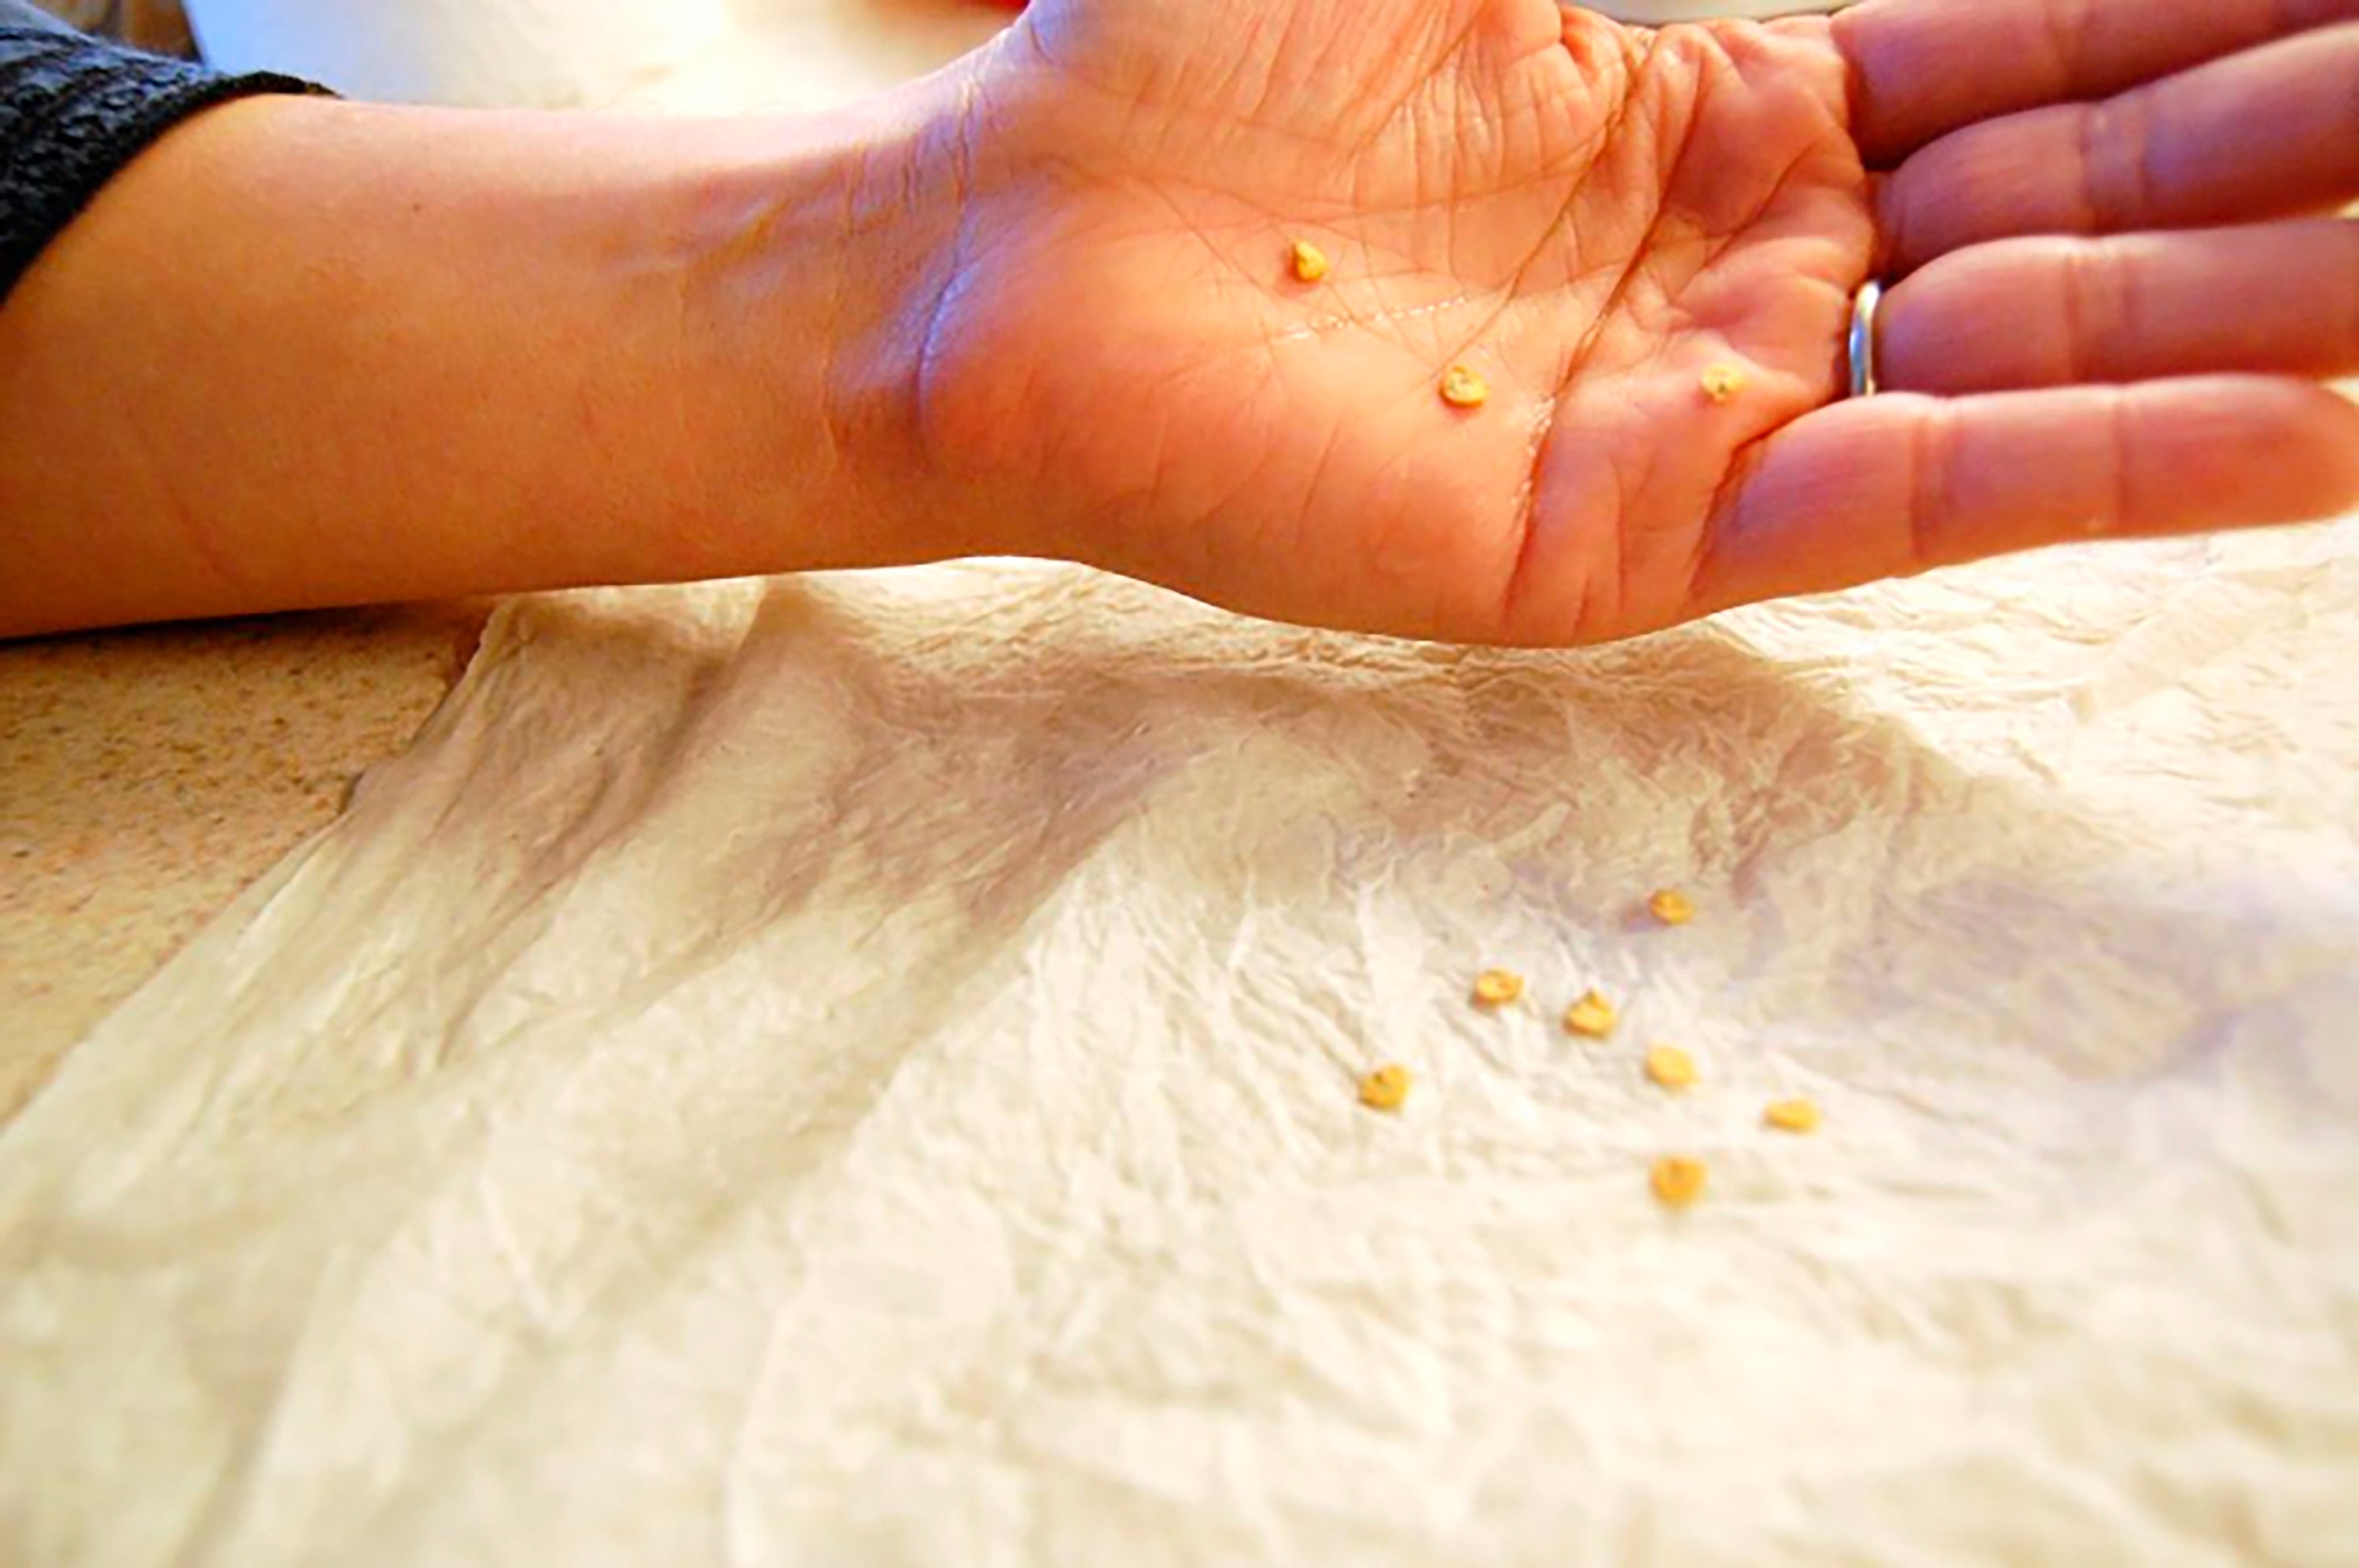
Wet a paper towel and wring out excess water.
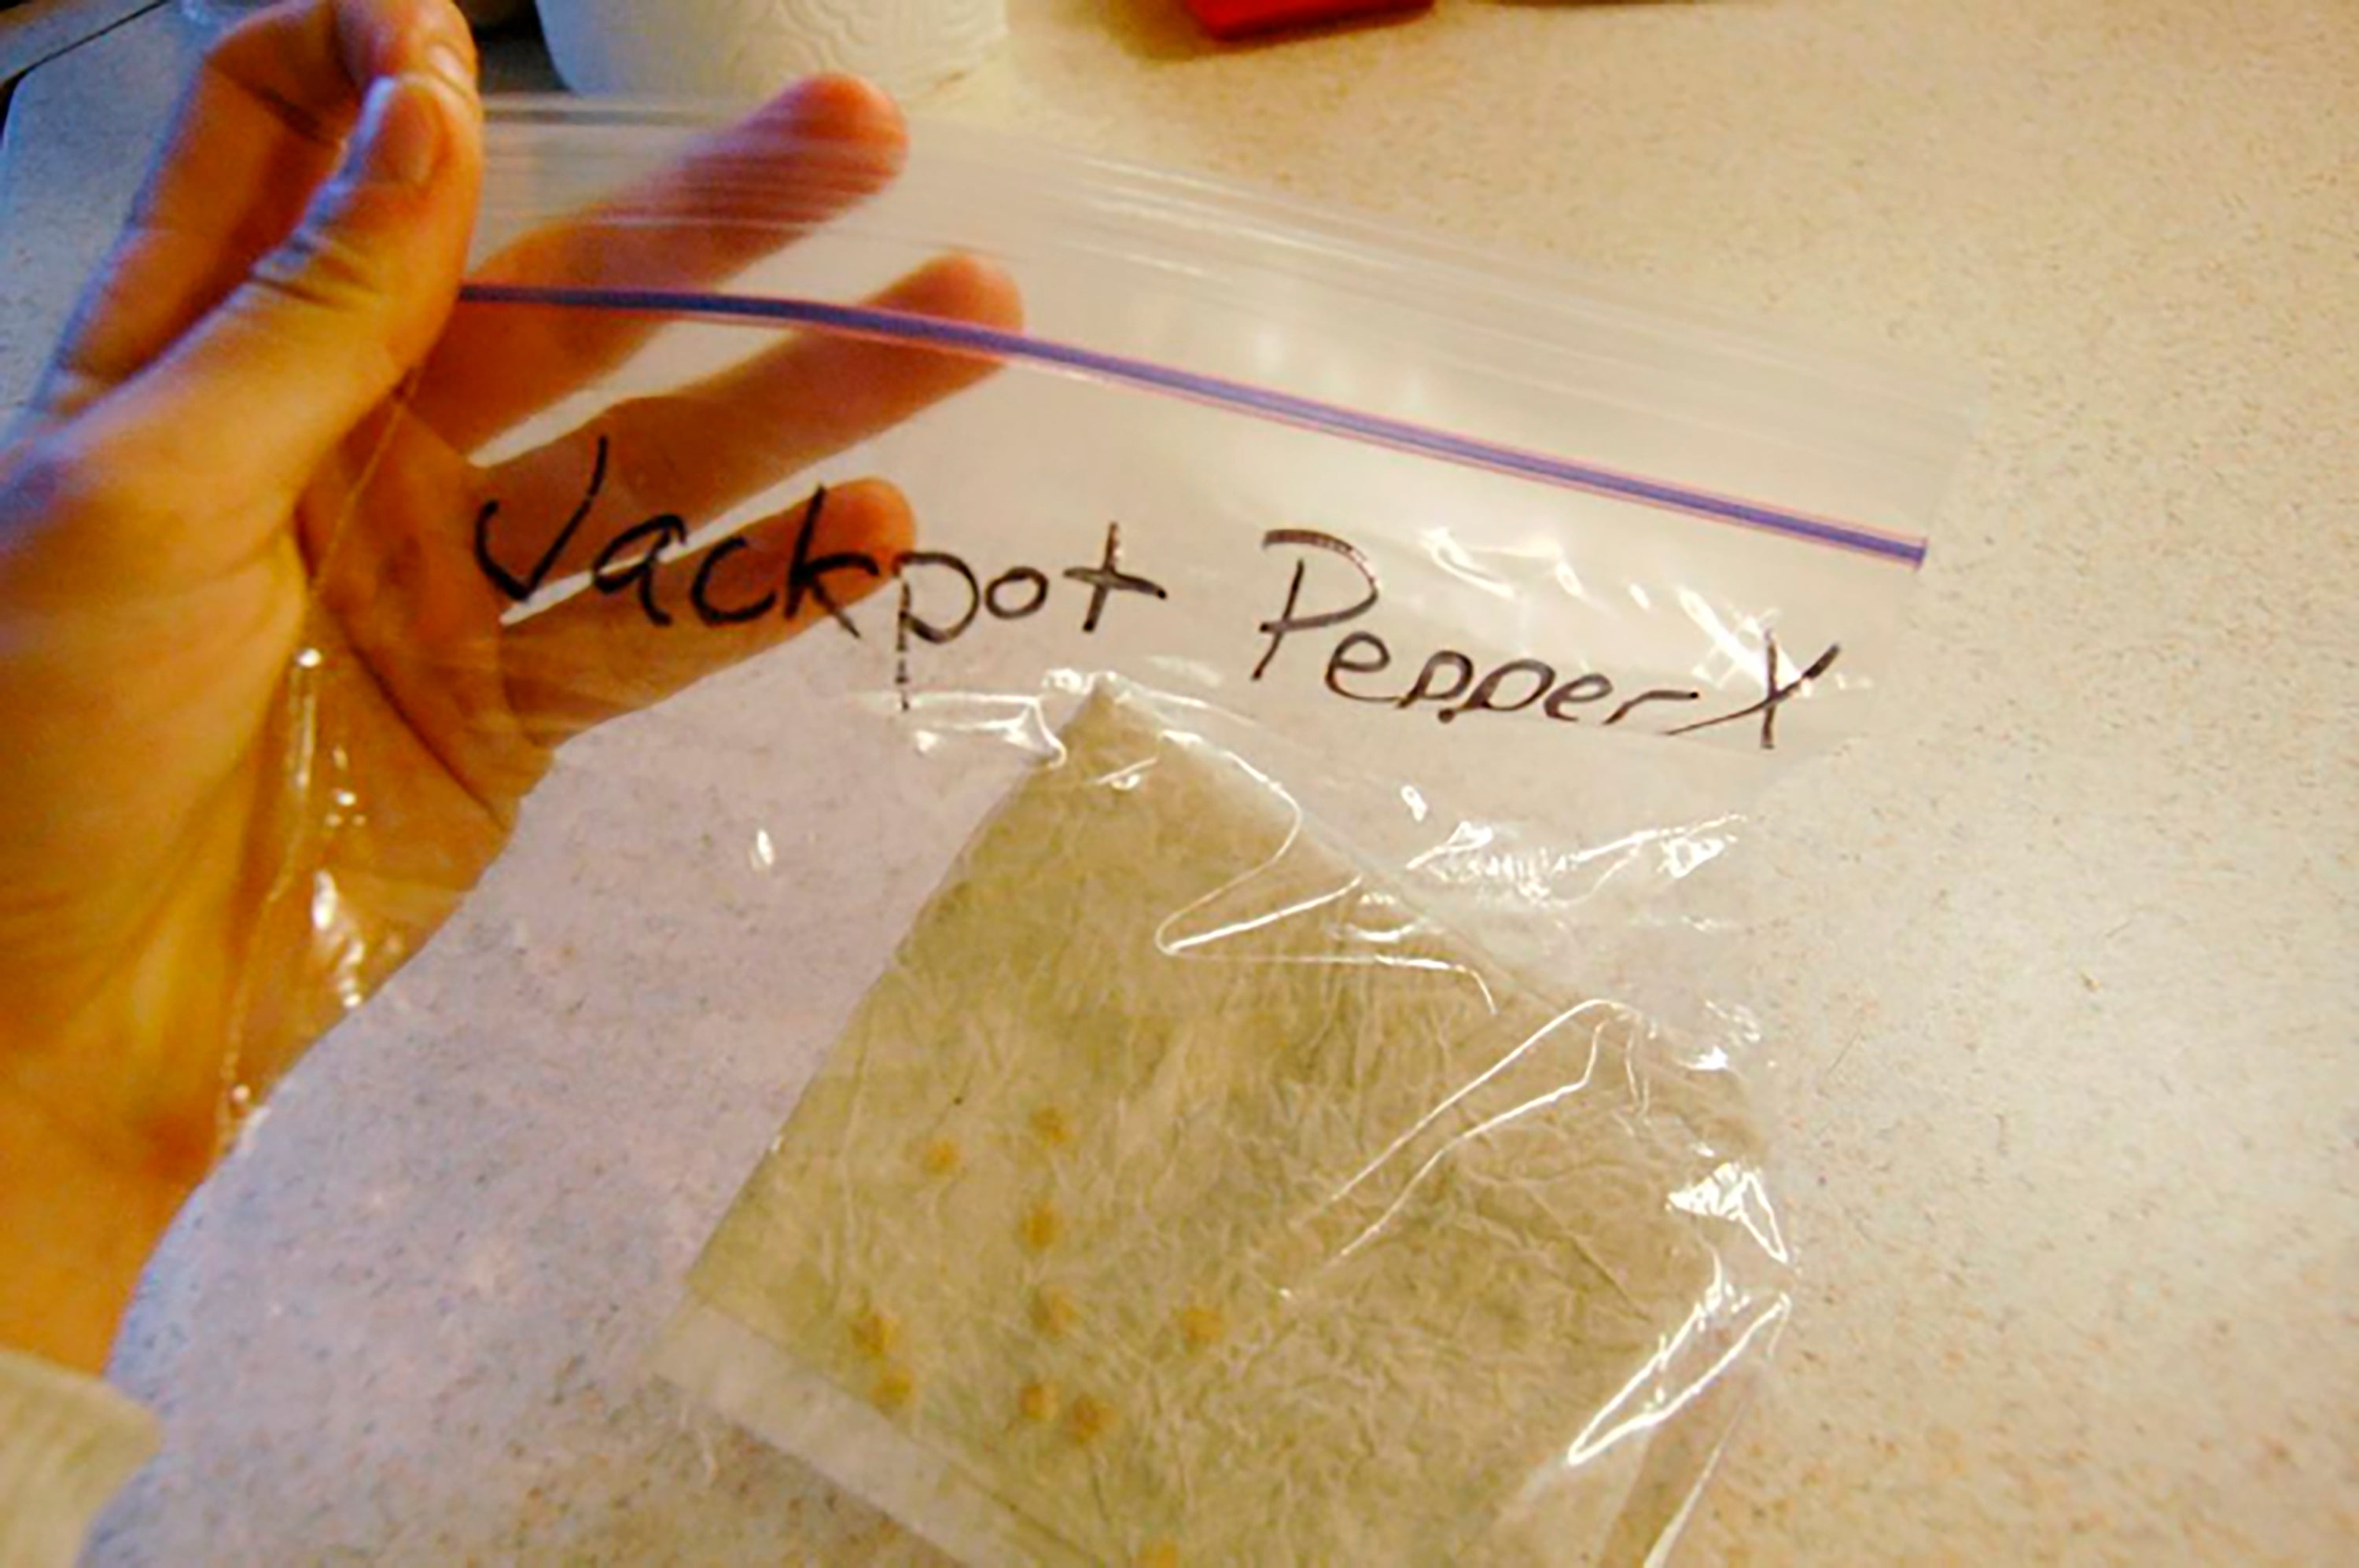
Fold 5 to 10 seeds of the same type, depending on their size, into the towel and place in a zipper-top plastic bag. If you're testing more than one type of seed, label each bag so you don’t mix them up.

Check on the seeds in five days, and again every day afterward for up to three weeks, lightly moistening the paper towel as needed. Each seed type has its own schedule, but those treated this way should germinate more quickly than those sown in soil.
After a few days have passed with no new root sprouts, do the math: If you started 10 seeds, and seven of them germinated, that’s a 70% germination rate, which indicates you should plant 30% more seeds than you need (100-70=30). So if you want 10 plants, you should start 13 seeds and expect about 10 to sprout.
After the test, many gardeners discard their germinated test seeds, but – waste not, want not! -- you can transplant them into containers when their sprouted roots are about an inch long (don’t wait longer or they may die).
Fill seed trays or other containers with potting mix, then create small planting holes in each compartment. A pencil works nicely for this. Next, using disinfected tweezers and taking care to avoid touching the root end, place one sprout, root-side-down, into each hole. Cover the root with soil, leaving the seed (or what remains of it) exposed above the surface. Water gently, then place under lights and treat as you would conventionally sown seeds.
So, this begs the question: Can the paper towel trick be used as a deliberate seed-starting method?
The answer is yes, and this can be especially helpful if you’re late to germinating your seeds and want to get them into the garden ASAP.