Why now could be the best time to repot your houseplants
The first rule of repotting plants lies in pot selection

Your support helps us to tell the story
From reproductive rights to climate change to Big Tech, The Independent is on the ground when the story is developing. Whether it's investigating the financials of Elon Musk's pro-Trump PAC or producing our latest documentary, 'The A Word', which shines a light on the American women fighting for reproductive rights, we know how important it is to parse out the facts from the messaging.
At such a critical moment in US history, we need reporters on the ground. Your donation allows us to keep sending journalists to speak to both sides of the story.
The Independent is trusted by Americans across the entire political spectrum. And unlike many other quality news outlets, we choose not to lock Americans out of our reporting and analysis with paywalls. We believe quality journalism should be available to everyone, paid for by those who can afford it.
Your support makes all the difference.The best time to repot a houseplant is in spring, when its root system is actively growing and can quickly establish itself in its new home. But a fall repotting could be warranted if a plant has spent the summer outgrowing its container outdoors.
Most species we consider houseplants are tropical plants that grow in the wild in their native habitat. Although they can also thrive in the home under the right conditions, a summer vacation outdoors provides exposure to increased sunlight and fresh air, which usually spurs abundant new growth.
One of my spider plants, for instance, nearly doubled in size and produced about a dozen “pups,” or baby plants, on the deck last year. By September, the African native’s roots were growing out of its pot’s drainage holes, indicating the need for more space.
Finding a mysterious mess of spilled soil is another telltale sign that the plant needs a larger home. As roots grow to fill the pot, soil simply gets pushed out onto the table or floor.
Sometimes, the only indication of displaced soil is that the container feels lighter than expected when you pick it up, even after watering.
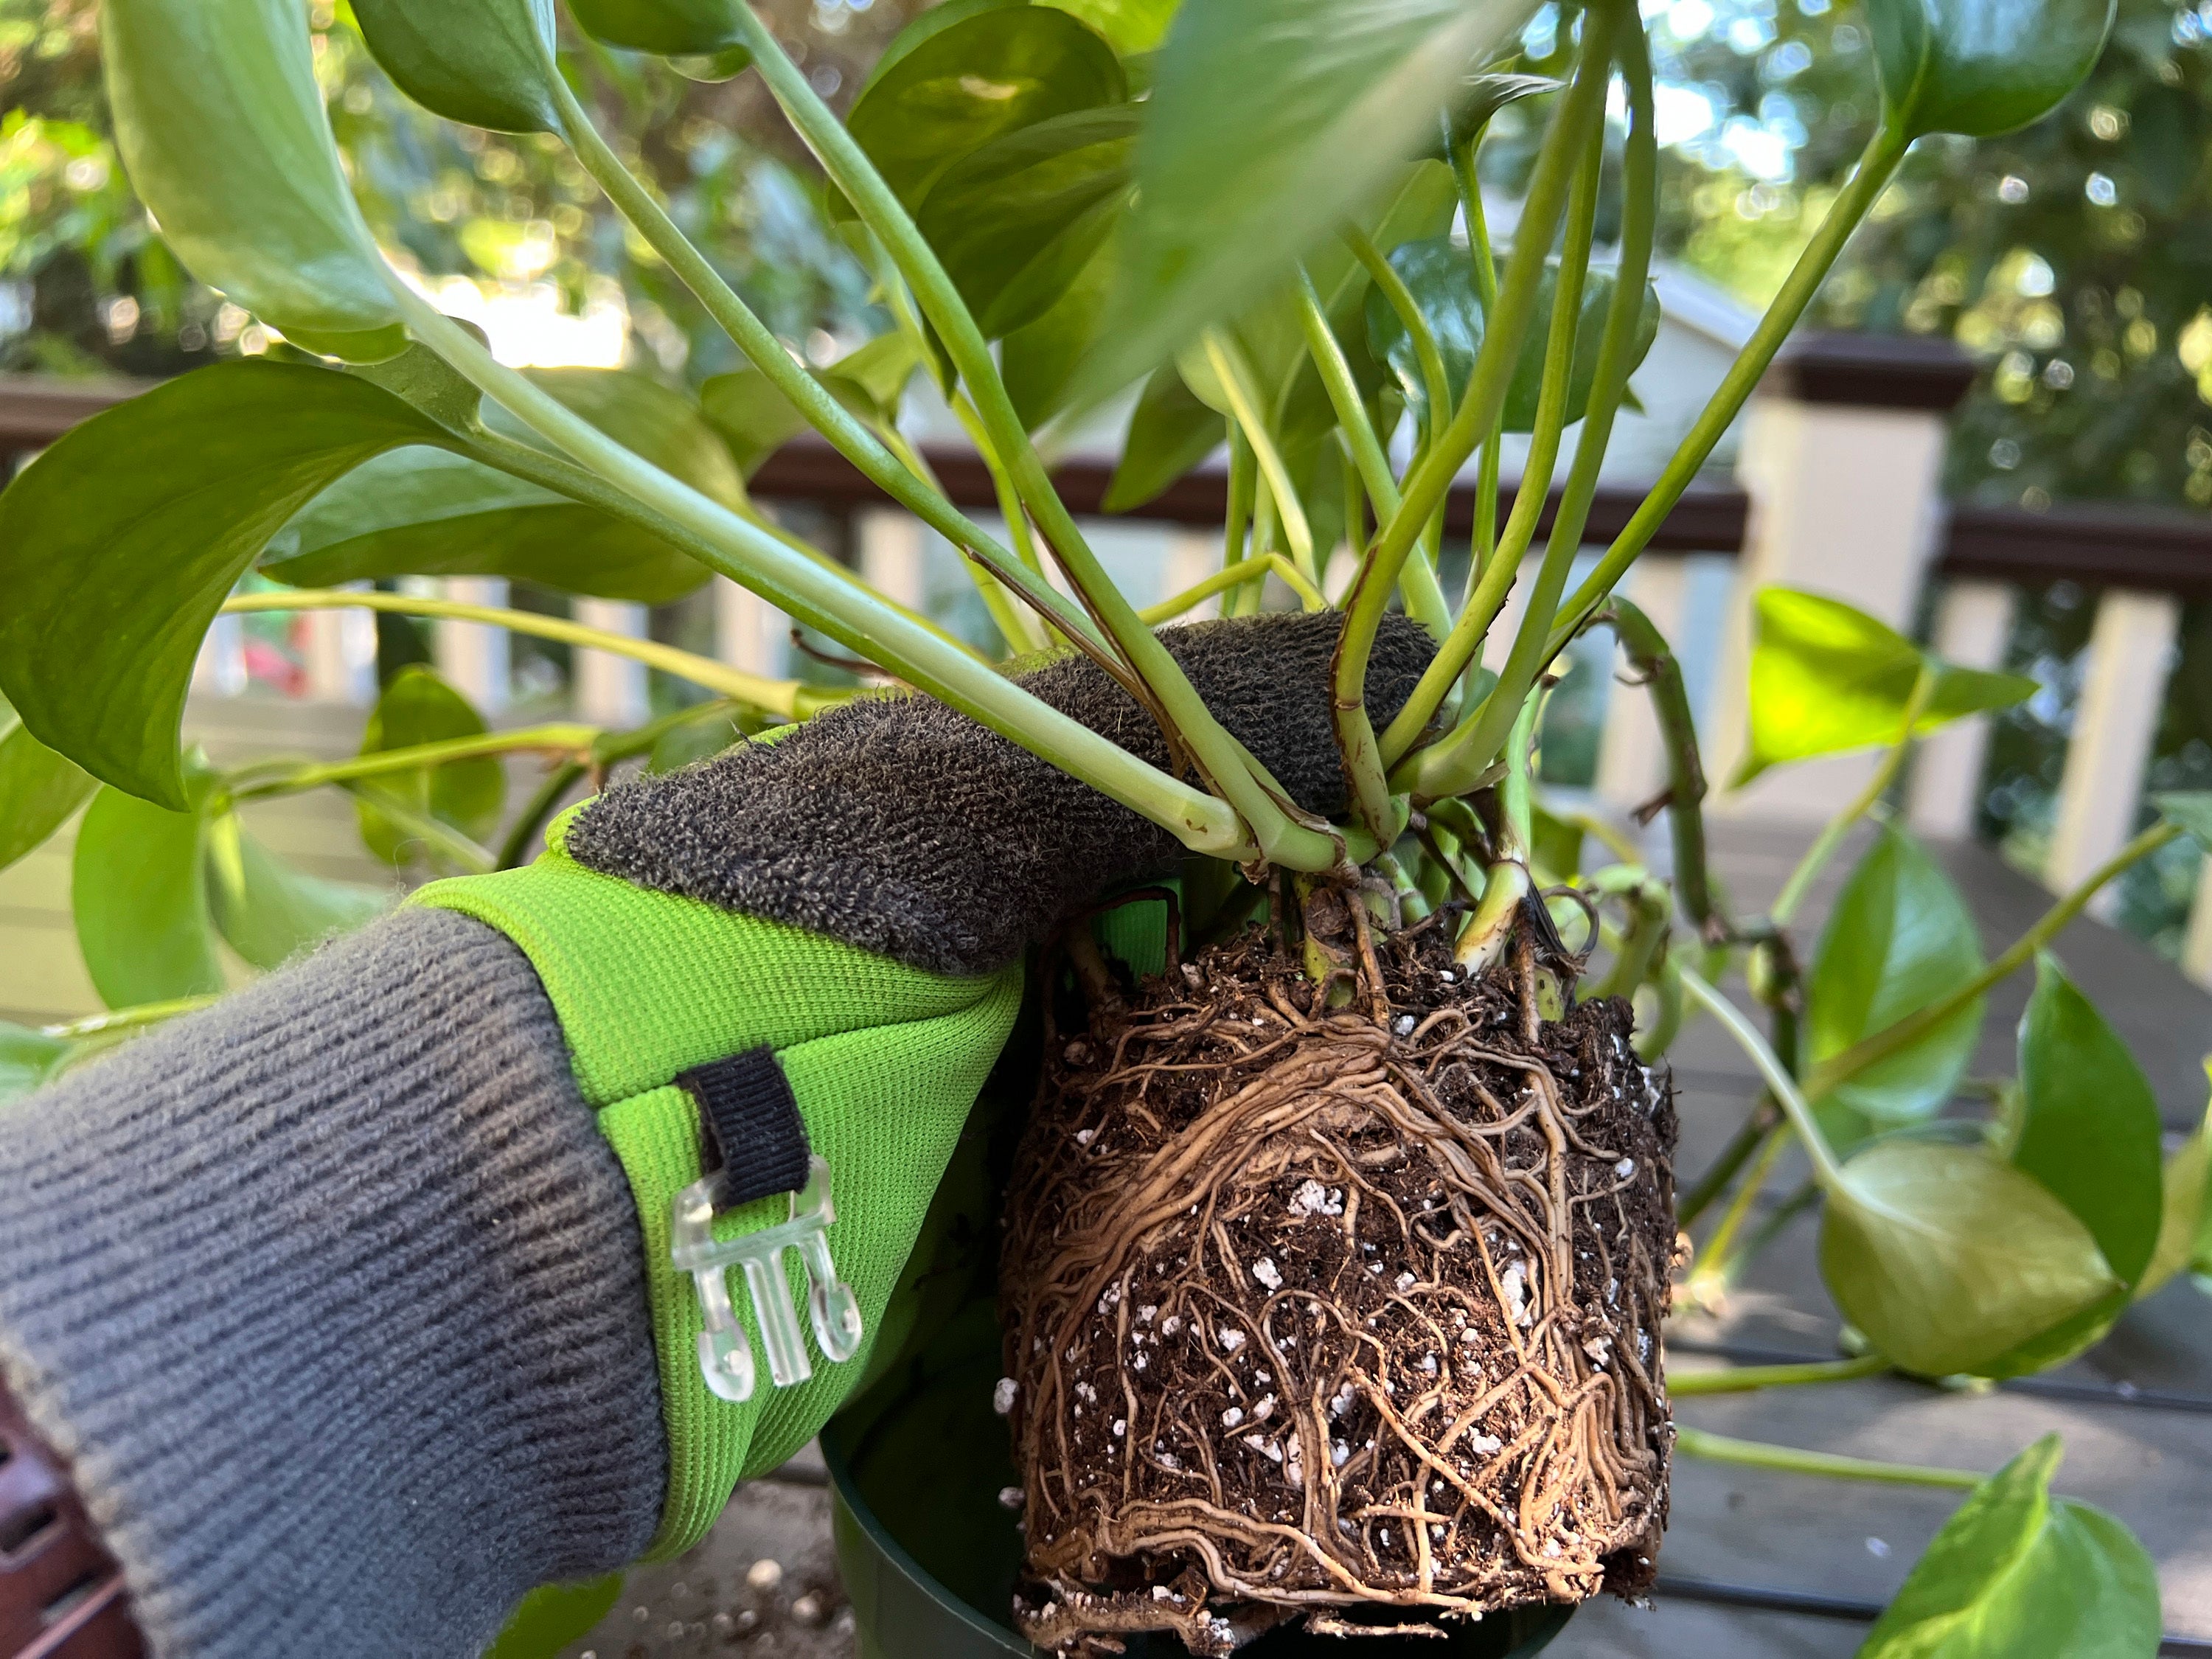
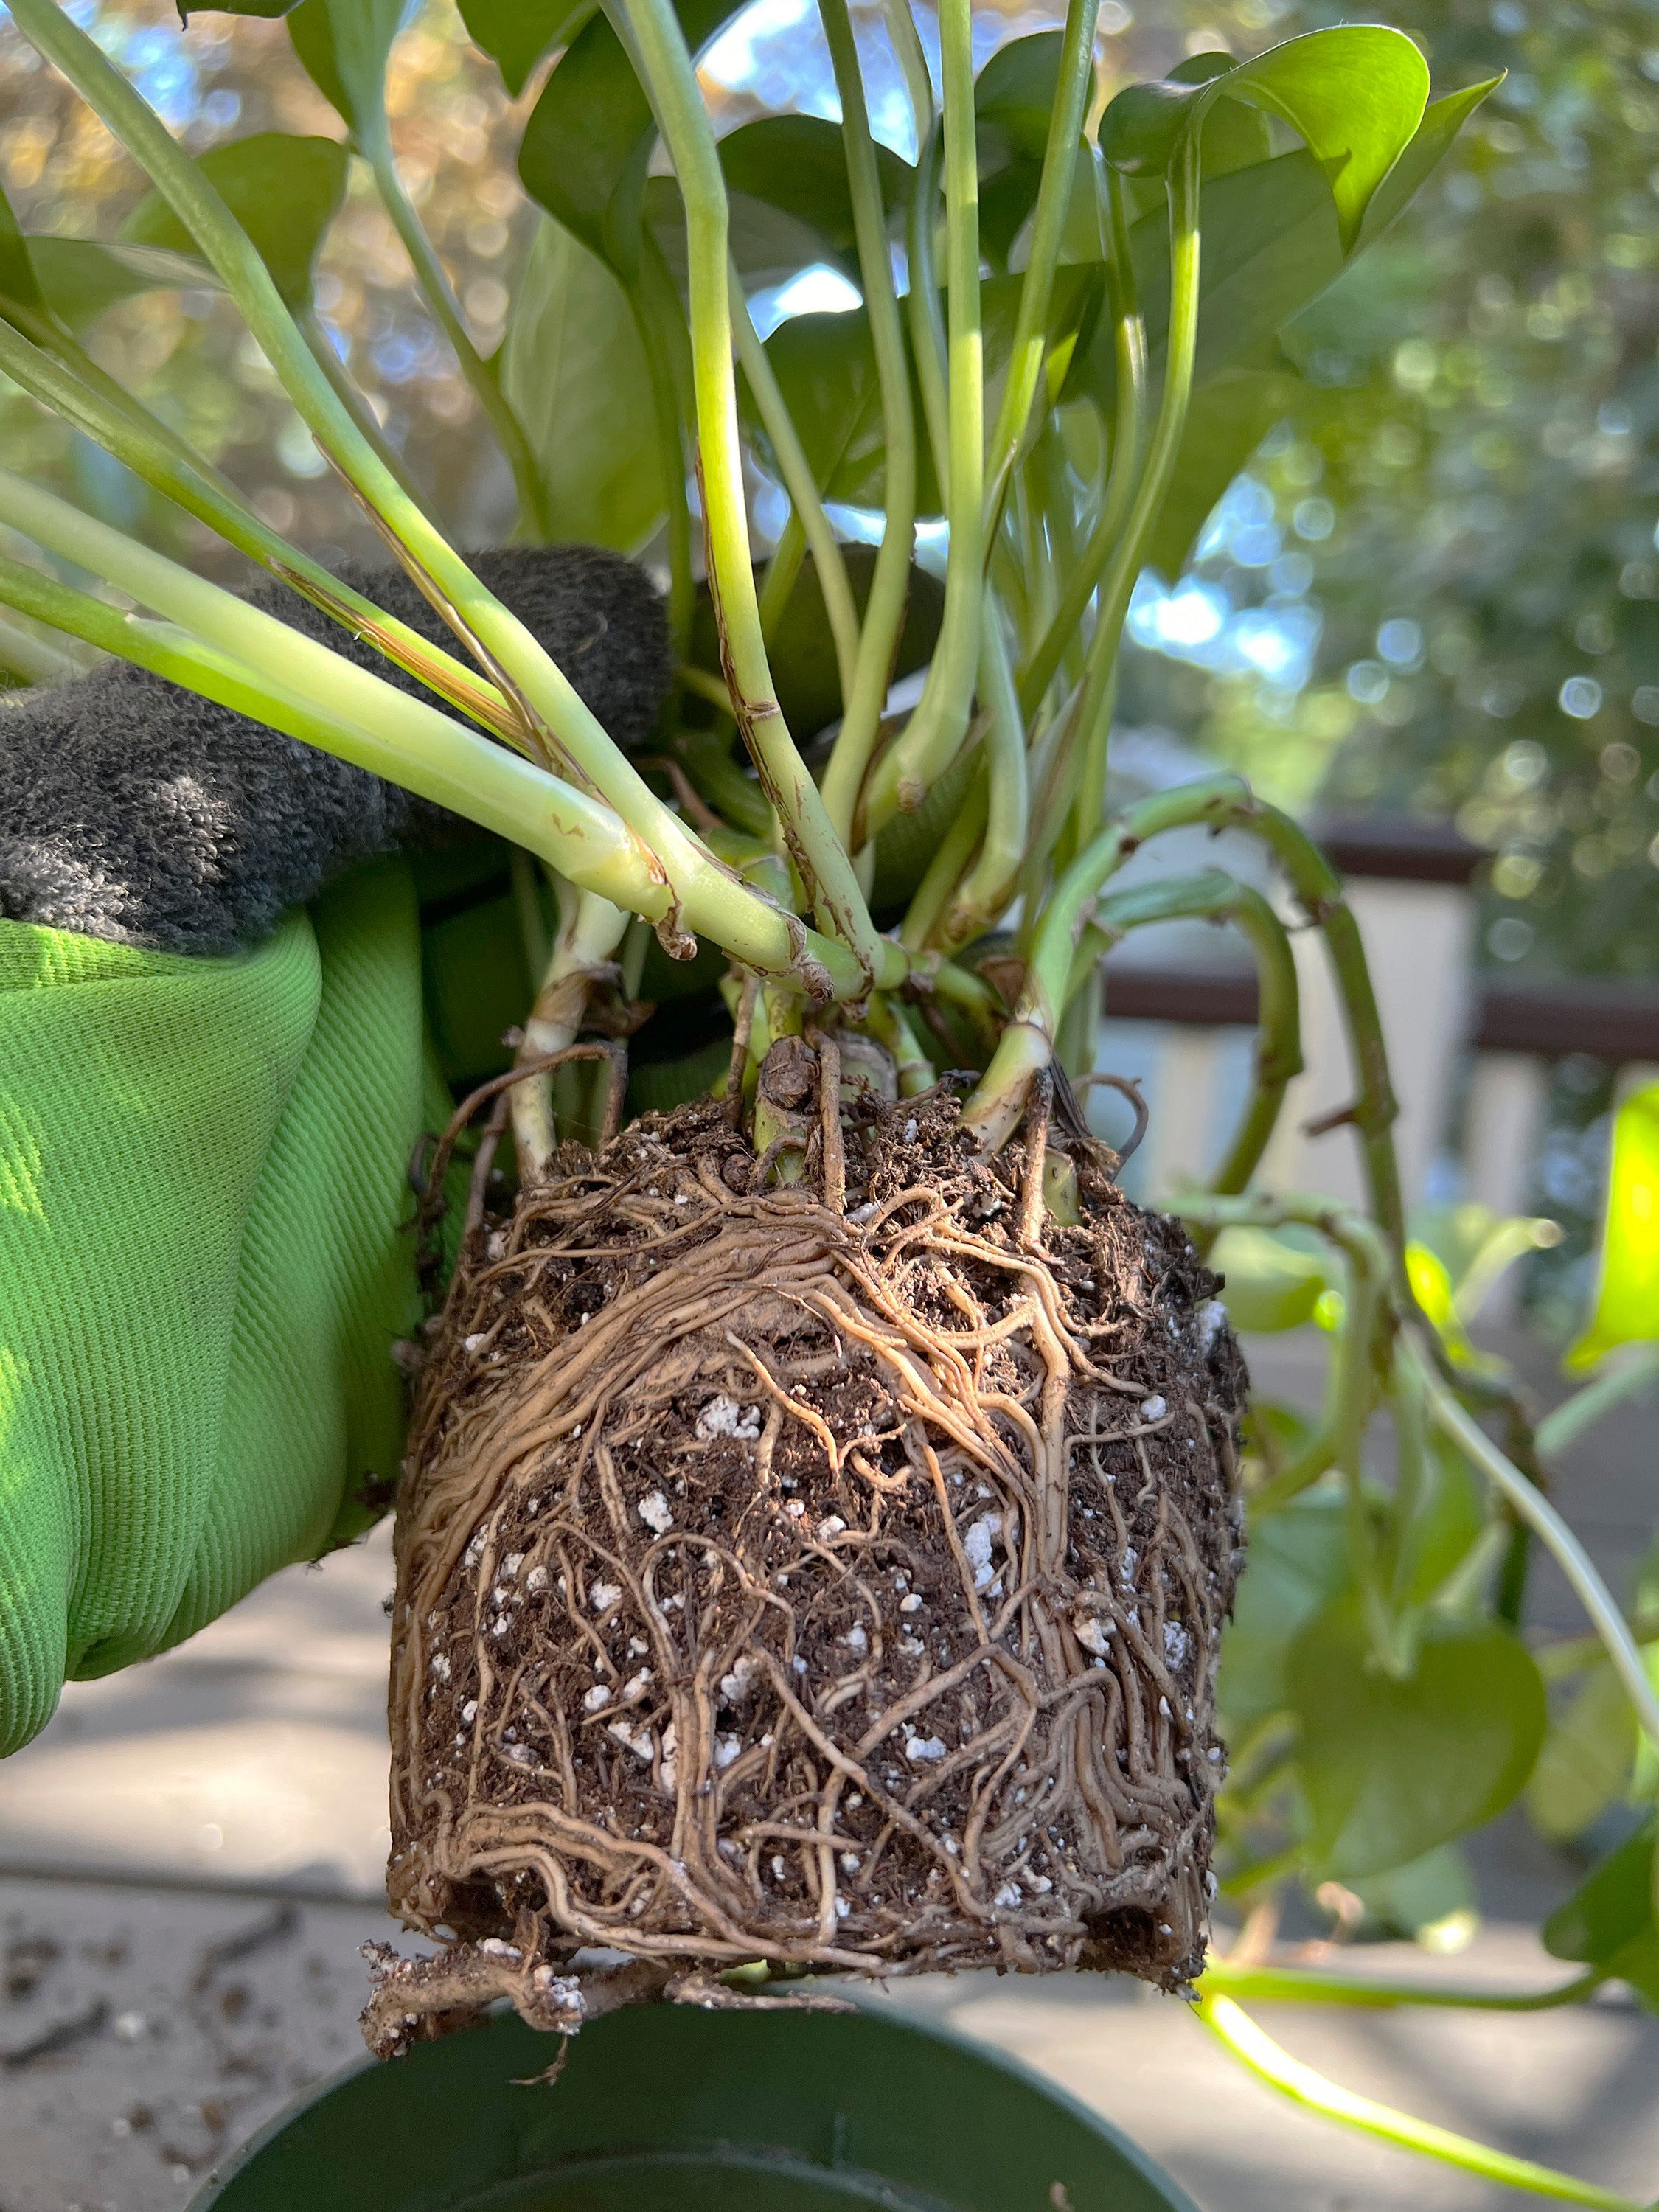
Any plant that has grown above the soil line surely has also grown beneath it, as well. But if you’re in doubt about whether repotting is necessary, slip the plant out of its container to see if its roots are crowded, which can restrict access to water and nutrients. Worse, if roots are “girdled,” or growing around themselves in a circle rather than outward into the soil, they may strangle themselves to death.
Free crowded or girdled roots by scraping them with a kitchen fork, snipping them in a few spots with garden pruners or gently teasing them apart with your fingers to create broken tips that can begin growing outward into the soil. . Then remove as much of the soil as possible.

The first rule of repotting plants lies in pot selection. Don’t be tempted to repot a small plant into a large container in the hopes you won’t have to repeat the task for a few years; you might end up killing the plant because the excess soil needed to fill the larger pot will hold more water than the roots can take in, and that can lead to root rot. Instead, opt for a pot just 1 or 2 inches larger in diameter than the current one.
Use the right potting mix. Purchase a lightweight, soil-less potting mix specially formulated for indoor plants, or make your own by combining equal parts of compost, vermiculite (or perlite, if planting succulents or cacti) and coco coir (a sustainable alternative to peat moss that does not alter the medium’s pH ).
Add enough of the mixture to the bottom of the new container to ensure the plant will sit at the same depth as it was when growing in its old pot. Then, place the plant atop the mound and add as much potting mix as necessary to fill in spaces around the plant, firming the soil with your fingers to eliminate air pockets.
Water slowly to allow full absorption, stopping when water begins to emerge from the pot’s drainage hole, and empty water that collects in the pot’s saucer.