Five tips for underwater filming and photography, according to a Blue Planet II cameraman
Your summer Instagram game will be on point
Your support helps us to tell the story
From reproductive rights to climate change to Big Tech, The Independent is on the ground when the story is developing. Whether it's investigating the financials of Elon Musk's pro-Trump PAC or producing our latest documentary, 'The A Word', which shines a light on the American women fighting for reproductive rights, we know how important it is to parse out the facts from the messaging.
At such a critical moment in US history, we need reporters on the ground. Your donation allows us to keep sending journalists to speak to both sides of the story.
The Independent is trusted by Americans across the entire political spectrum. And unlike many other quality news outlets, we choose not to lock Americans out of our reporting and analysis with paywalls. We believe quality journalism should be available to everyone, paid for by those who can afford it.
Your support makes all the difference.Whether with a new breed of waterproof smartphone or underwater camera, taking pictures and filming under the sea is increasingly an option for us all.
Of course, if you want to get those all important jealousy-inducing Instagram snaps, you’re going to want to show your followers just how crystal clear the water and how colourful the fish really were.
Taking underwater pictures or footage, however, is a lot harder than it looks.

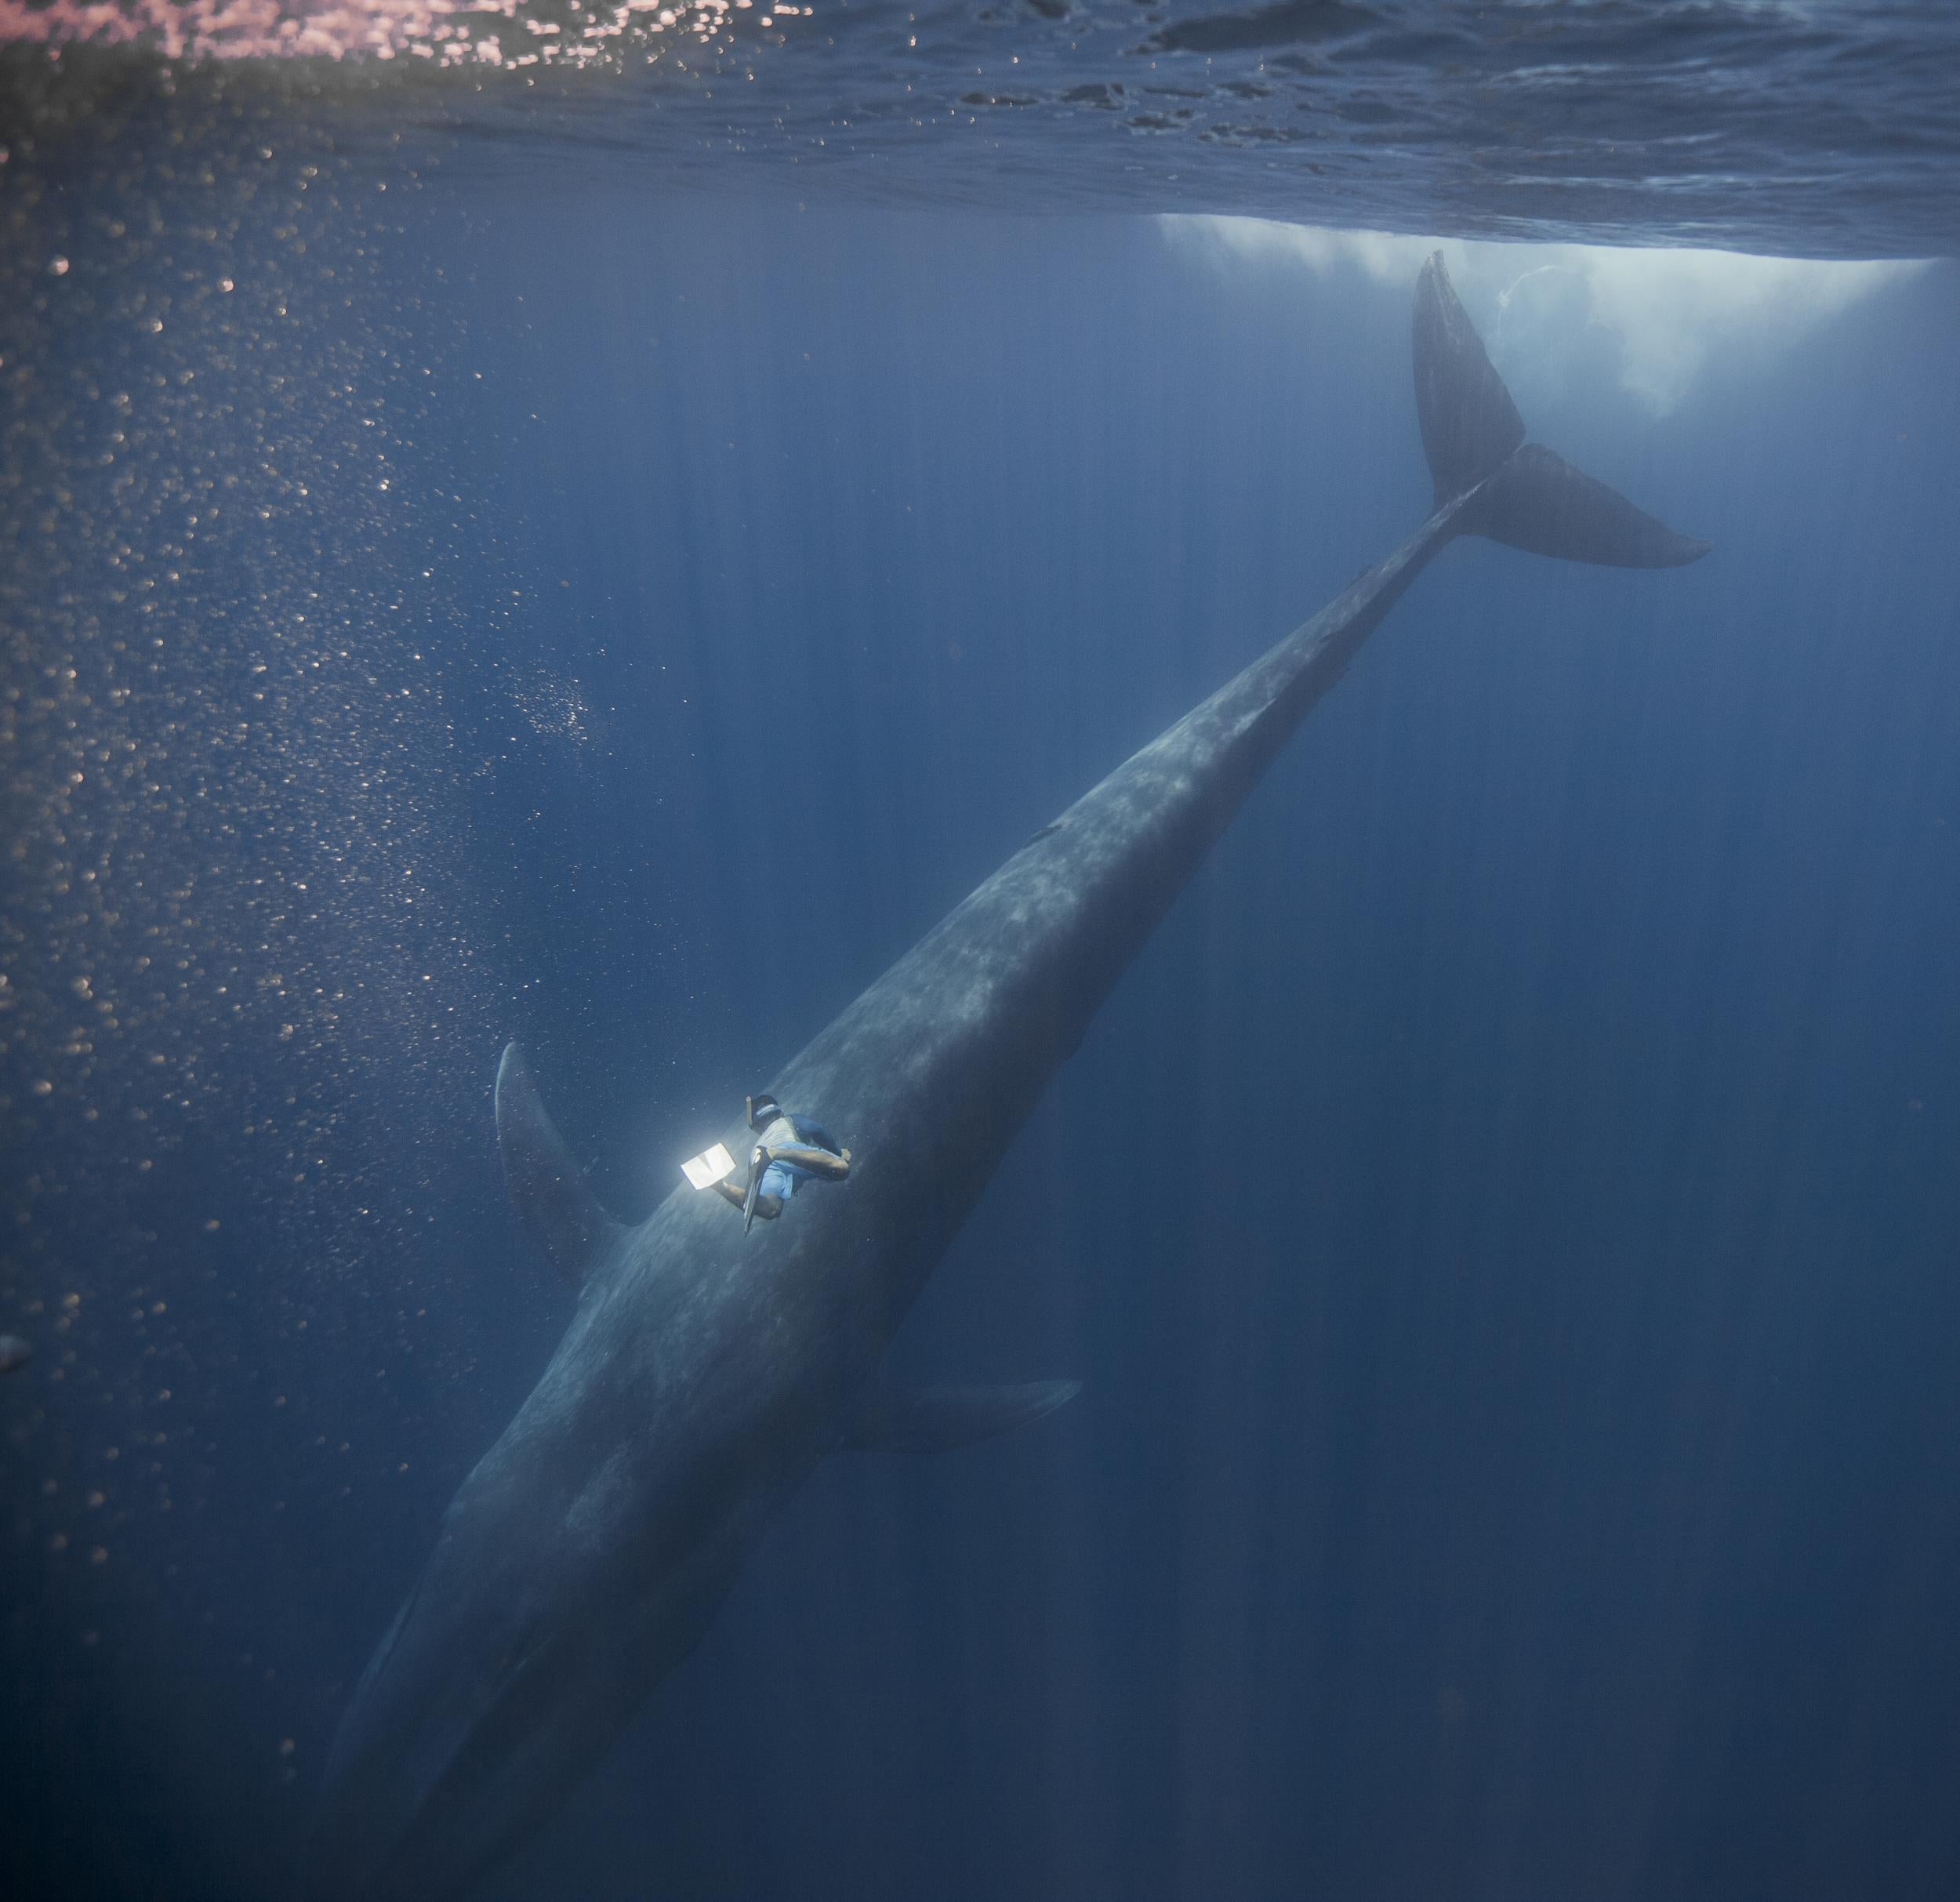
One man who knows this better than anyone is Patrick Dykstra, a cameraman who most famously worked on Blue Planet II, filming manta rays in the Maldives, orca and humpback whales in Norway and more.
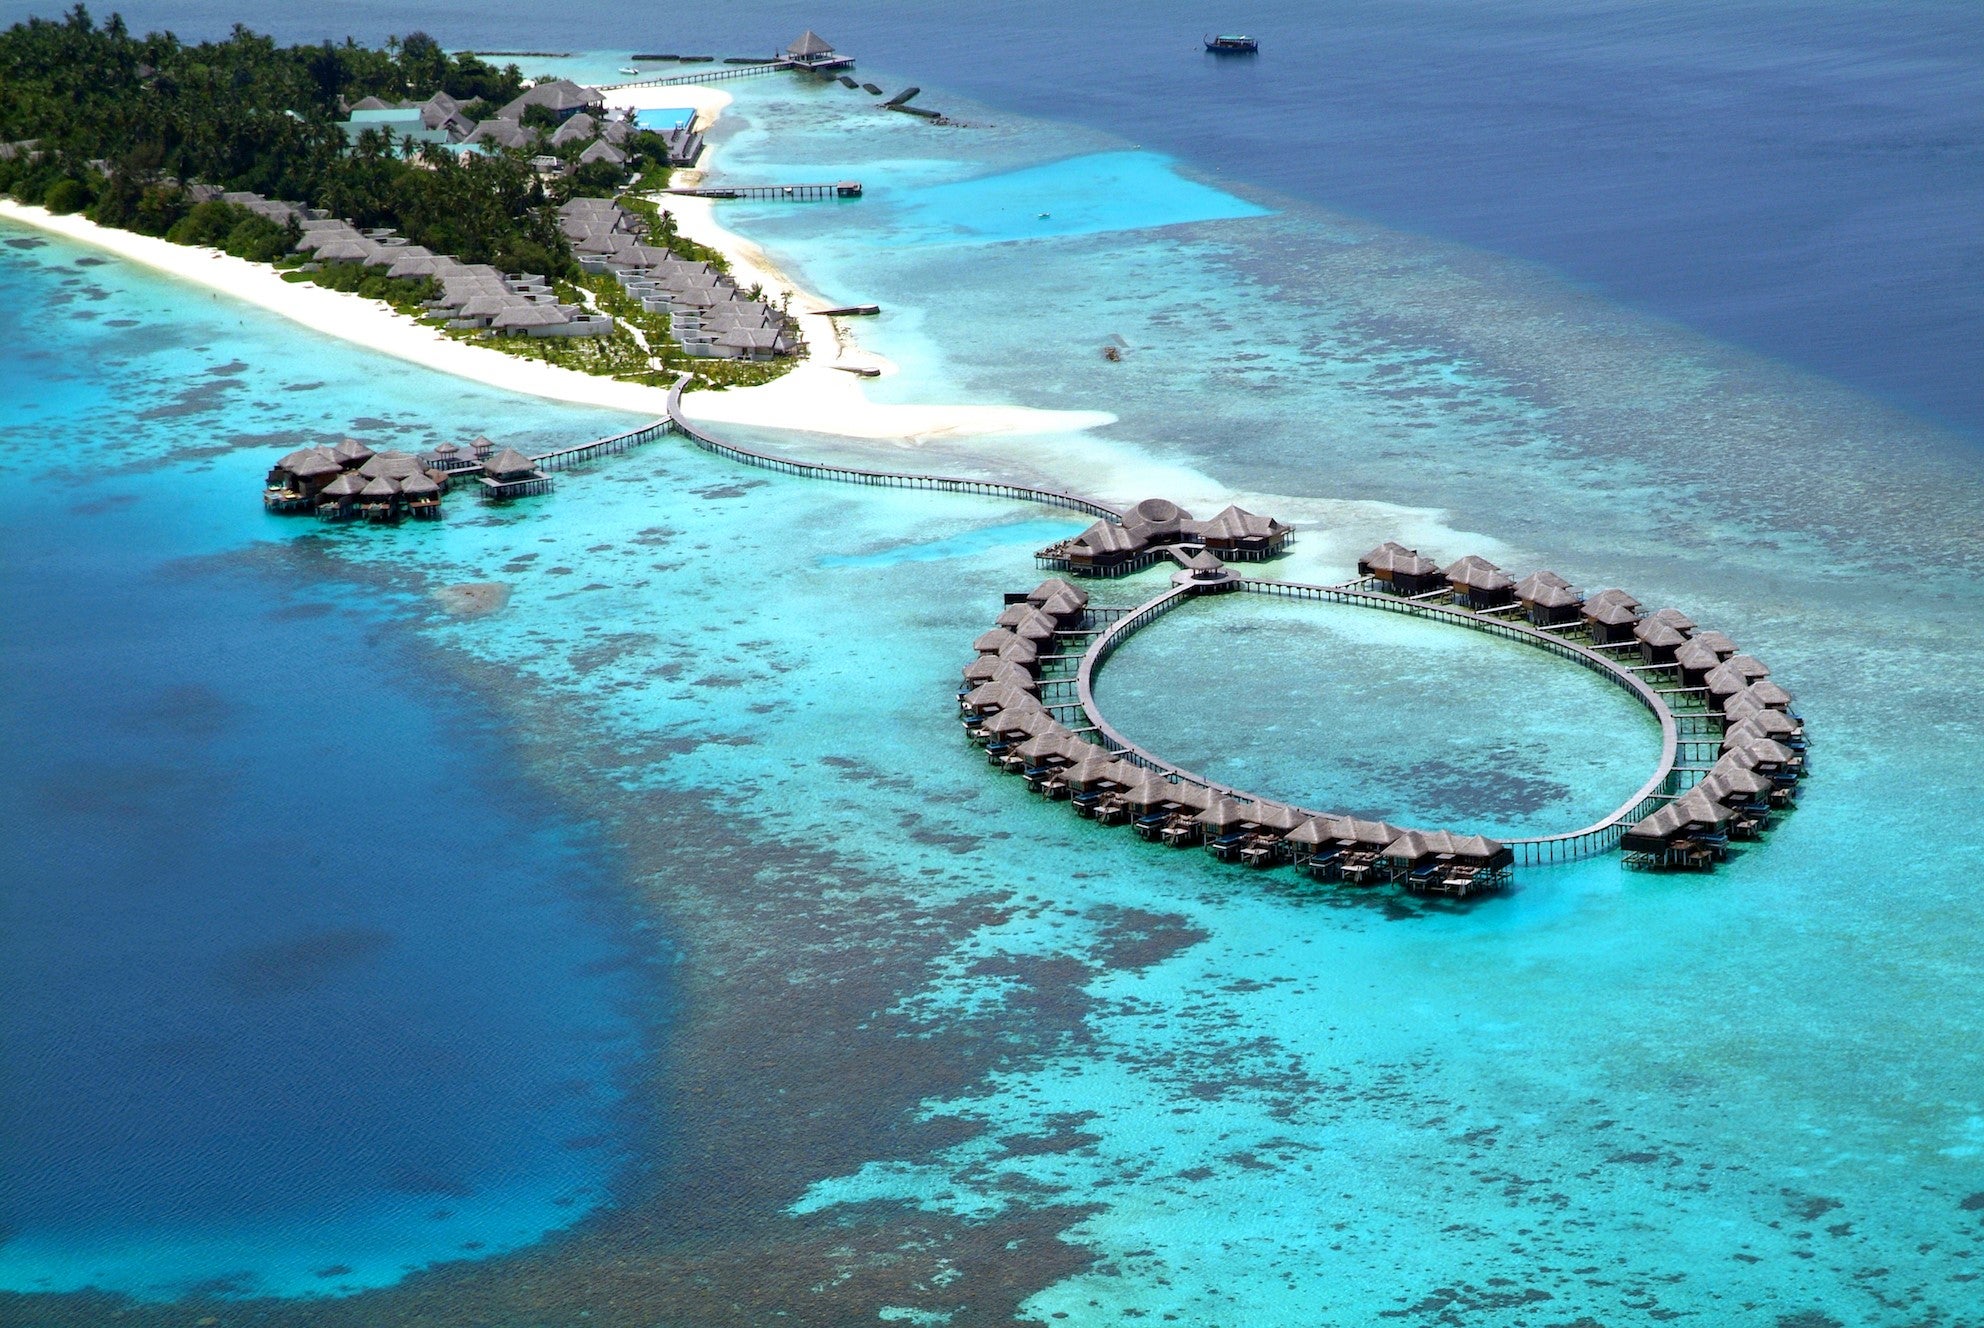
Dysktra was last month back in the Maldives for a residency at Coco Bodu Hithi, a luxury resort with its own coral reef teaming with turtles, rays and the whole cast of Finding Nemo, before heading off to Svalbard for three weeks.
Coco Bodu Hithi is a luxury island in the Maldives surrounded by one of best reefs in North Male Atol. Hawksbill turtles are frequently spotted near the Water Villas, while oriental sweet lips, giant parrot fish, and octopi live close to the shore all around the island. For swimmers looking for something more dramatic, the reef on the east side of the island, near the top tier of villas, the Coco Residences, is where you might see sharks, eagle rays, giant table corals and sea anemones.

Due to the nature of his work, Dykstra doesn’t stay in one place for long, but we managed to track him down in the Maldives and pick his brain on how regular people without any fancy equipment can create impressive underwater content.
How to take great underwater pictures and video, according to Blue Planet II cameraman Patrick Dykstra:
1. Try and keep your hand as stable as you can
Always try to hold the camera as still as possible. “It’s not easy in the water, but it is the main thing that differentiates professional from amateur footage,” Dykstra told The Independent. “It can help if you weight your underwater camera housing to be neutrally buoyant using floats and weights as needed, even GoPro housings.
“Of course, you also want to be neutrally buoyant yourself as much as possible. It’s easier to hold steady shots when you aren’t floating or sinking.”
2. Set your camera to 60, 90 or even 120 frames per second, then play it back at half the speed or slower
“Because it’s rarely practical to have a tripod when filming underwater, filming at a setting that allows you to use slow motion (off-speed) is important,” Dykstra explains.
In order to play back decent quality video, you need at least 24 frames per second, so by filming at a setting with more than that, you can play your footage back using slow motion.
“Slowing underwater footage slightly makes it more stable and gives it a more professional look,” Dykstra adds.

3. Keep the sun behind you
When the sun is shining, ideally you want to have it at your back: “This allows your shot to have more colour and cuts down on the amount of ‘backscatter’ in your shots, which are small particles in the water that often get lit up by the sun,” Dykstra explains.
This is particularly important when using relatively basic equipment. Keep aware of the sun’s position and adjust your angle accordingly.
4. Film for the story you are telling, not just what looks pretty
It’s all very well filming angles and moments that look pretty, but you need to think about what you’re actually going to do with the footage later. “A bunch of pretty shots can't always tell a story,” Dykstra points out.
“If you know what you are going to do with the footage and you do some research to get familiar with the animal in question and its behaviour, there is a better chance of having the shots you need when you’re done filming.”
5. Have fun!
Much like filming at gigs or taking pictures of sunsets, it can be all too easy to become so focussed on filming that you forget to appreciate what you’re seeing with your own eyes.
“Don’t get so caught up in looking through the viewfinder and forget to enjoy yourself!” Dykstra stresses. “If you are out having a good time, it often comes through in your shots and people enjoy seeing them. I know that I tend to stay out longer and put in more effort when it’s fun to be there!”

Join our commenting forum
Join thought-provoking conversations, follow other Independent readers and see their replies
Comments