Coronation planter: A step-by-step guide to creating a red, white and blue garden container
Enjoy a touch of patriotic colour with container planting to celebrate the King’s coronation.
Your support helps us to tell the story
From reproductive rights to climate change to Big Tech, The Independent is on the ground when the story is developing. Whether it's investigating the financials of Elon Musk's pro-Trump PAC or producing our latest documentary, 'The A Word', which shines a light on the American women fighting for reproductive rights, we know how important it is to parse out the facts from the messaging.
At such a critical moment in US history, we need reporters on the ground. Your donation allows us to keep sending journalists to speak to both sides of the story.
The Independent is trusted by Americans across the entire political spectrum. And unlike many other quality news outlets, we choose not to lock Americans out of our reporting and analysis with paywalls. We believe quality journalism should be available to everyone, paid for by those who can afford it.
Your support makes all the difference.Want to go patriotic with some coronation containers which will provide a splash of red, white and blue amid the bunting and party poppers?
If you have a sheltered spot or can provide cover in case of frost, you could start your planting now with colourful annuals, or add some insect-friendly perennials or flowering evergreens to your pots to give you patriotic pairings later on in the season.
“Now is the perfect time to consider putting a colourful display together so it is coronation-ready and in bloom, delivering lots of colour for the celebratory weekend – and beyond into the summer months too,” says Sarah Squire, chair of Squire’s Garden Centres (squiresgardencentres.co.uk).
“It is important to think about how you would like the plants to look when they are fully established, so do consider where you place your plants, the number of each plant used and allow space for them to grow.”
Here, Squire offers a step-by-step guide to creating a coronation container…
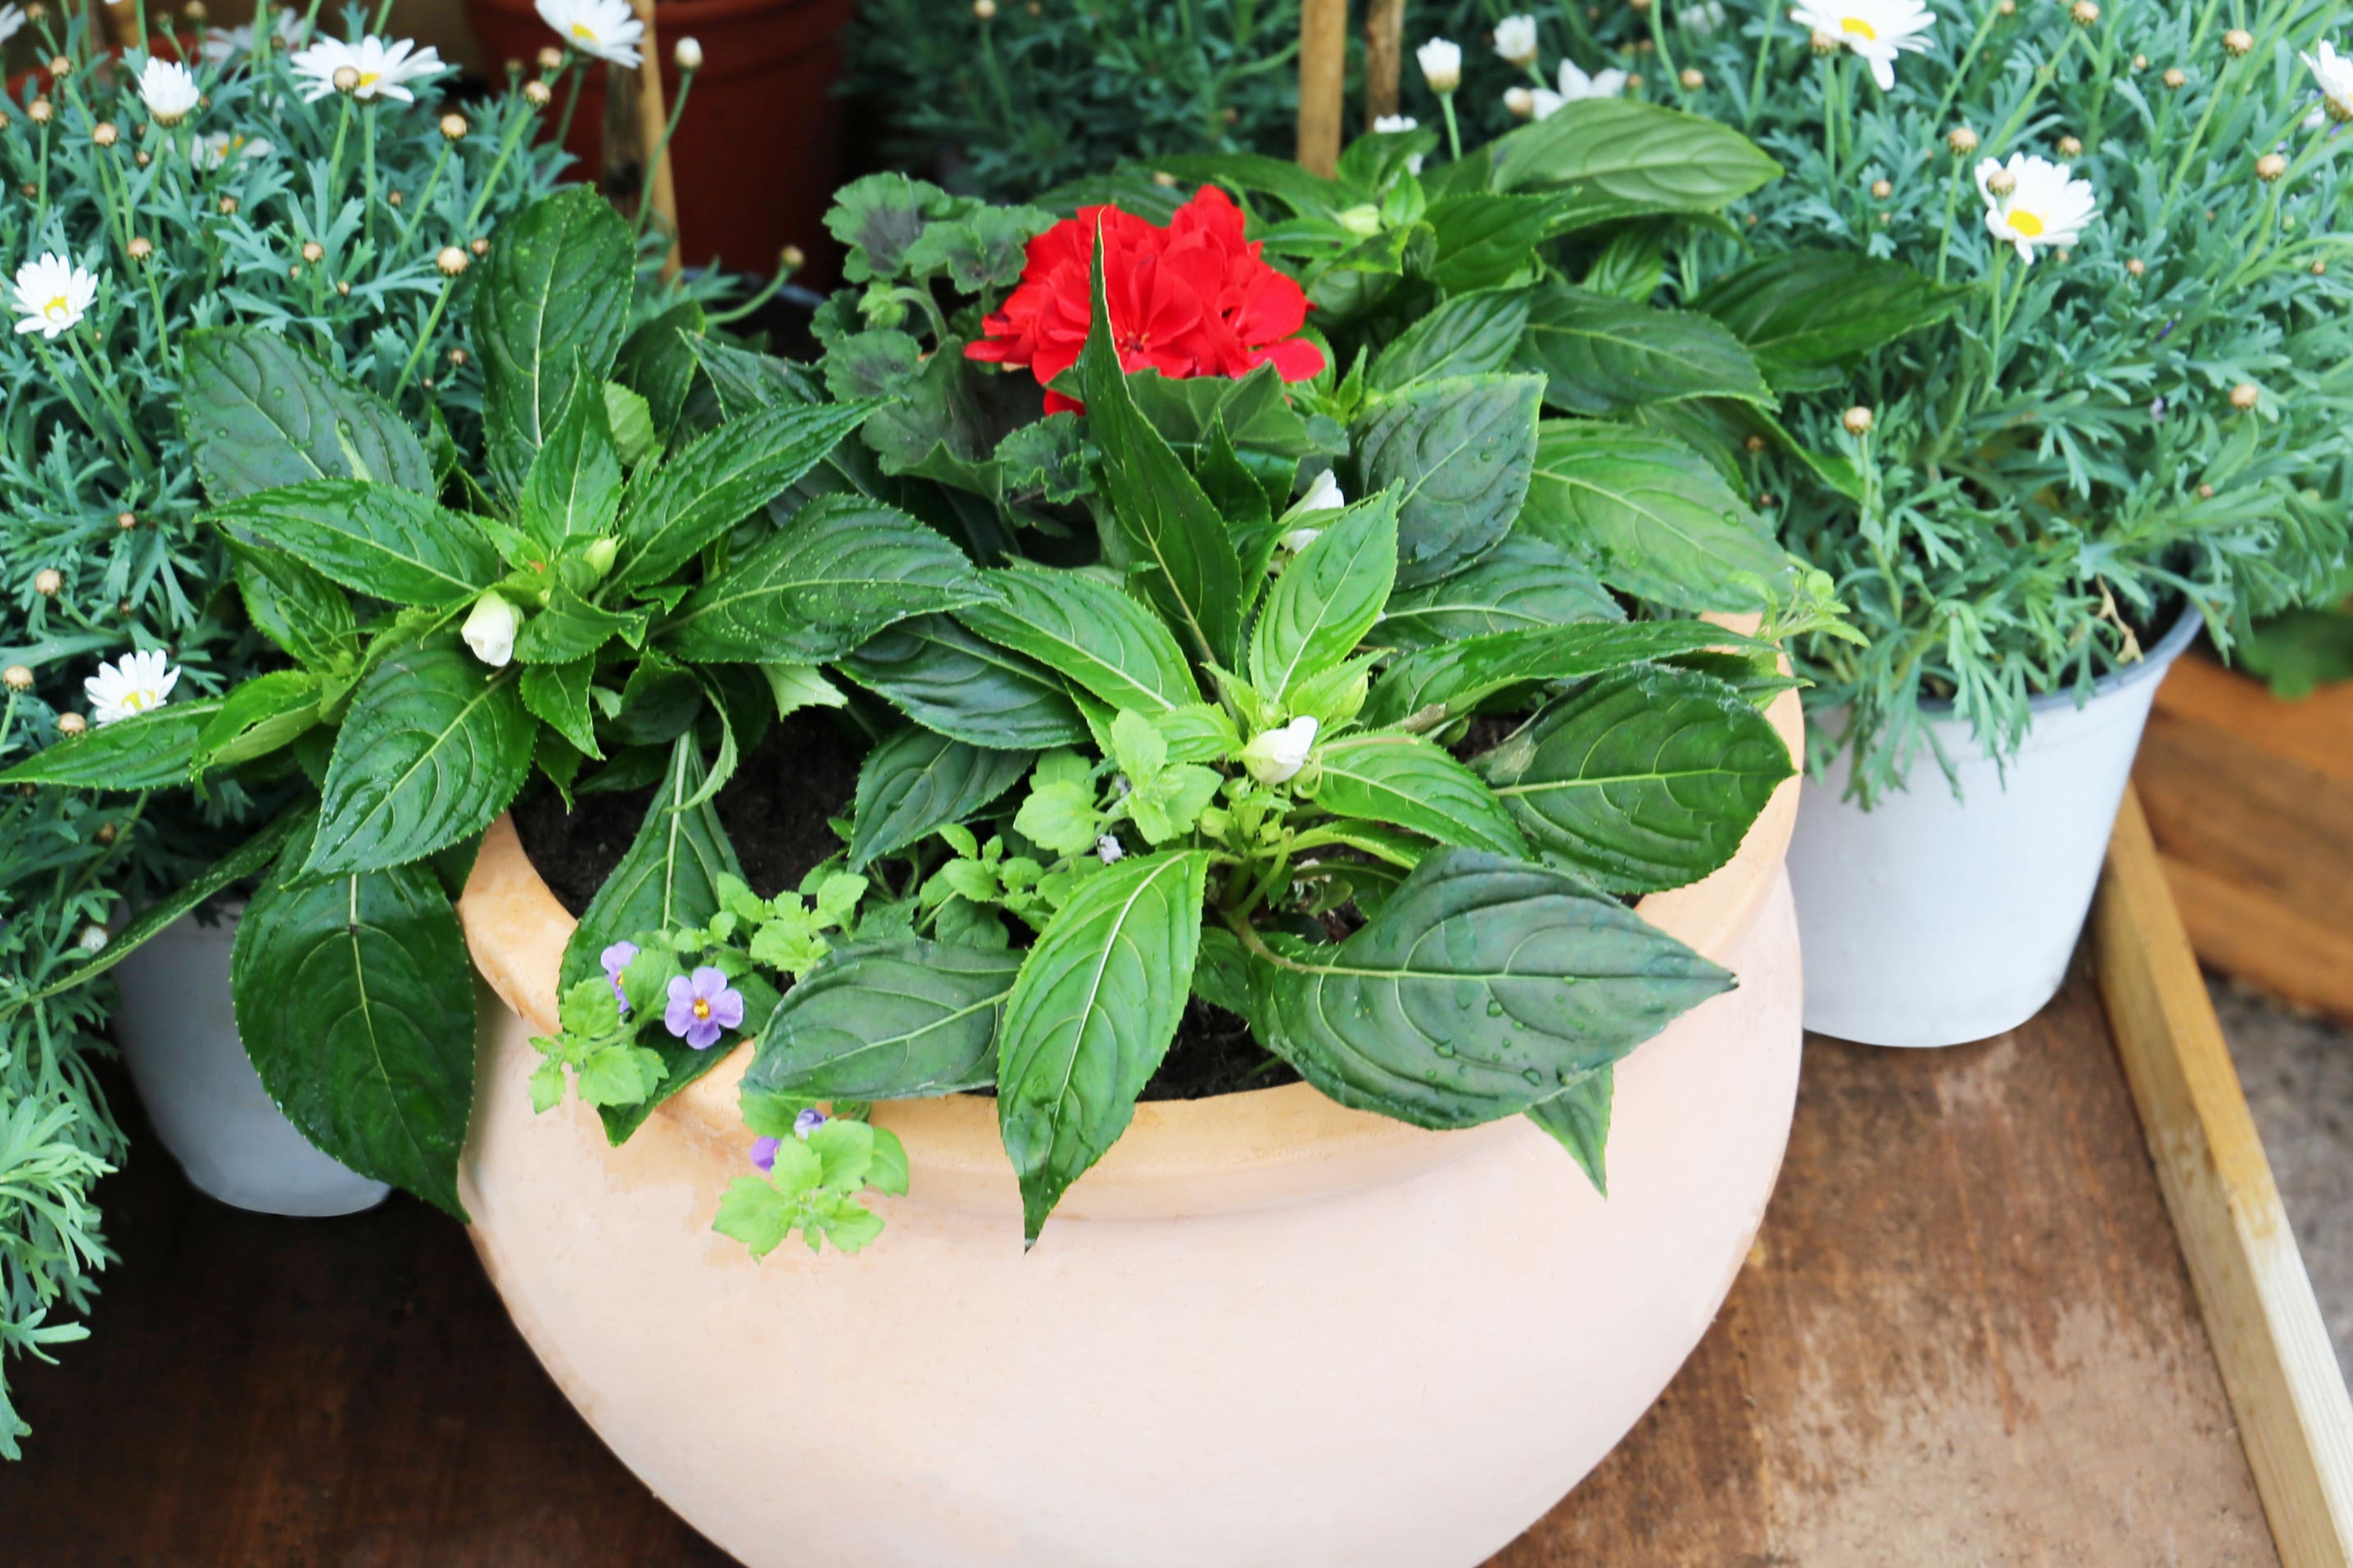
Royal colours
“With a royal colour theme in mind, I have used a combination of a red geranium as my centre plant surrounded by three white New Guinea impatiens interspersed with bacopa ‘Blue’.
“In partial bloom now, these plants will soon deliver a really rich display. For a different look, you could consider using marigolds, osteospermum, fuchsia and trailing lobelia. Do remember to protect from frost.”
Step 1
“Gather together all the key components in one place for ease while you are creating your planter: a suitable container, a good peat-free multi-purpose compost, stones or broken pots (‘crocks’) to aid drainage, a watering can and your selection of plants.”
Broken pots provide excellent drainage when placed at the base of the container, helping avoid plants getting waterlogged, she suggests.
“However, if you don’t have broken pots, a supply of stones will be fine also. It is also good to add a fertiliser to the container at planting stage, and water-retaining crystals mixed with compost when planting, so that absorbed moisture is locked away until the compost becomes dry and then the gel releases water to keep compost moist.”
Give your chosen plants a good water before they are planted in situ in the container, she advises.
Step 2
‘Crock’ the pot by lining a clean container with pieces of broken pots or stones – or a mix of the two.
Step 3
Add peat-free multi-purpose compost on top of the broken pots and stones to fill the container to about three-quarters full to the top of the rim. You can add a slow-release fertiliser at this point if you like.
Step 4
Carefully remove the plants, gently easing them out of their pots and place them in the desired spot in your container. Firm in, gently adding further compost to fill in any gaps if necessary so roots are covered and the plants can establish themselves well in the pot.
Step 5
Once everything is planted, water well.
Step 6
For a long-lasting display, tend your container by watering regularly – never let the compost become dry – and feed your plants with a liquid feed during the flowering season, Squire advises.
Regular deadheading is a really important part of caring for bedding plants as it encourages repeat flowering, extending your enjoyment of your displays right through the summer and into the early autumn.
While annuals are often a go-to container choice for busy gardeners, colourful insect-friendly perennials in shades of red, white and blue can also easily be grown in pots, including drought-tolerant lavender, purple or white salvias and red dahlias – the single-flowered types are easier for insects to access.