How you’re accidentally making yourself look older
Are you doing your makeup the same way you always have? Your face changes as you age — so your makeup application needs to as well, learns Kaleigh Werner

Your support helps us to tell the story
From reproductive rights to climate change to Big Tech, The Independent is on the ground when the story is developing. Whether it's investigating the financials of Elon Musk's pro-Trump PAC or producing our latest documentary, 'The A Word', which shines a light on the American women fighting for reproductive rights, we know how important it is to parse out the facts from the messaging.
At such a critical moment in US history, we need reporters on the ground. Your donation allows us to keep sending journalists to speak to both sides of the story.
The Independent is trusted by Americans across the entire political spectrum. And unlike many other quality news outlets, we choose not to lock Americans out of our reporting and analysis with paywalls. We believe quality journalism should be available to everyone, paid for by those who can afford it.
Your support makes all the difference.I’ve been doing my makeup entirely wrong.
Since I was 16, I’ve scribbled dark eyeliner in my waterline, used yellow concealer like foundation, and washed my face in Benefit Cosmetics Hoola Matte Bronzer as if the rest of my body was that orange.
I knew how to do it quickly — and used to love how my makeup looked — so why mess with it? Then I spoke with beauty expert and make up artist Erica Taylor, and realized just how much my regimen needed updating.
“Some people get stuck in this place,” Taylor told The Independent. “They do the same routine for years and never change it. But our faces change. So how can you do the same routine on a different face?”
Spoiler alert — you can’t.
Having worked in the industry for over 25 years, Taylor has an expertise that far surpasses that of anyone who just learnt their skills from YouTube. The 48-year-old, with over 1.1 million followers on Instagram, went from practicing on her own face to training with industry leaders at Mac Cosmetics before being named as one of L’Oréal Paris’ League of Experts. More recently, she’s pulled from her own experience of adjusting and refreshing her makeup routine to help teach the “everyday woman” to do the same.
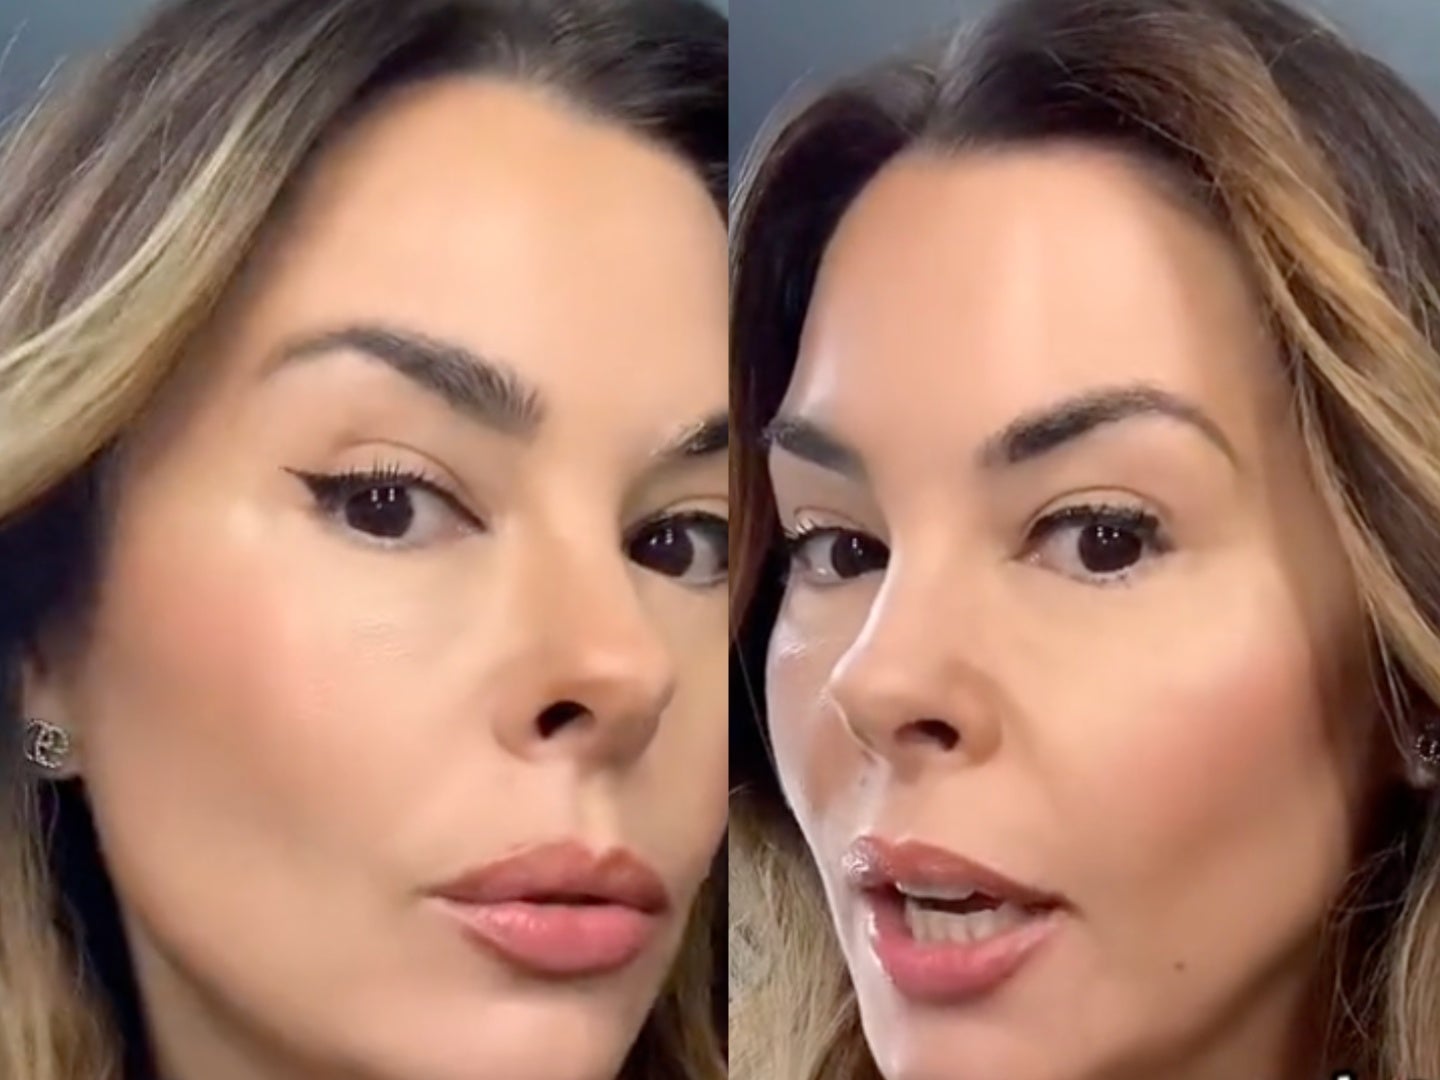
In one viral video, Taylor demonstrates the “common mistakes” a lot of women have kept doing over the years that age them — by painting half her face in the dated styles, and the other half in fresh makeup technqiues.
The “issue” side of her face saw her eyebrows and eyeliner drawn in too short, her countour and blush in the wrong spot and her lip liner done in a way that most people wouldn’t suspect.
Taylor revealed a slew of beauty insider secrets to revitalize your makeup routine and avoid making any product placement errors that may contrarily age you.
Eyebrows
Who remembers the concealer-carved eyebrow craze? Or maybe the bushy soap brow mania? Well, according to Taylor, both are “out.”
“ We’re seeing more of a thinner stroke versus that old-school powder brow,” she admitted before adding the most important part people make a mistake on: “You’re not making the McDonald’s arch anymore.”
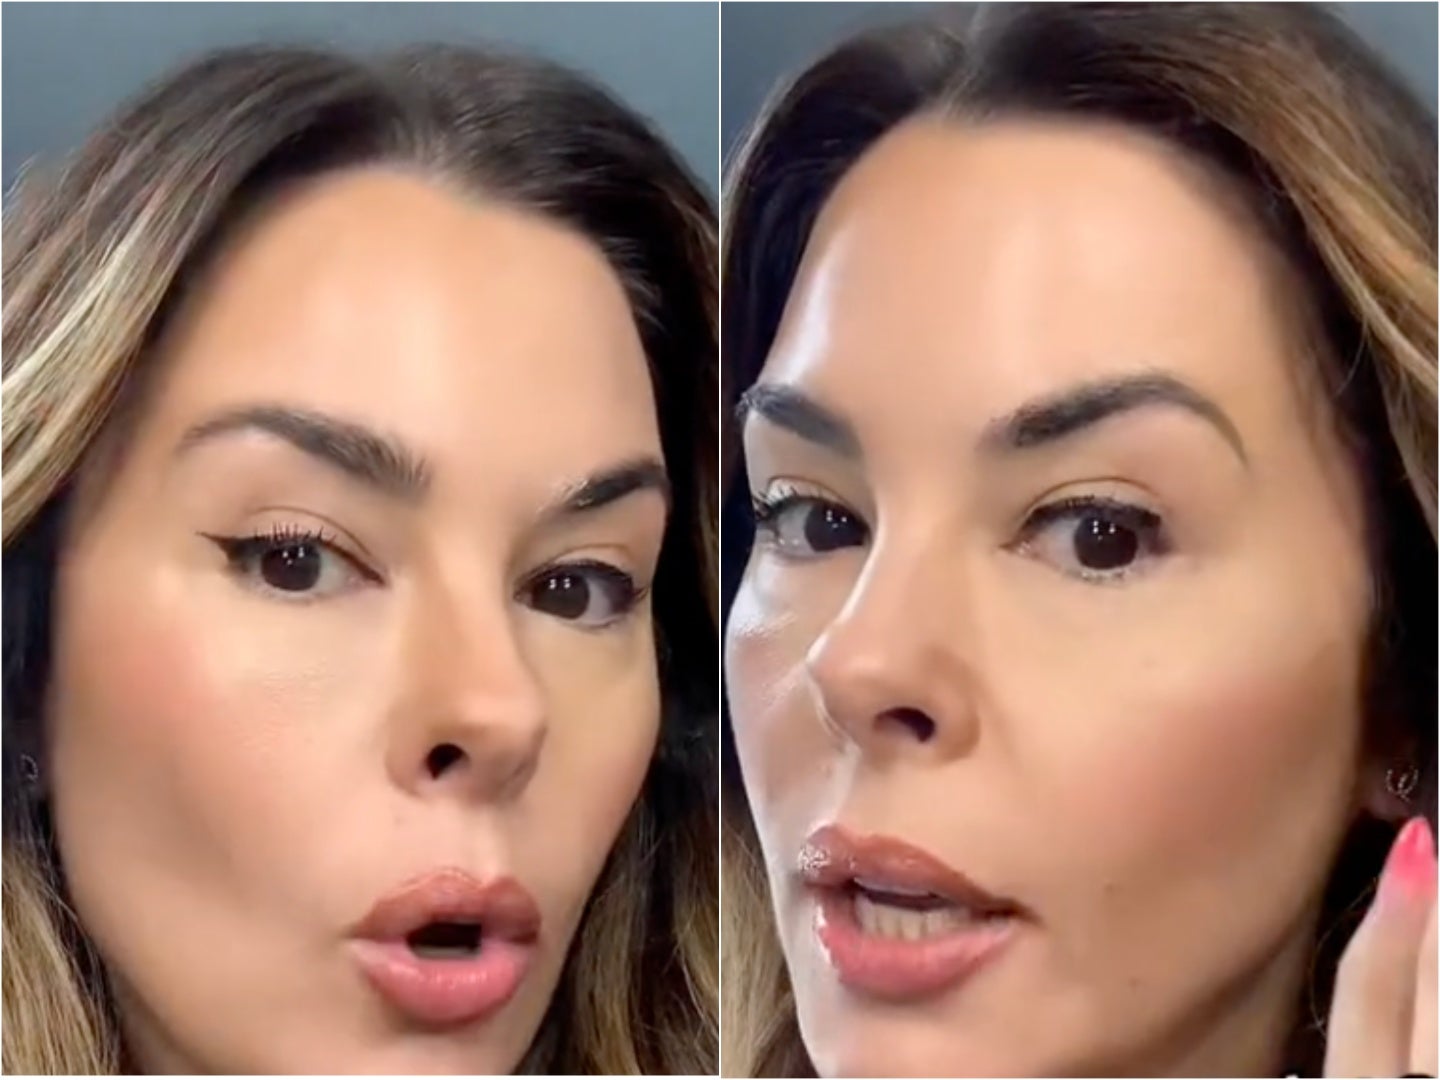
In: You want to lightly fill in your brows and sweep the ends slightly out and up to achieve a lifted look.
Out: When you point the ends of your eyebrows down, you’re deflating the structure of your face rather than elongating it.
Skin Prep
Prepping your skin is essential. “In the 1990s, skin prep was really not a thing,” Taylor told me. “I don’t even remember us wearing skincare. I remember just slopping foundation, waking up, and putting my makeup on.”
Skincare helps protect your barrier, prevents your makeup from creasing, soothes damaged or dry patches, and allows your makeup to go on smoother, resulting in a more youthful look.
In: You should always put moisturizer or serums on your face before putting primer and the rest of your makeup on.
Out: It doesn’t matter if your makeup is minimal or your foundation heavy — it shouldn’t be the first product to touch your skin.
Foundation
According to Taylor, one pump for each side of your face is more than enough if you want to even out your skin tone.
”You should be able to put your foundation on and leave your house and not look nuts,” she explained. “And not look like a canvas.”
Tinted moisturizers are viable alternatives to foundation for more natural makeup looks. However, if you’re goal is to create a more full coverage base, then you should use foundation, but start with a light layer first.
In: Putting it on in layers and building up the coverage.
Out: Heavy, thick foundation that is very visible.
Blush
With blush, Taylor said you want to avoid looking like a “ Neapolitan dessert” with steaks of color. The blush and bronzer should blend effortlessly without visible lines separating the two.
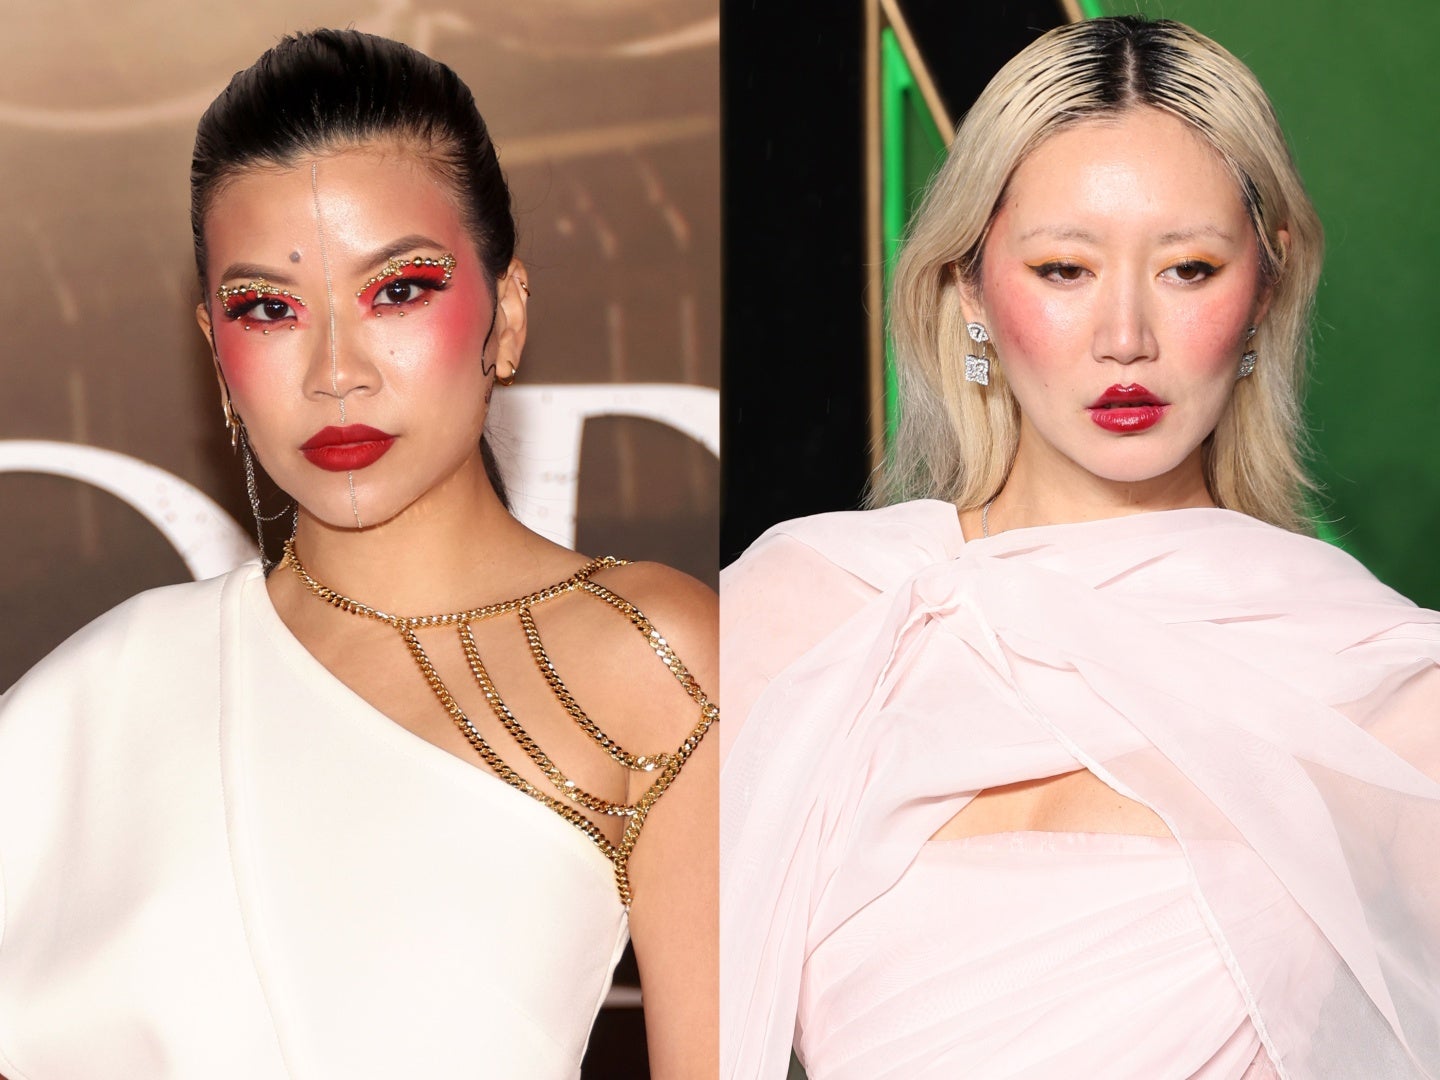
The color blush you pick should be the shade “you normally flush” and placed on the high points of your cheek, which gives the illusion of a facelift. Taylor recommended using a small amount of cream blush because it’s more pigmented than most powder blushes and usually only requires a little dot on each side.
In: Using cream blush and blending it across the tops of your whole cheekbones.
Out: Putting powder only on the apples of your cheeks.
Concealer and brightening
Similar to how you prep your skin to protect your base, the under eyes must be properly primed with a hydrating eye balm.
“You have to prep your eye if you’re not 20 anymore so your concealer won’t crease,”Taylor noted.
While beauty trends previously promoted a pronounced under-eye carved out by a pale concealer, now, the color should never be overtly lighter than the rest of your base. “ Stop going too light,” Taylor said. “That’s not it anymore. Now we’re just trying to match.”
“If you’re, in that millennial age range you want to brighten the inner corner of the eyes,” Taylor said. “ For me and my mature skin, I always brighten down the sides of the nose and around the lips, all the places where we start to get hollow. So any areas that sink in, you can brighten.”
In: Hydrating concealer that color-corrects whichever issues you’re facing and brightening.
Out: Overly pale concealer under your eyes like a Kardashian.
Contour and Bronzer
Contour placement can make or break a makeup look, says Taylor, and the old “C” contour method of carving out your cheek by dragging the product down does not have the effect you think it does, according to Taylor.
“I find the C-cut looks like a puppet, a marionette puppet,” she confessed.
Instead, Taylor suggested using a cream contour on your cheekbones, pushing the product up and around the hairline to warm up the face. You can also apply light contour along the jawline to make it more pronounced.
Once your contour is on, apply a thin layer of bronzer on top. Taylor prefers a cream bronzer, but a powder formula can work if you don’t cover your entire face with it (like I used to).
In: You should define your facial features by lifting them.
Out: Drawing a C from your temples to under your cheekbones.
Eyeliner
For your eyeliner, Taylor warned not to cut the color too short and to avoid filling the waterline. Smudging dark liner along the top and bottom of your lid makes your eyes appear smaller and shorter. Instead, you want to follow your lash line with a slight wing from the outer corner as if you’re giving yourself a lash lift.

“If your eyebrow is longer, your eye is longer,” Taylor explained. “If your eyebrow goes down, your eye goes down. If your liner cuts short and is too thick, your eye cuts short. You want to elongate a thin liner. Lifting your bronze above the cheek, and your apple higher, brings everything this way (up).”
In: Using your eyeliner to go up and elongate the eye and whole face.
Out: Filling in the waterline.
Lips
This might be the hardest change for many, adjusting how you
“I didn’t line the full end of the lip,” Taylor said. That’s because if you line to the very end of the lip then, as Taylor explains, the gravity takes control visually and “she’s going down, she’s dropping”.
Instead, draw your lip underneath a little wider and then don’t draw your lipliner or lipstick right to the very ends of your lips.
In: Drawing your lips in only three quarters of the way .
Out: Lips covered entirely in lipstick and lip pencil.
Join our commenting forum
Join thought-provoking conversations, follow other Independent readers and see their replies
Comments