How to perfectly grill any vegetable
Two grilling methods are all you need to cook summer’s bounty, from broccoli to asparagus, cauliflower to tomatoes, says Steven Raichlen. Even leafy greens benefit from a brief turn on the grill
Your support helps us to tell the story
From reproductive rights to climate change to Big Tech, The Independent is on the ground when the story is developing. Whether it's investigating the financials of Elon Musk's pro-Trump PAC or producing our latest documentary, 'The A Word', which shines a light on the American women fighting for reproductive rights, we know how important it is to parse out the facts from the messaging.
At such a critical moment in US history, we need reporters on the ground. Your donation allows us to keep sending journalists to speak to both sides of the story.
The Independent is trusted by Americans across the entire political spectrum. And unlike many other quality news outlets, we choose not to lock Americans out of our reporting and analysis with paywalls. We believe quality journalism should be available to everyone, paid for by those who can afford it.
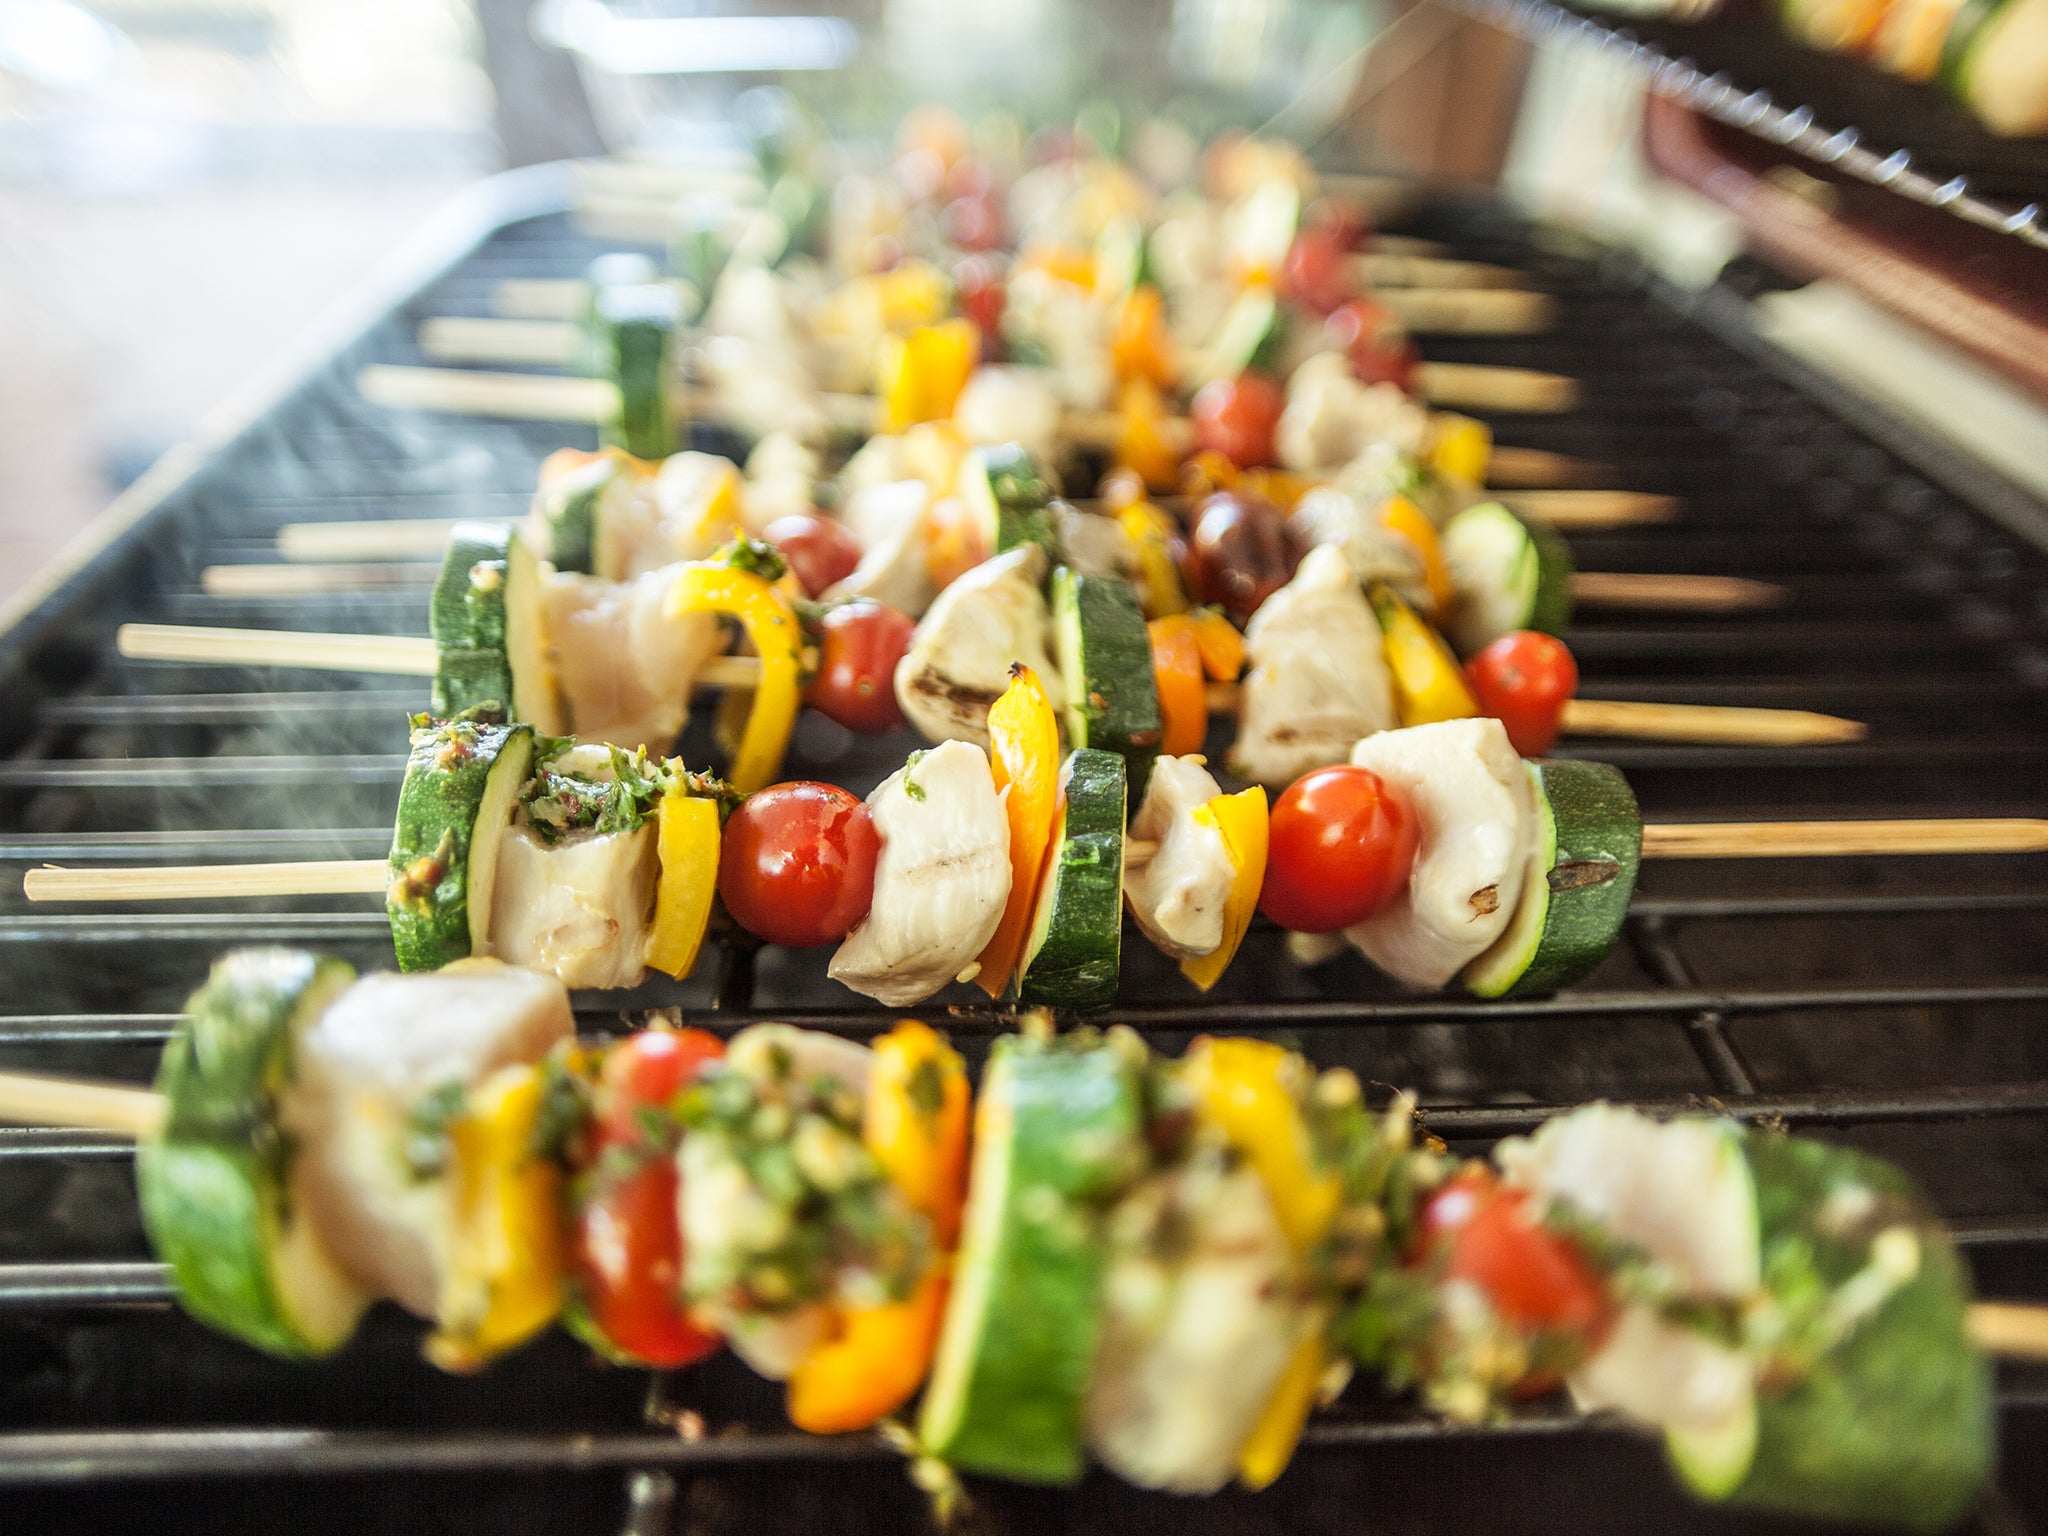
Your support makes all the difference.Barbecue season is upon us, and so are the vegetables. When it comes to cooking summer’s bounty, it is hard to surpass an open fire. Grilling maximises a vegetable’s flavour, with minimal effort and a decided measure of showmanship. No one gathers around a stove to watch you boil or steam broccoli. But sear that broccoli over a hot fire on the grill, and you both become stars of the show.
The ultimate reason to grill vegetables is taste: fire almost always makes them taste better. The high, dry heat of the grill caramelises a vegetable’s sugars, intensifying its sweetness. Grilling imparts a subtle but inimitable smoke flavour, which adds complexity and soulfulness to a vegetable’s already vibrant taste.
But which vegetable and what is the best way to grill it? Here, the story becomes a bit more complicated – just a bit – because while virtually every vegetable can be grilled, not all should be cooked the same way.
The key to grilling virtually any vegetable is the mastery of two basic methods and a couple of easy, although specialised, techniques.
Direct grilling
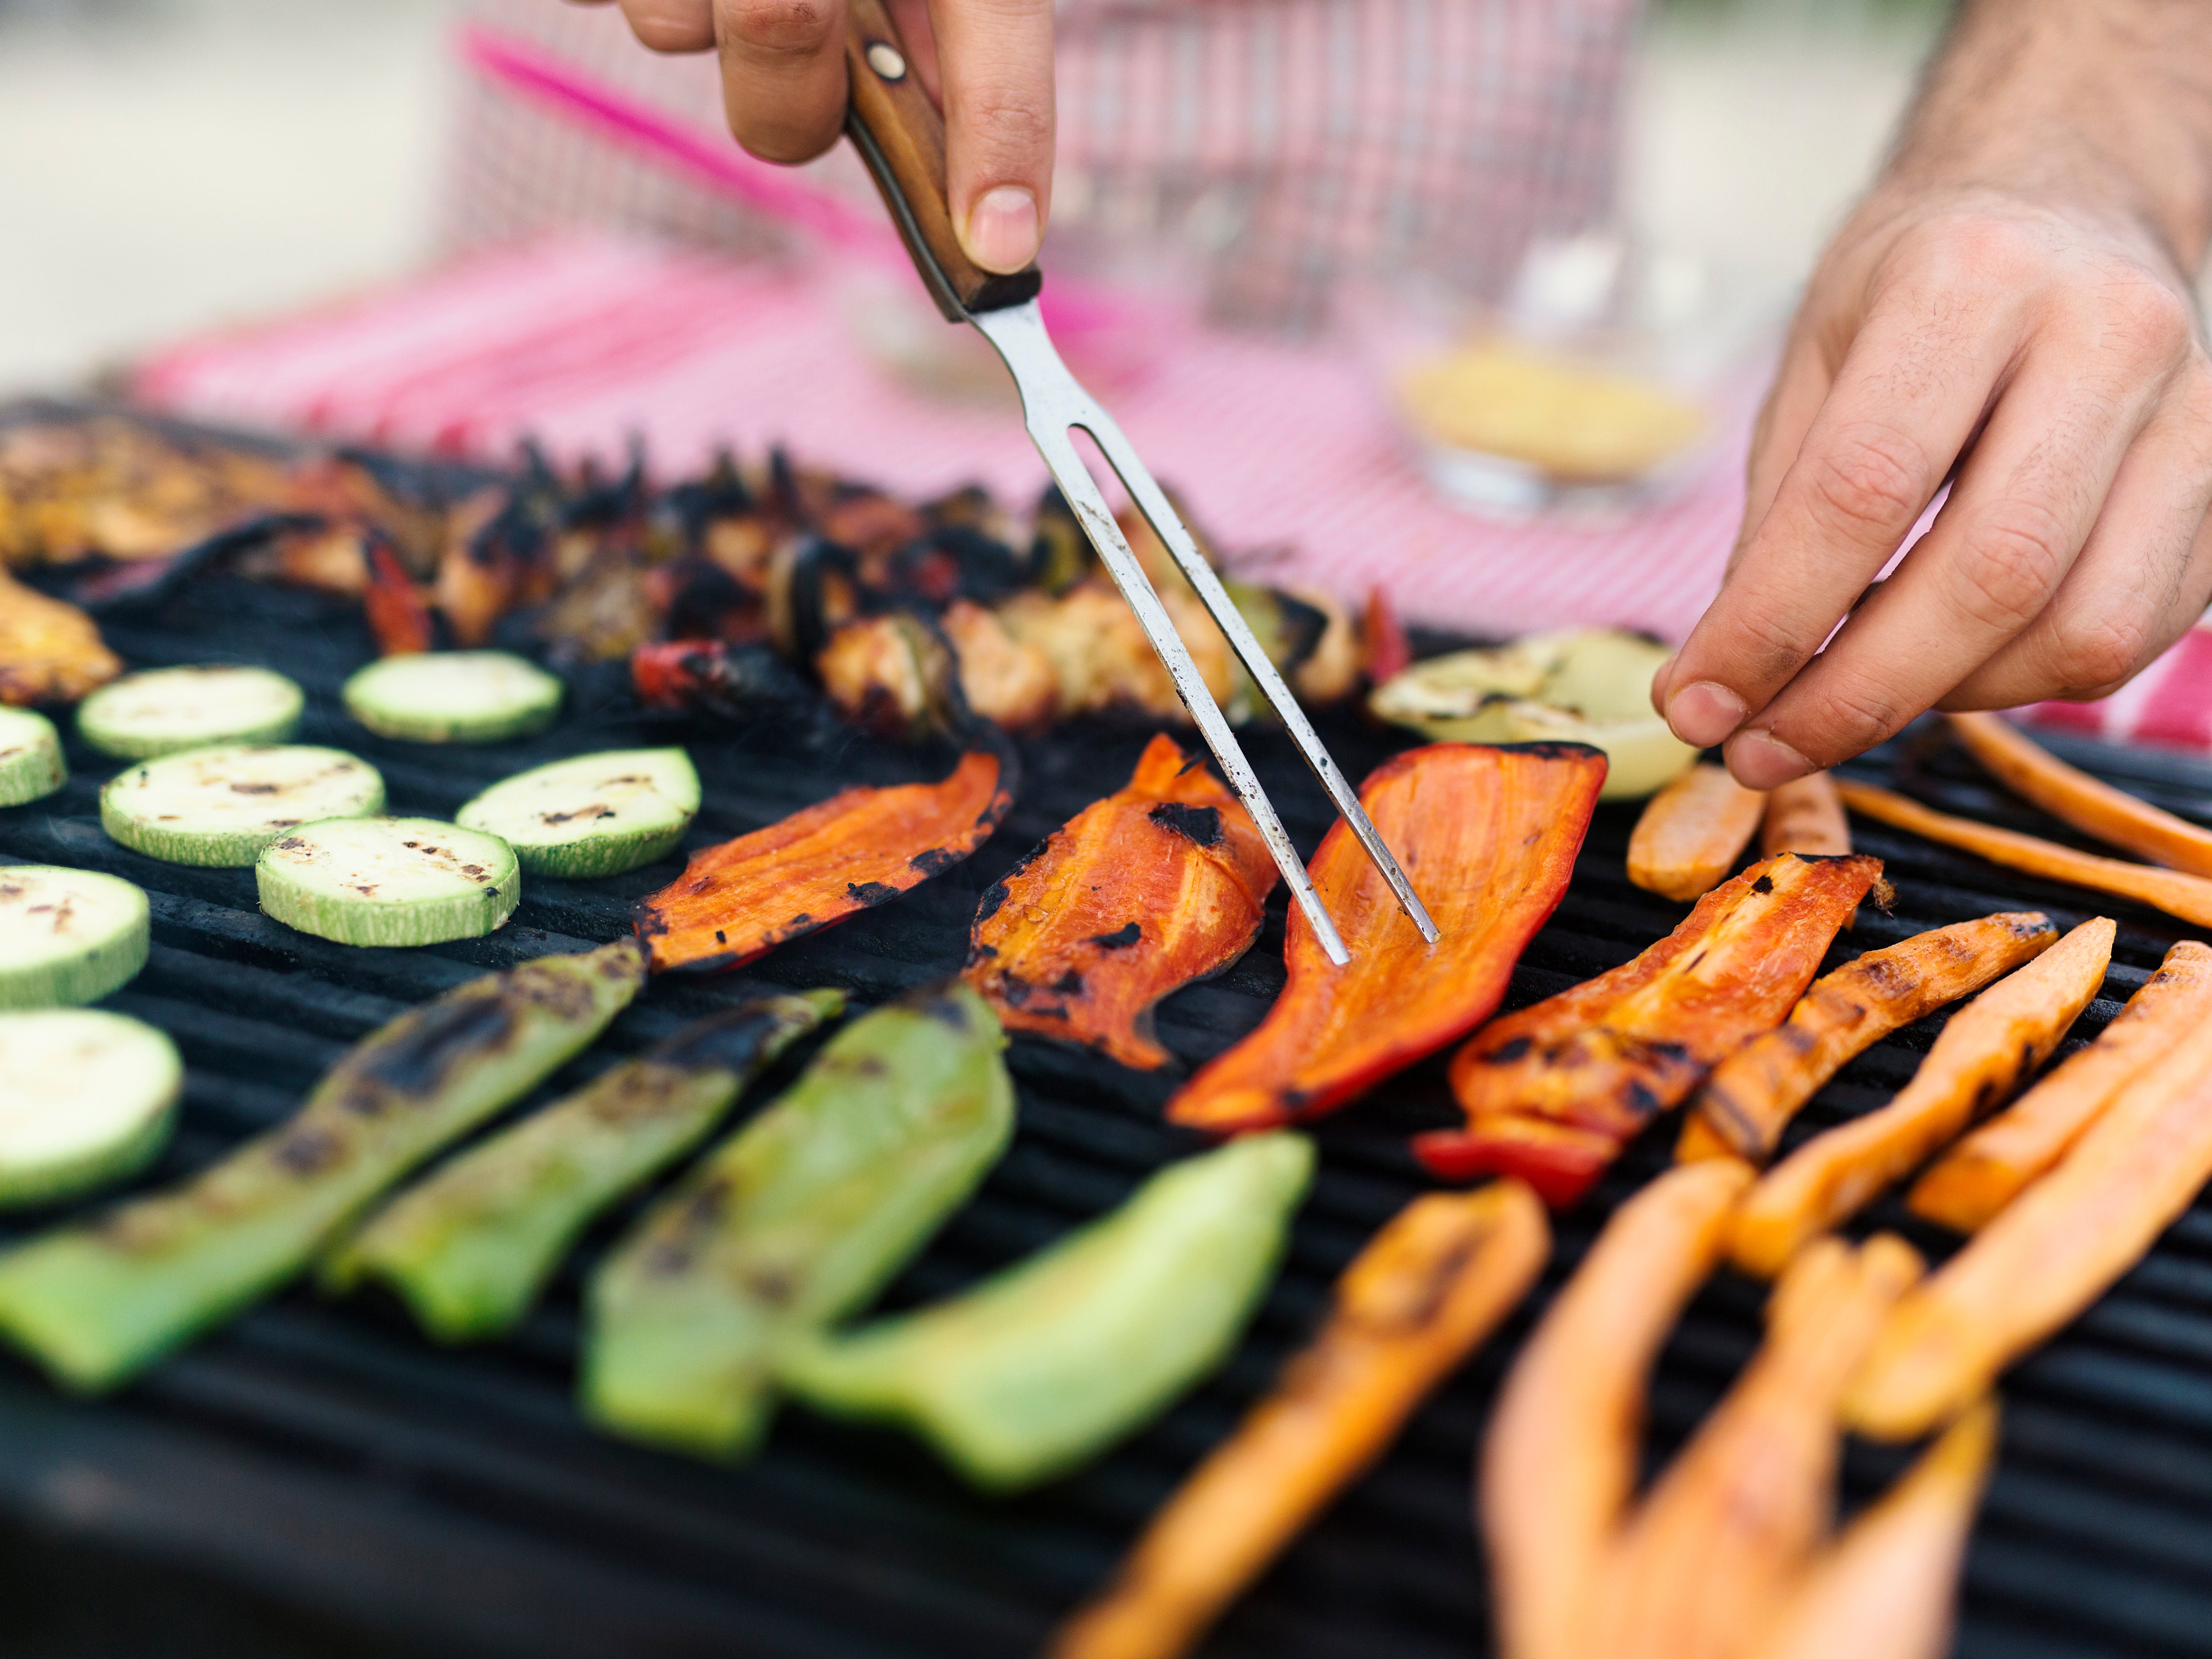
This is most of what the world means by grilling, and as the name suggests, it involves cooking your vegetables directly over a fire. Use this method for grilling soft, moist vegetables, like courgette and mushrooms; leafy ones, like pak choi and kale; slender stalks, such as asparagus and Tenderstem broccoli; and sliced ones, from aubergine to onions. Keep the fire hot – 230C to 315C – and the grilling time brief – 2 to 4 minutes per side.
To set up a charcoal grill for direct grilling, light your charcoal (I prefer lump) in a chimney starter, then rake the glowing coals across the bottom of your grill, mounded more thickly at the back (your hot or searing zone), more thinly in the centre (your medium or cooking zone), leaving the front third of your grill coal free (your cool or safety zone, where you can dodge flare-ups and keep cooked vegetables warm for serving). This is called a tiered, or multizone, fire; you control the cooking by moving the vegetable toward or away from the hot zone.
On a gas grill, set one or two burners on high, one or two burners on medium, and leave one or two burners off for your safety zone. Adjust the top and bottom vents on a kamado-style cooker to obtain a temperature of 230C to 315C. Owners of the pellet grill should follow the manufacturer’s instructions.
Moist vegetables
Avocados, bell peppers, corn, leeks, mushrooms, summer squash, tomatoes and courgette.
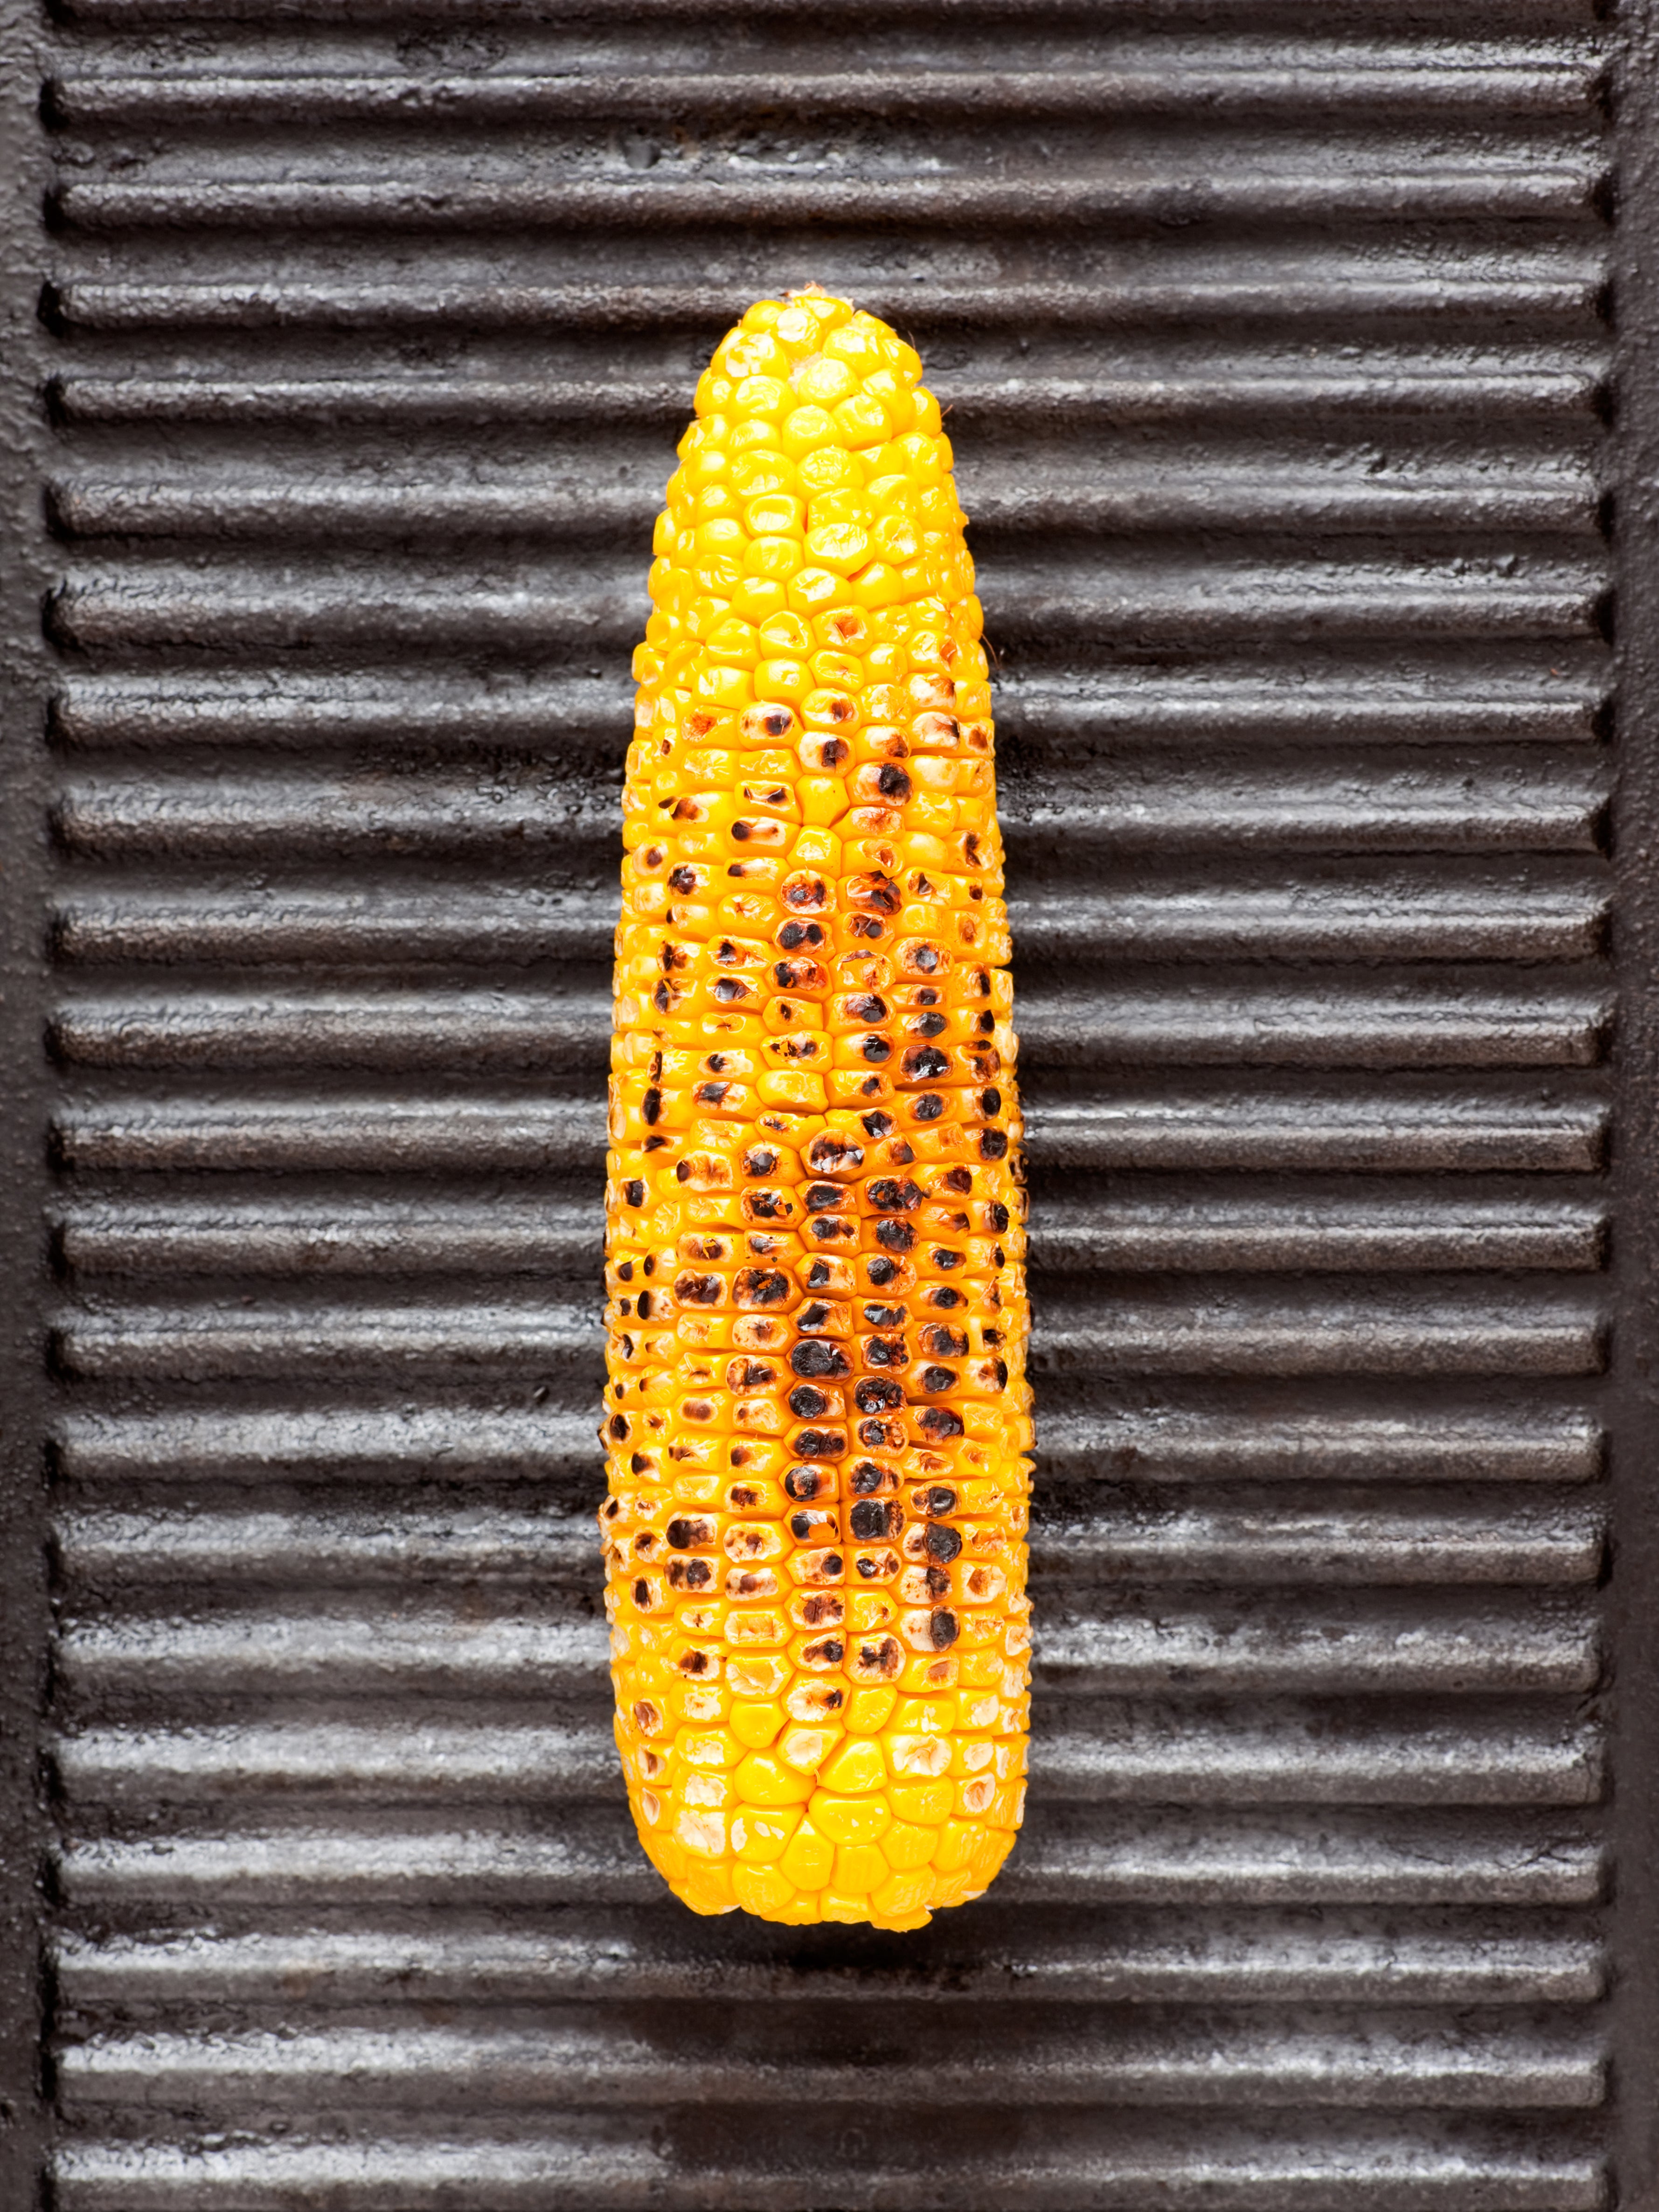
Cut thicker vegetables, like avocados (botanically speaking, a fruit, but treated as a vegetable) and courgette in half lengthwise; leave thinner vegetables whole. When grilling corn, remove the husk and silk (lest the corn steam, not grill). Brush with olive oil or melted butter, season with coarse salt and freshly ground black pepper, and grill until darkly browned on all sides.
Leafy greens
Kale, chard, pak choi and sturdy lettuces like iceberg and romaine.
Brush flat leaves with extra-virgin olive oil or sesame oil, season well with salt and freshly ground black pepper, dust with minced garlic or sesame seeds, and direct grill over medium-high heat until browned and crisp. Larger leafy vegetables, such as pak choi, Swiss chard and head lettuce, should be halved or quartered lengthwise, oiled, seasoned and charred over a hot fire. When grilling lettuce, work quickly: you want to singe the outside leaves while leaving the centre cool and crisp.
Slender vegetables
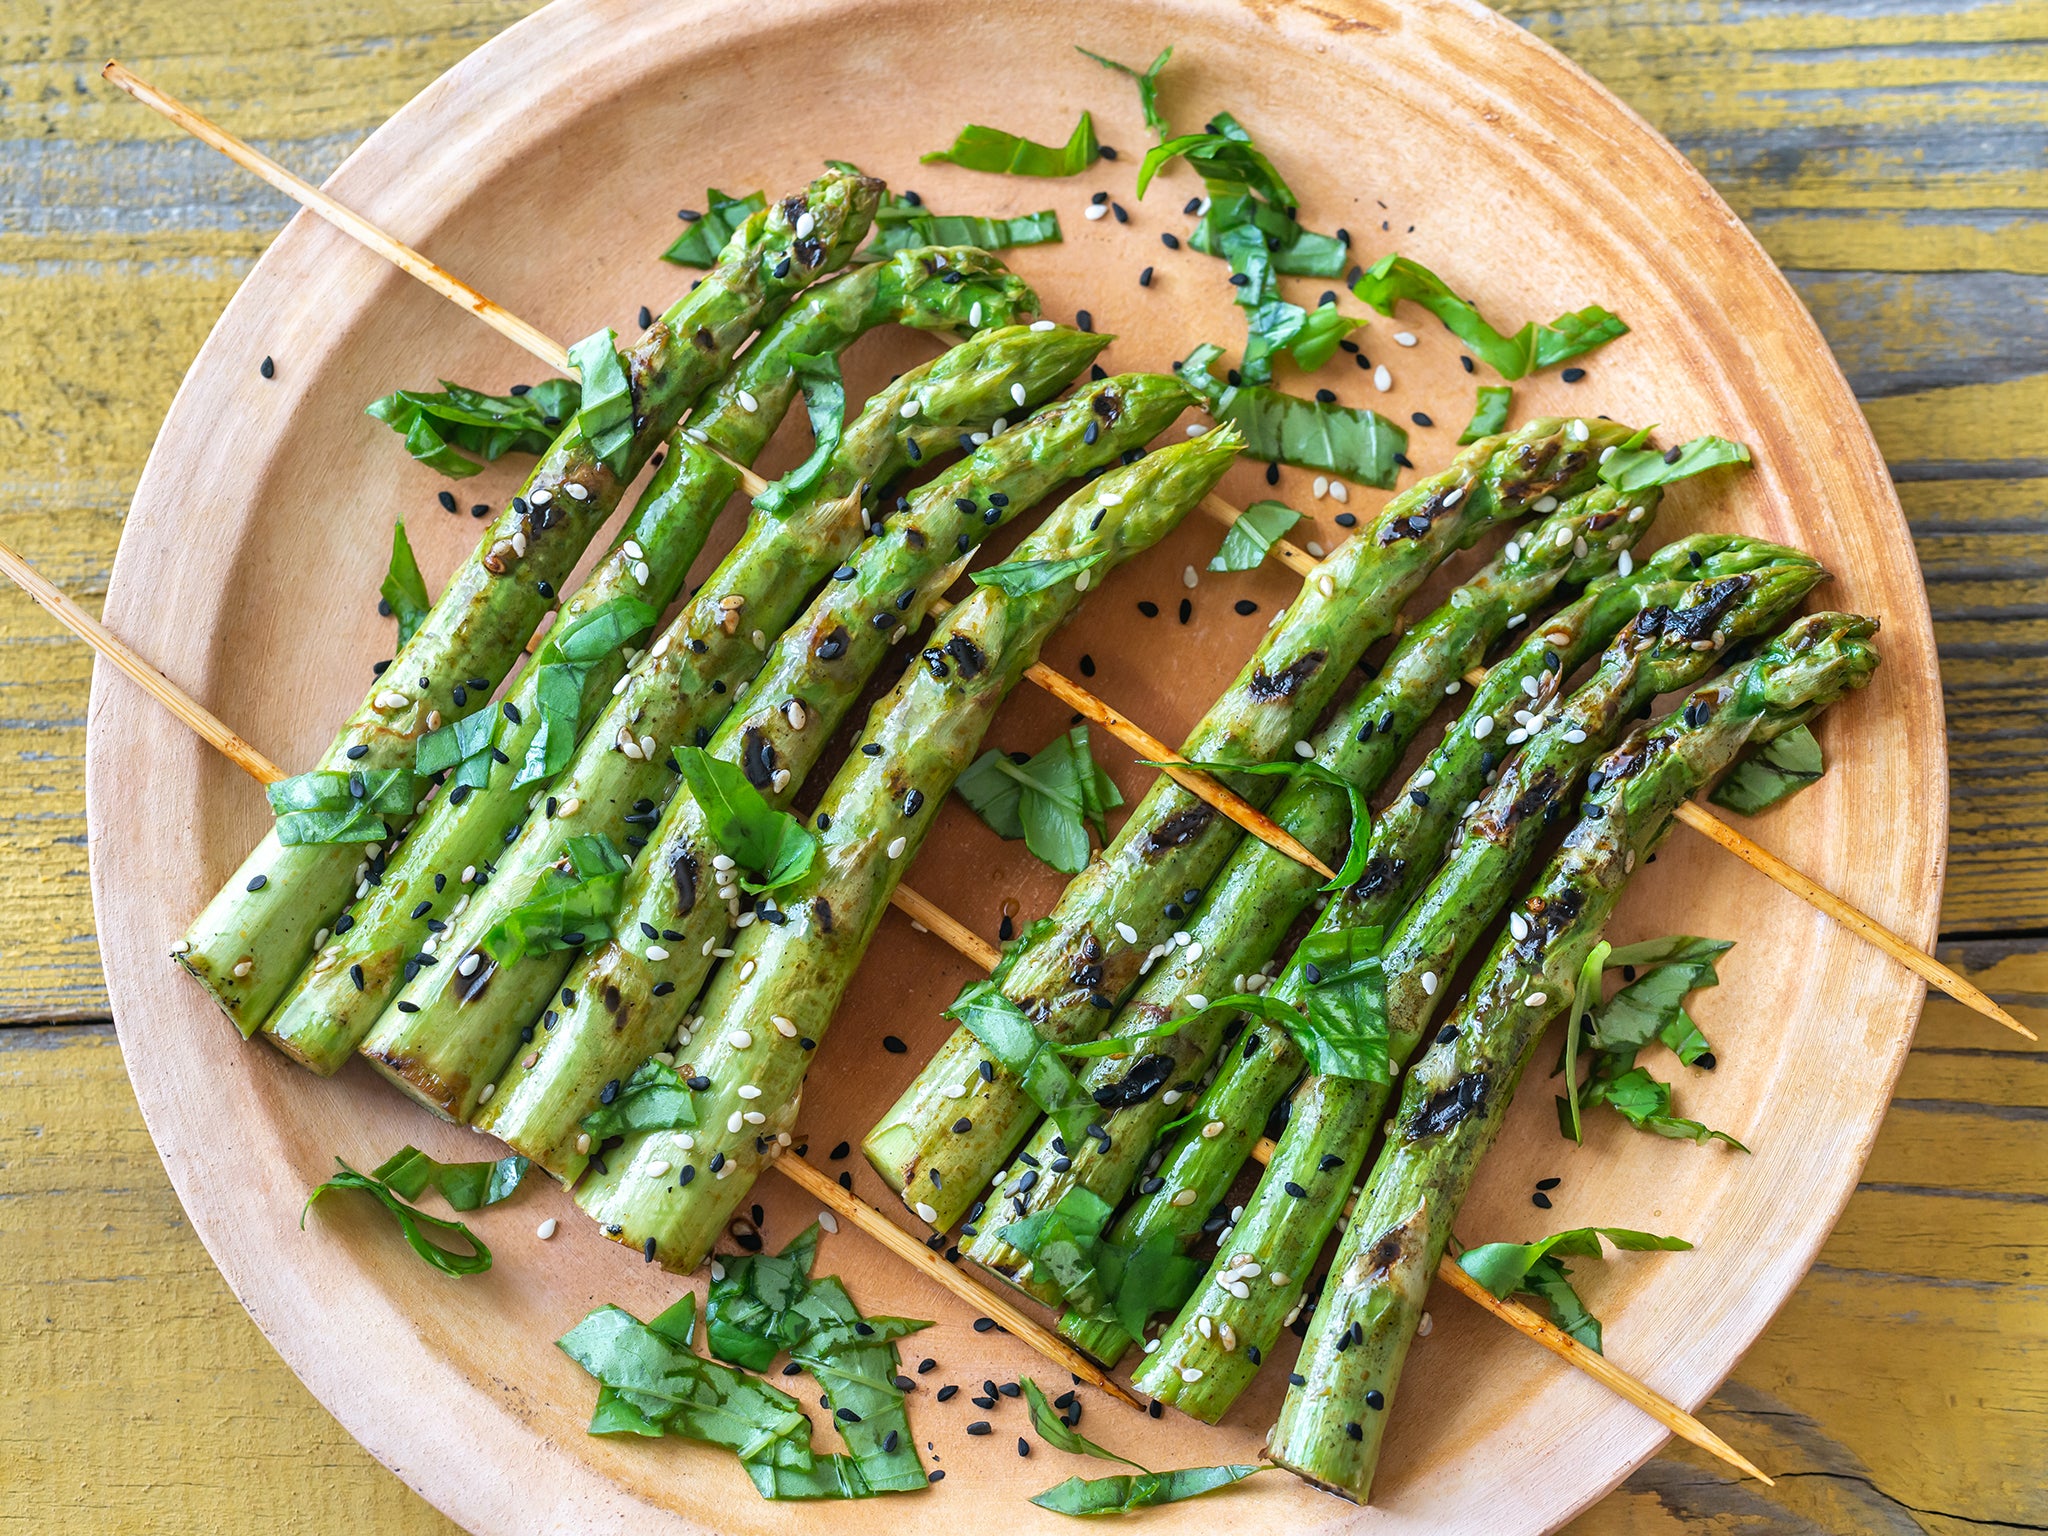
Asparagus, green beans, spring onions, snap peas and okra.
A raft technique popular in Japan ensures these will not fall through the grates. Lay four or five asparagus stalks (fibrous stem ends snapped off), whole okra pods, snap peas, and the like, side by side and pin them crosswise at the top and bottom with toothpicks to make rafts. Brush with sesame or another oil, season with salt and pepper, or your favorite barbecue or Cajun rub (the latter goes great on okra), and direct grill until darkly browned and tender. Check doneness by squeezing between your thumb and forefinger: asparagus or okra should be gently yielding. Tenderstem broccoli, which is terrific direct grilled, does not need to be rafted.
Sliced vegetables
Broccoli, onions, aubergine, fennel and sweet potatoes.
Cut crosswise on a diagonal into 1/2-inch-thick slices (broccoli should be cut into florets; pin onion slices with toothpicks to keep them from falling apart). Brush with extra-virgin olive oil or melted butter, season well with salt and pepper, sprinkle with chopped fresh or dried herbs (mint is killer) and direct grill until browned and tender. An additional drizzle of olive oil before serving amps up the flavour even more.
Parboiled vegetables
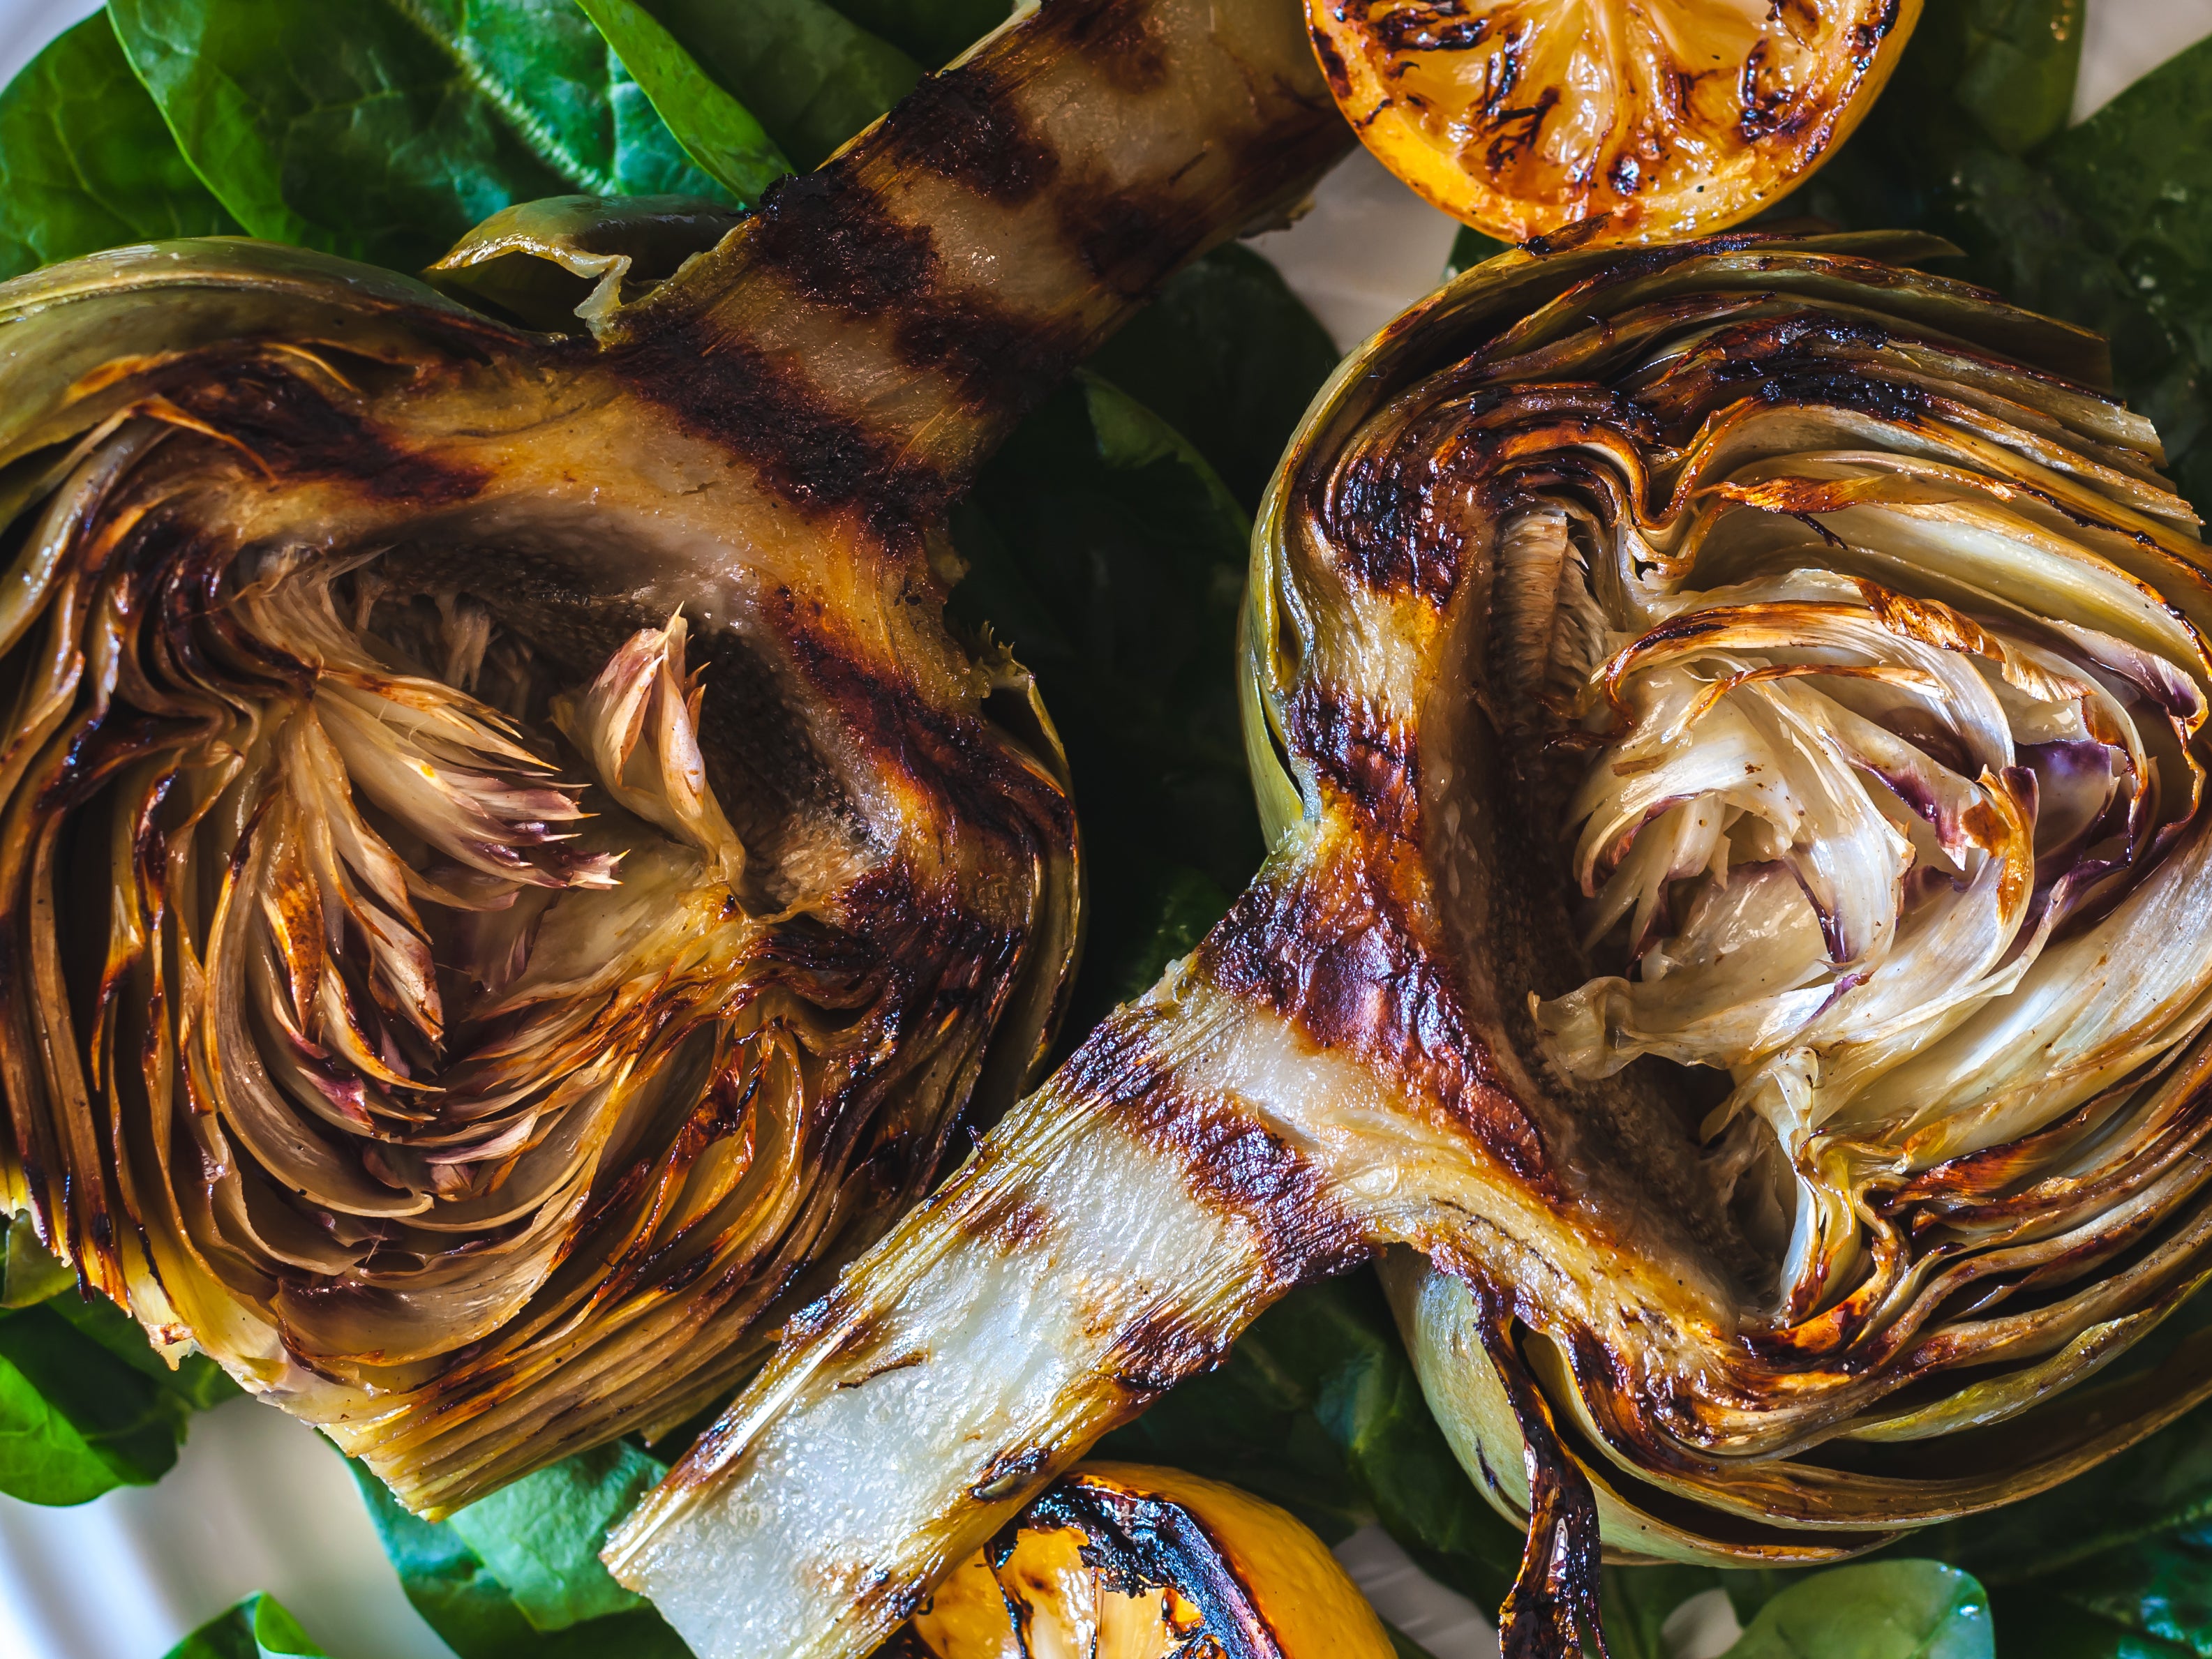
Beets and artichokes.
With meat (especially ribs), barbecue pros discourage parboiling, but with hard or fibrous vegetables, like beets and artichokes, a plunge in salted boiling water works wonders. Boil beets whole (until tender enough to pierce with a skewer – 20 to 30 minutes), then cool and slice for grilling. With artichokes, trim the spines off the leaves and cut in half lengthwise, then boil until almost tender (6 to 10 minutes). Scoop out the thistly “choke” with a spoon, brush the artichoke with extra-virgin olive oil and grill over a screaming hot fire until browned on all sides. If you do this right, the leaves become crackling crisp.
Indirect grilling
So, how do you grill large, firm or dense vegetables that take more time to cook, such as acorn squash, potatoes (baking or sweet) or whole cauliflower? With indirect grilling, a method in which you cook the vegetable next to, not directly over the fire, with the grill lid closed to capture the heat. (Added benefit: you can add hardwood chips or chunks to the fire to generate wood smoke.) Indirect grilling is generally done at medium to medium-high heat (170C to 200C) and for the following vegetables takes 40 to 60 minutes.
To set up a charcoal grill for indirect grilling, light the coals in a chimney, then rake the hot coals into two piles at opposite sides of the grill with a foil drip pan between them. The vegetable is indirect grilled in the center over the drip pan.
On a gas grill, light the outside or front and rear burners and do your indirect grilling over the unlit burner or burners in the centre.
On a kamado-style cooker, insert the heat diffuser plate – ceramic in most models, metal in some – to block direct exposure to the fire. The pellet grill set up is, by default, indirect.
Winter squash
Acorn, butternut and other dense squash.
Cut in half (cut acorn widthwise; butternut lengthwise) and scoop out the seeds. Generously brush the cut sides with melted butter, season well and indirect grill at medium heat (170C) until tender. Use a slender metal skewer to test for doneness. A drizzle of maple syrup or honey is always welcome. So is a stuffing made with sautéed shallots or leeks, raisins, nuts, and grated cheese.
Tubers
Potatoes, yams and sweet potatoes.
Scrub well and dry, then pierce in a few places with a fork. Brush the outside with oil, melted butter, or bacon or duck fat. Season generously and indirect grill at medium-high heat (200C) until the skins are crisp and the centres soft and creamy (test with a skewer).
Root Vegetables
Carrots, parsnips and sunchokes.
Scrub well (no need to peel) and dry, then place in a cast iron frying pan or aluminum foil pan with butter or olive oil, or both; a half-dozen unpeeled garlic cloves or halved shallots; fresh herbs, if desired; and, of course, salt and pepper, or your favorite barbecue rub. Indirect grill at 200C until sizzling, browned and tender, stirring every 5 to 8 minutes, about 40 minutes in all. I call this technique pan-grilling, and the last five minutes or so, I like to move the pan directly over the heat to further brown and crisp the veggies. Note: you can grill carrots whole or cut into 5cm pieces (cut other root vegetables into 2.5 chunks).
Firm Brassicas
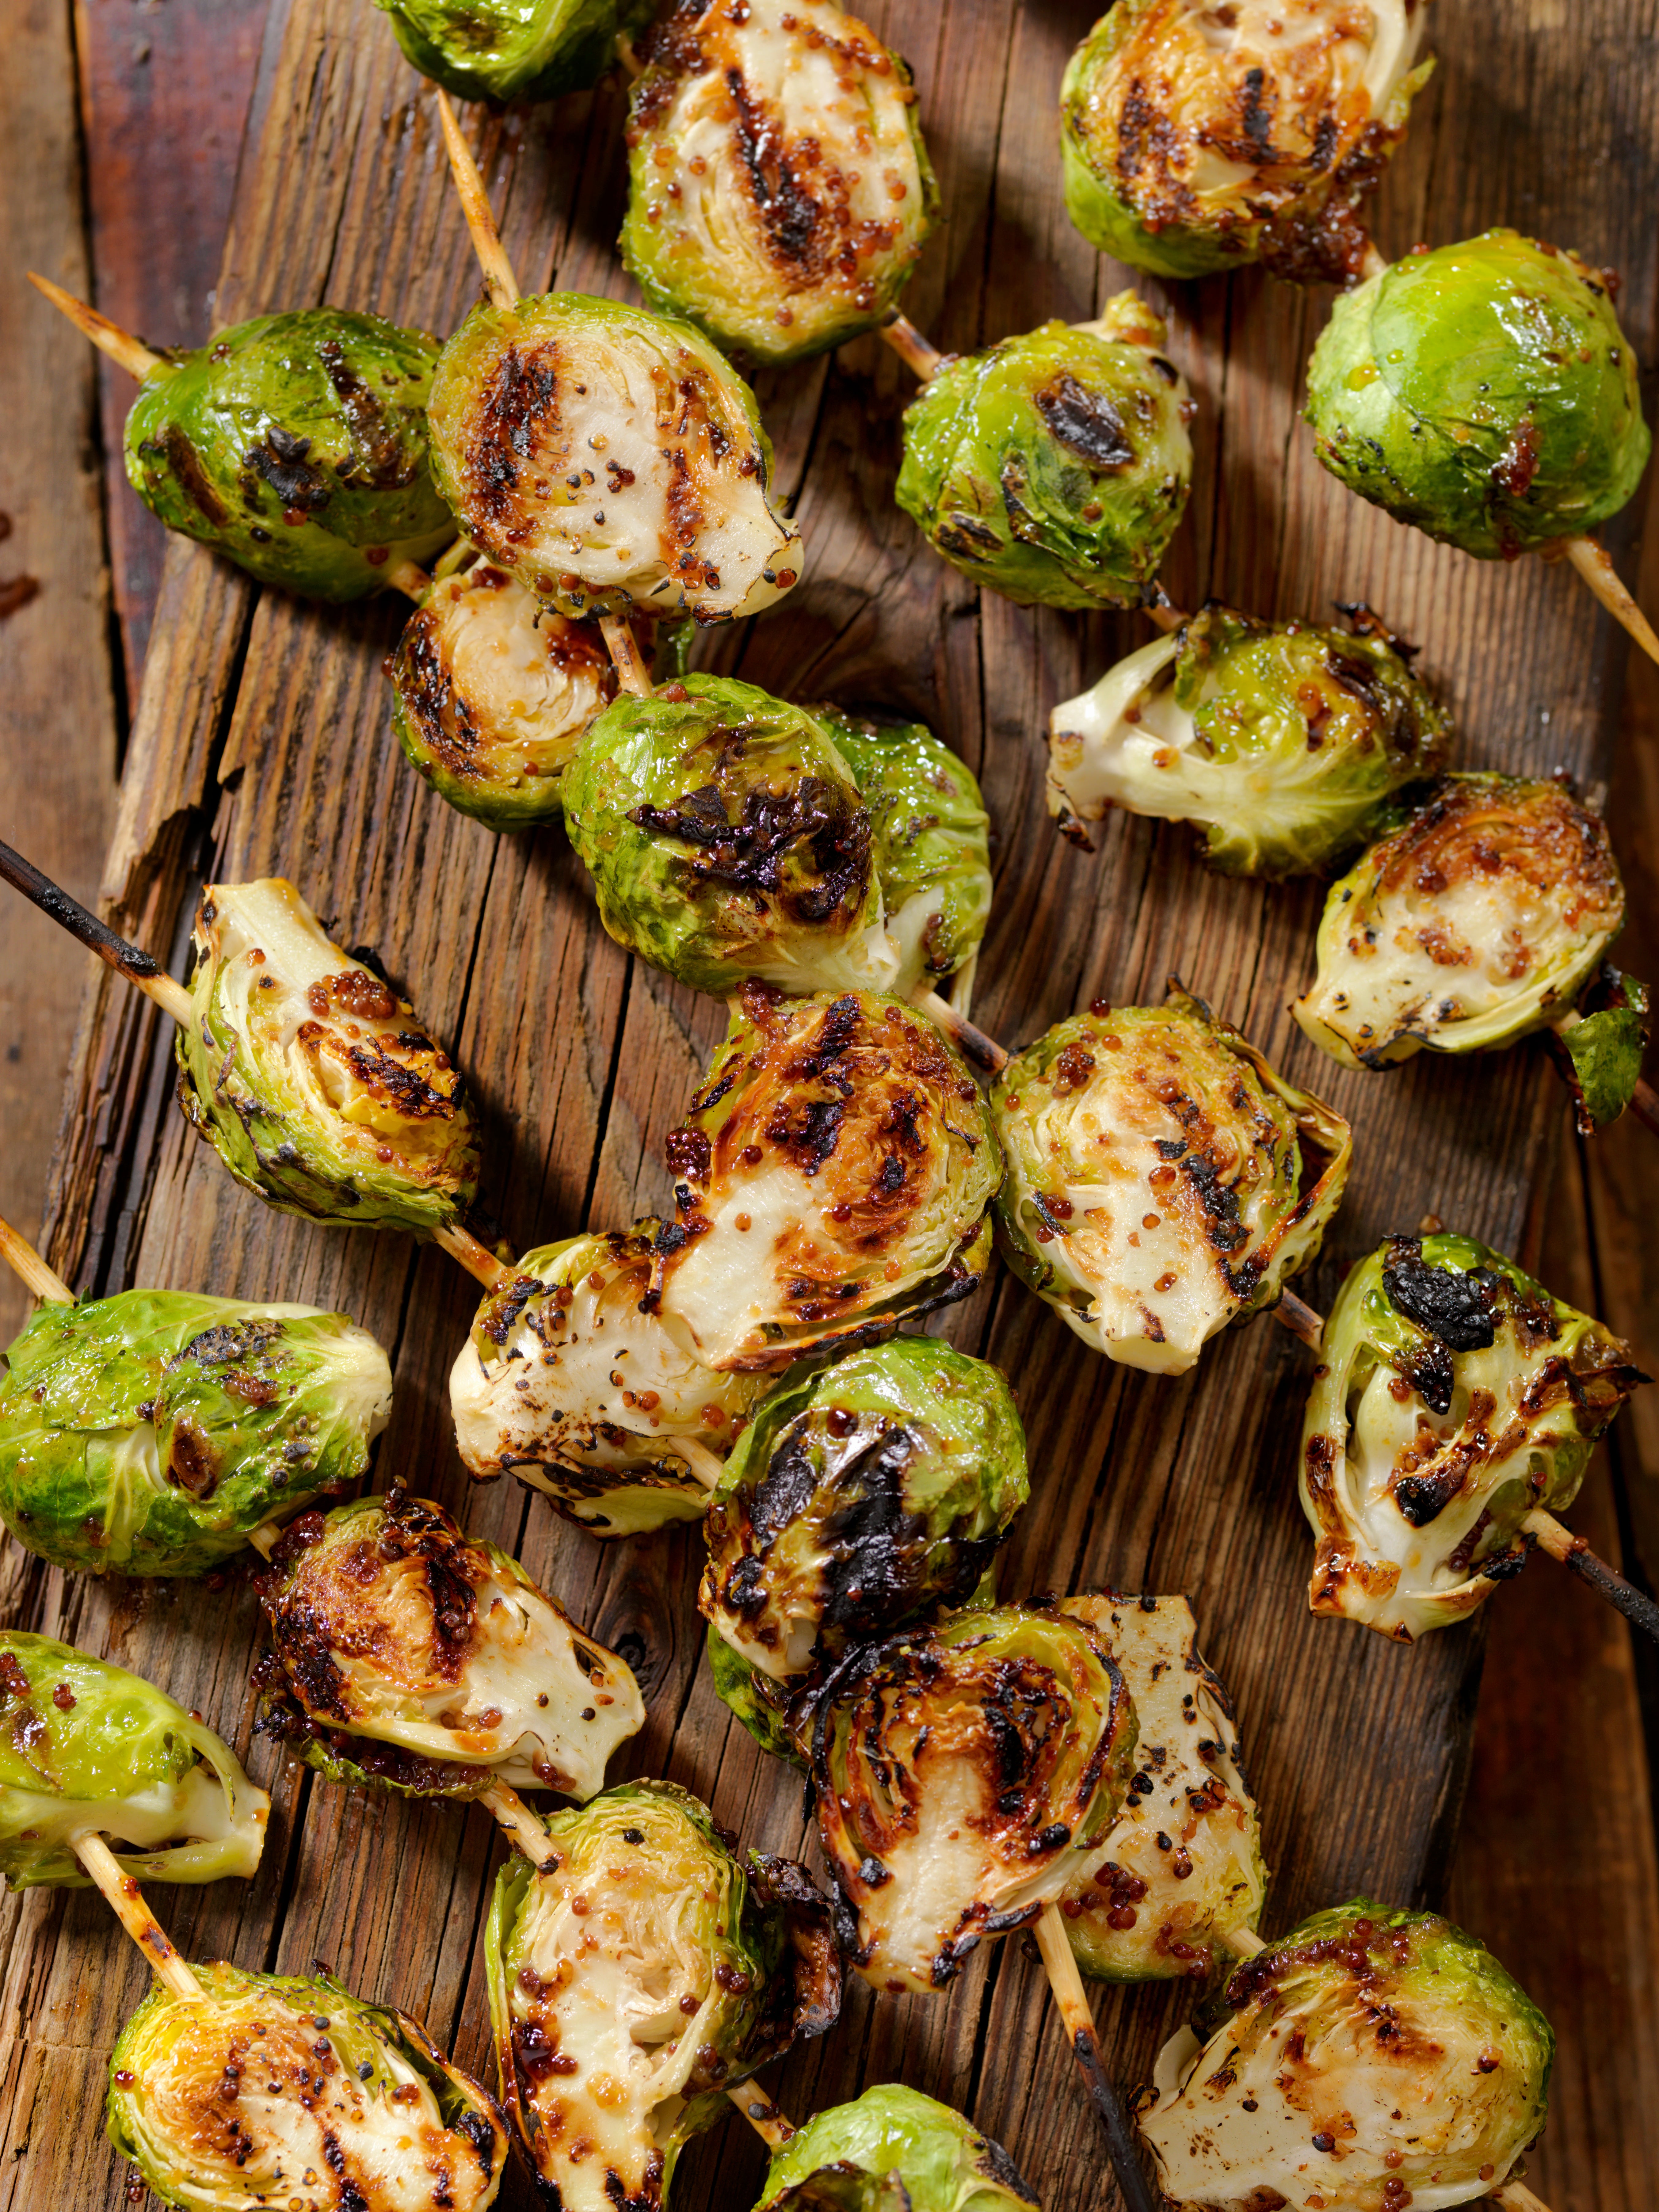
Brussels sprouts, cabbage, cauliflower, kohlrabi and romanesco.
Cut brussels sprouts in half; cabbage, kohlrabi, and romanesco in quarters, and indirect grill in cast iron or a foil pan as described above. Stir every 5 to 8 minutes so the pieces brown evenly. I like to think of whole cauliflower as the pork shoulder of the vegetable kingdom (eg, a roast): parboil in salted water for 8 minutes, then drain, brush with butter or oil, and indirect grill directly on the grate until browned and tender.
Techniques
Smoking
Tomatoes and avocados.
When indirect grilling, you can add hardwood chunks or chips (soak the latter in water for 30 minutes, then drain, to slow combustion) to the fire to produce a flavour indispensable to true barbecue: wood smoke. Smoking works particularly well for moist vegetables, such as tomatoes and avocados. Cut in half, season well, and indirect grill next to your wood-enhanced fire until the vegetable is lightly bronzed with smoke (8 to 12 minutes). Until you have experienced a smoked tomato gazpacho or smoked guacamole, you have not fully feasted.
Ember grilling
Aubergine, bell peppers and onions.
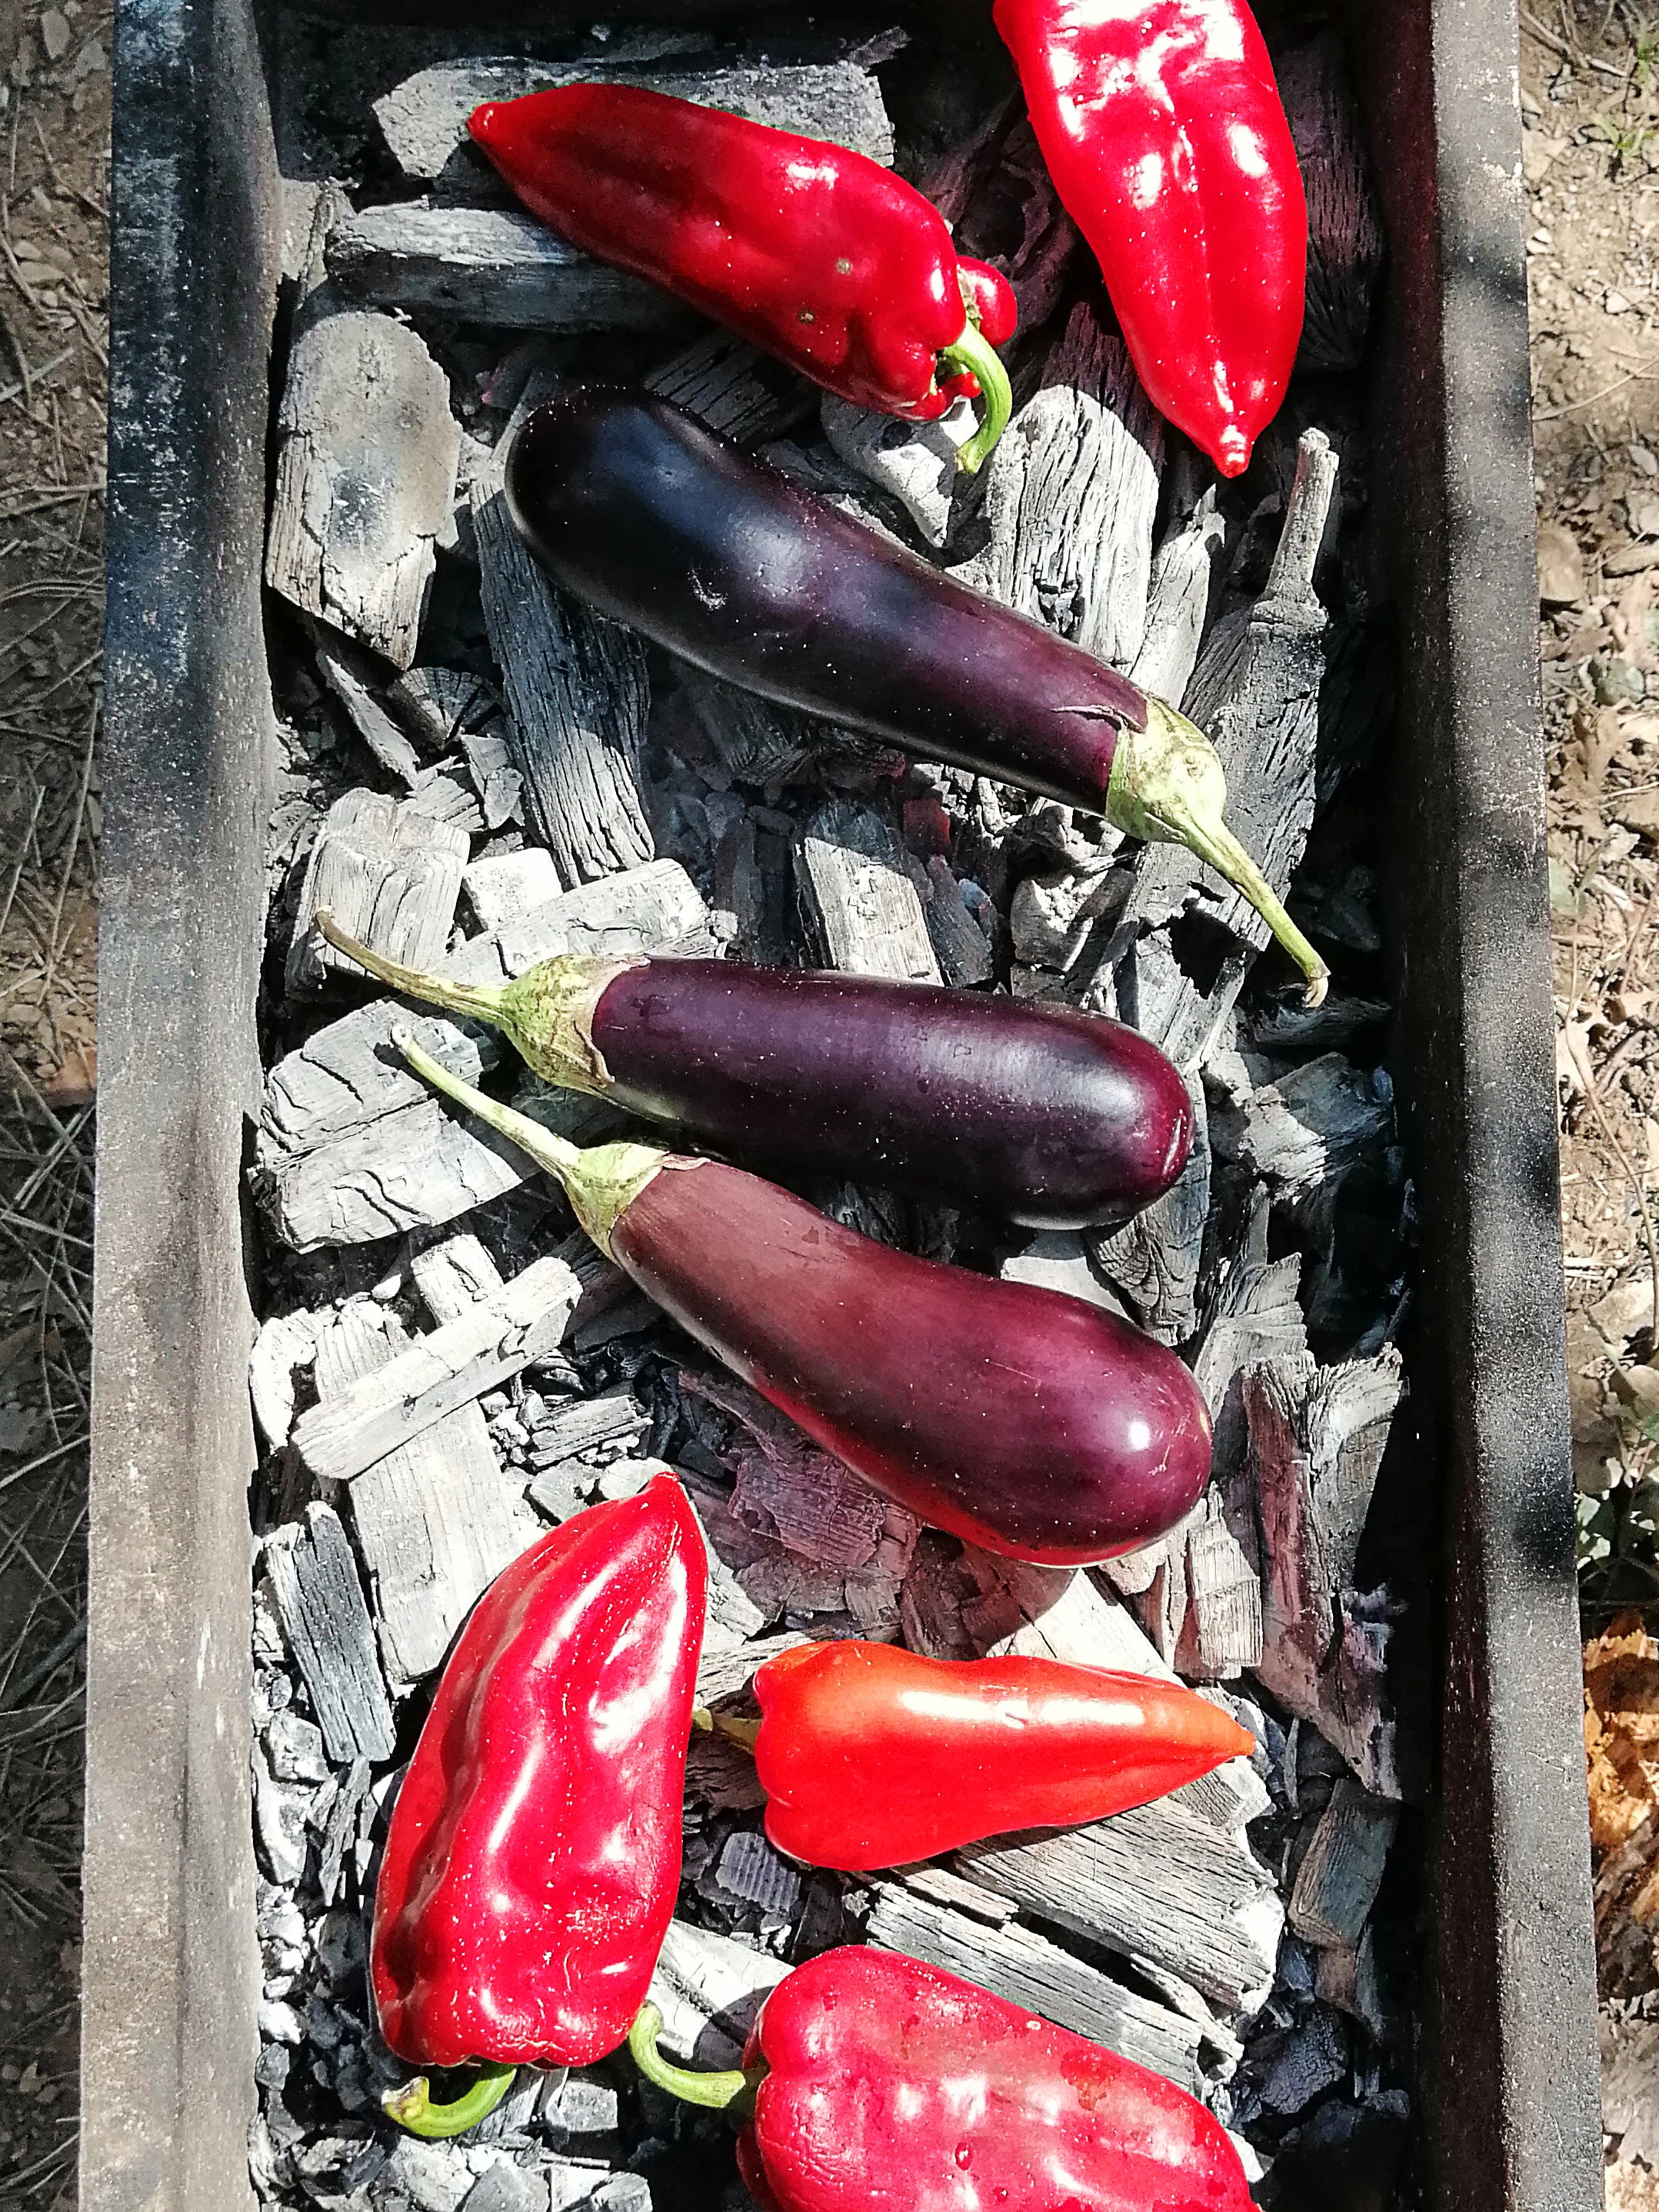
Ember grilling is probably the world’s oldest vegetable grilling technique and it is well-suited to people who are prone to burning their food on the grill. When grilling on embers, you not only can burn your vegetables, but you should. The charred skins impart a haunting smoke flavour. The best vegetables for the ember treatment are aubergines, bell peppers and onions.
Start with a charcoal or wood fire and rake the embers into an even layer. Lay the aubergines, peppers or onions directly on the coals and grill until charred pitch black on the outside and tender inside (test with a slender metal skewer), 3 to 5 minutes per side, turning four times with long-handled tongs. Transfer to a metal sheet pan to cool, then scrape off the charred skins with a paring knife.
Turn that smoked aubergine into the world’s best baba ganoush (purée in a food processor with garlic, olive oil, lemon juice, tahini, salt and pepper). Seed and sliver the peppers and drizzle with oil, vinegar and chopped fresh herbs to serve as a salad. Cut the onion in half and lavish it with butter and balsamic vinegar. Or chop all three ember-roasted vegetables to make an Armenian-style salad, which you season with olive oil, lemon juice, minced garlic and parsley, and an optional but most welcomed dollop of tahini.
Recipes
Grilled corn with sesame-soy butter
Makes: 4 servings
Total time: 20 minutes, plus preparing the grill
Ingredients
For the sesame soy butter:
3 tbsp unsalted butter
2 tbsp toasted sesame oil
1 tbsp soy sauce
1 tbsp mirin or honey
Freshly ground black pepper
For the corn:
Vegetable oil, for the grill grates
4 ears corn in husks
2 tbsp black sesame seeds or toasted white sesame seeds
1 tbsp minced fresh chives or spring onion greens
Method
1. Make the sesame soy butter: melt the butter in a small saucepan over low heat. Whisk in the sesame oil, soy sauce, mirin and several grinds of pepper until well-blended. Remove from the heat and reserve.
2. Set up your grill for direct grilling and heat to high (230Cto 315C). Brush or scrape the grill grate clean and oil it with a tightly folded paper towel dipped in oil and drawn across the grate with tongs. Fold a 30cm-by-45cm sheet of aluminum foil in thirds like a business letter to make a grill shield.
3. Meanwhile, cut the tapered end off one ear of corn. Pull the husk back over the stem end as if peeling a banana to expose the kernels. Rotate the corn as you peel it and gather the husks together below the stem. Tightly tie the husks with butcher’s string or a strip of corn husk to form a handle. Discard the silks. Repeat with the remaining corn. Breathe a sigh of relief: the hard part is over. Brush each ear of corn on all sides with some of the sesame-soy butter.
4. Arrange the corn on the grate, sliding the folded aluminum foil grill shield under the husks to keep them from burning. Grill the corn, turning the ears so they roast evenly and basting the corn with some sesame-soy butter, until darkly browned all over, about 3 minutes per side. (If you are using a gas grill, close the cover while grilling.)
5. Transfer the corn to a platter. Brush one final time with any remaining sesame-soy butter. Sprinkle the corn on all sides with sesame seeds and chives.
Grilled okra with cajun remoulade
Makes: 6 servings
Total time: 20 minutes, plus preparing the grill
Ingredients
Vegetable oil, for the grill grates
450g okra (small pods are the most tender)
3 tbsp melted butter or extra-virgin olive oil
Cajun or Creole seasoning or blackening spice mixture, for sprinkling
For the Cajun remoulade:
¾ cup mayonnaise
3 tbsp Creole or Dijon mustard
1 tbsp prepared horseradish
1 tbsp pickle juice (optional)
1 tsp Tabasco or other hot sauce, or to taste
1 tsp smoked paprika
1 tsp Cajun seasoning
1 tbsp chopped fresh chives
Method
1. Set up your grill for direct grilling and heat your grill to high (230C to 315C). Brush or scrape the grill grate clean and oil it with a tightly folded paper towel dipped in vegetable oil and drawn across the bars of the grate with tongs.
2. Meanwhile, trim the ends off the stems of the okra, but do not cut into the pods. Lay 4 to 6 okra pods side by side, alternating the positions of the heads and tails. Pin crosswise near the heads and tails with toothpicks or short metal or bamboo skewers to form rafts. If the bamboo skewers extend far beyond the okra, snip off the long ends of the skewers. Brush the okra rafts on both sides with melted butter and sprinkle with Cajun seasoning.
3. Make the remoulade sauce: place the mayonnaise in a mixing bowl and whisk in the mustard, horseradish, pickle juice (if using), hot sauce, smoked paprika, Cajun seasoning and chives. Transfer to 4 small serving bowls.
4. Arrange the okra rafts on the grate and grill (covered if you are using a gas grill), basting with any remaining butter and turning with tongs, until well browned on both sides, 2 to 4 minutes per side.
5. Transfer the okra to a platter or plates. Have each eater remove and discard the skewers and pick up the grilled okra with their fingers to dip in the remoulade sauce.
Grilled courgette ribbons
Makes: 6 servings
Total time: 1 hour, plus preparing the grill
Ingredients
Vegetable oil, for the grill grates
8 tbsp (1 stick) unsalted butter or extra-virgin olive oil
1 garlic clove, minced
3 tbsp barbecue rub or spice mix
1 tsp finely grated lemon zest
6 medium-small courgette
Salt
Method
1. Set up your grill for direct grilling and heat to high (230C to 315C). Brush or scrape the grill grate clean and oil it with a tightly folded paper towel dipped in vegetable oil and drawn across the bars of the grate with tongs. If using bamboo skewers, soak in cold water.
2. Meanwhile, melt the butter in a small saucepan over medium-low heat. Add the garlic, 1 tablespoon barbecue rub and lemon zest, and cook, stirring frequently, until the garlic is softened and fragrant, about 3 minutes. Remove the pan from the heat and let cool.
3. Cut off and discard the ends of the courgette. Using a mandoline outfitted with a finger guard, thinly slice one courgette lengthwise into slices scant 3mm thick. You can also use a chef’s knife to cut slices lengthwise just shy of 3mm thick. (Try folding your first or second strip. If it breaks at the fold, it means it’s too thick.) Lay the slices flat on a sheet pan. Lightly brush the tops with enough barbecue butter to lightly coat and lightly sprinkle with some of the remaining 2 tablespoons barbecue rub.
4. Fold a courgette slice into an accordion shape (like multiple Ws) and thread it onto a metal or soaked bamboo skewer. Continue threading until all the slices from the courgette are on the skewer. Slice, brush, season and skewer the remaining courgette the same way. You should wind up with 6 skewers.
5. Arrange the courgette kebabs, skin sides down, on the grate. Grill (covered if using a gas grill), basting with any remaining barbecue butter and turning to evenly brown, until singed at some of the edges, 1 to 2 minutes per side (4 to 8 minutes in all). Season with salt if needed and serve.
© The New York Times
Join our commenting forum
Join thought-provoking conversations, follow other Independent readers and see their replies
Comments