Great British Bake Off: Top tips and recipes for making bread
The secret is to give yourself time - and you don't need a break maker
.jpg)
Your support helps us to tell the story
From reproductive rights to climate change to Big Tech, The Independent is on the ground when the story is developing. Whether it's investigating the financials of Elon Musk's pro-Trump PAC or producing our latest documentary, 'The A Word', which shines a light on the American women fighting for reproductive rights, we know how important it is to parse out the facts from the messaging.
At such a critical moment in US history, we need reporters on the ground. Your donation allows us to keep sending journalists to speak to both sides of the story.
The Independent is trusted by Americans across the entire political spectrum. And unlike many other quality news outlets, we choose not to lock Americans out of our reporting and analysis with paywalls. We believe quality journalism should be available to everyone, paid for by those who can afford it.
Your support makes all the difference.Bake Off has evolved in the two years since my brief appearance. The carpet is an even less invasive shade of beige and Mary Berry now has her face honed so she can break a contestant with the pithiest glance. The contestants are better than last year’s and in a different league to us of historical note. Thankfully though, we got in there before the saturation of baking publishing.
Some things stay constant though, and one of them is bread. The challenges change, but the significance of this specific week cannot be understated. If someone were to do some kind of statistical analysis, they would find that the bread week is the biggest predictor of reaching the final, nay winning the whole thing. Probably, because I haven’t done one. Edd (winner) in series 1, Jo (winner) in Series 2, John (winner) in Series 3 and Ruby (runner up) in series 4, Star Bread Bakers all. How much this has to do with one judge’s justified bias towards yeast has not been explored.
Though this week probably preserves its importance, it does retain its drawbacks too. It’s a TV show, so they need drama. This means that the challenges will be ridiculously convoluted and the time limits short. The truth is that this can do bread, the audience and the contestants an injustice. Bread is, in fact, easy. Super, super easy. You don’t need to knead or slap it about for ages and it doesn’t need to make a mess all over your kitchen and you definitely, definitely don’t need a bread maker. But the one thing you do need is a little bit of time.
So I ask of you to remember one wee thing this week: those warm proving drawer things on Bake Off? Don’t buy one. Unless you like to warm commercial quantities of plates prior to dinner. They allow you to make bread in an offensively short amount of time, but bread that rises in a warm place is always inferior to bread that time is taken over. Chuck your dough in the fridge instead, covering the bowl with cling film and leaving it overnight or whilst you’re out doing important stuff during the day. This will give amazing, complex flavours and, combined with a no-knead method, allow you to several provide daily loaves for your family and friends in less than 5 or 10 minutes of your own time.
TOP TIPS:
- Wetter is better. Wetter is better. Wetter is better. This is the most important bread rule. Your doughs should be super sticky and should almost flow rather than fall. Almost more like a batter than a dough.
- Prove your bread cold, rather than hot. This will slow down your yeast and stop it producing lots of nasty off-flavours associated with a hot fermentation. Never put your dough in an airing cupboard or warming drawer.
- Don’t knead, unless you want to. Instead, replace kneading with an extra hour or two proving at room temperature. Instead, focus your efforts on learning how to shape your breads well. This makes much more of a difference to your final loaf than kneading does.
- Never follow instructions on the back of a packet of flour. For an industry so entwined with bread baking, flour manufacturers seem to have very little respect for it.
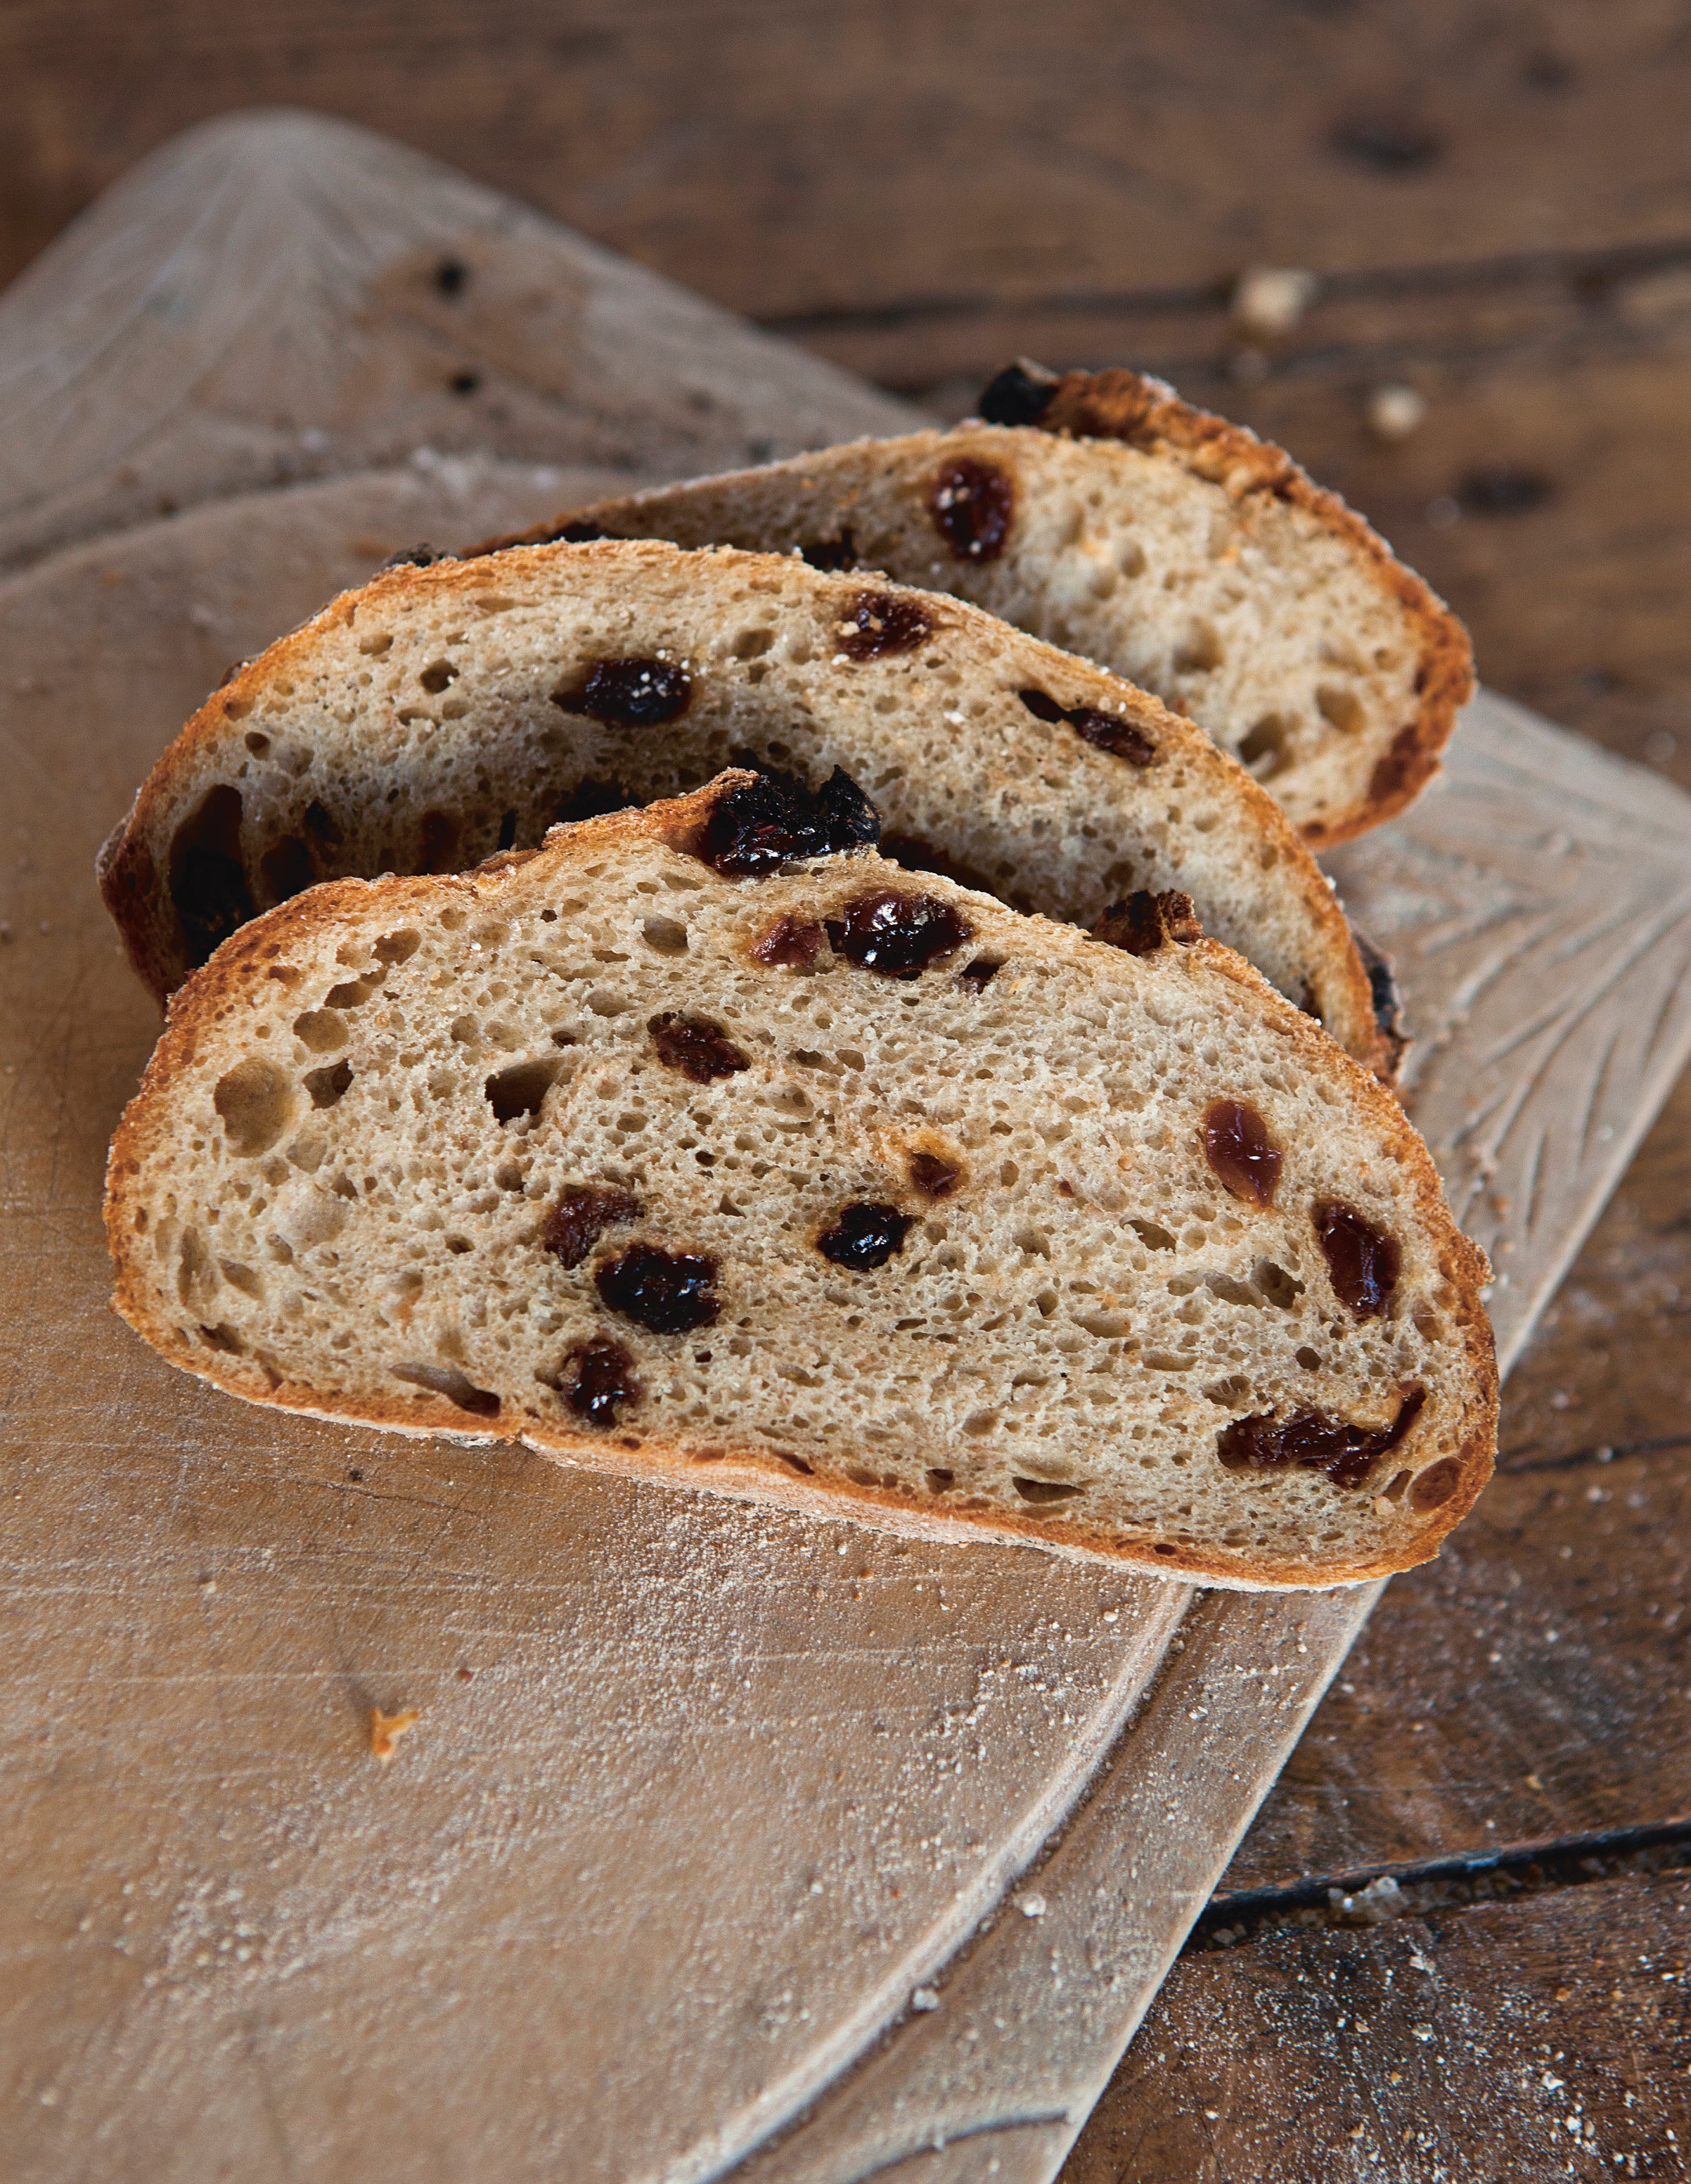
Recipe: Rye and Raisin Bread

The rye flour is what makes this bread really special. You can get rye in most supermarkets, but if you can’t find it in yours then try a health food shop. It is darker, deeper and all round more rustic than white wheat, and just a little can totally change your final bread. This earthy final flavour works well with the bursts of sweetness from the soaked raisins and that is why this bread is a classic.
This is best toasted, with a selection of cheeses, quince and chutney. I wouldn’t say no to cheese on toast, either.
200g wholemeal (dark) rye flour
300g strong white flour
1 x 7g sachet fast-action yeast
0g salt
150g raisins (preferably soaked overnight in coffee or water)
375g tepid water
1. In a large bowl, rub together the flours, yeast and salt, rubbing the yeast and salt in at opposite sides of the bowl. Add all the raisins and water and combine into a wet dough.
2. Cover and rest your dough for 30 minutes to an hour. Once rested, give it a fold and smoosh to get the air out of it. This rest and fold replaces the kneading to develop the gluten.
3. Cover and rest the dough for 1–11⁄2 hours at room temperature, or until roughly doubled in size. You can rest the dough in the fridge for better flavour – simply prepare the dough before going out for work or going to bed, then rest for 8–12 hours until doubled in size.
4. Once rested, turn the dough out on to a lightly floured surface. Shape into a so you have any excuse for intricate scoring later on. Do this by flattening your dough gently into a rectangle, then rolling up tightly. Place in a proving basket if you have one, or alternatively on a floured board (seam-side down), for an hour or so, or until nearly doubled in size again. Preheat the oven to 240°C/gas 9 with your baking surface inside at least 30 minutes before you intend to bake.
5. Score as desired. I use the chevron cut here as it’s useful for giving extra rise in rye breads – just make one big cut down the centre, then a few little angled ones at the side. Turn the oven down to 220°C/gas 7 and bake for approximately 35–40 minutes, or until a dark, motley brown.
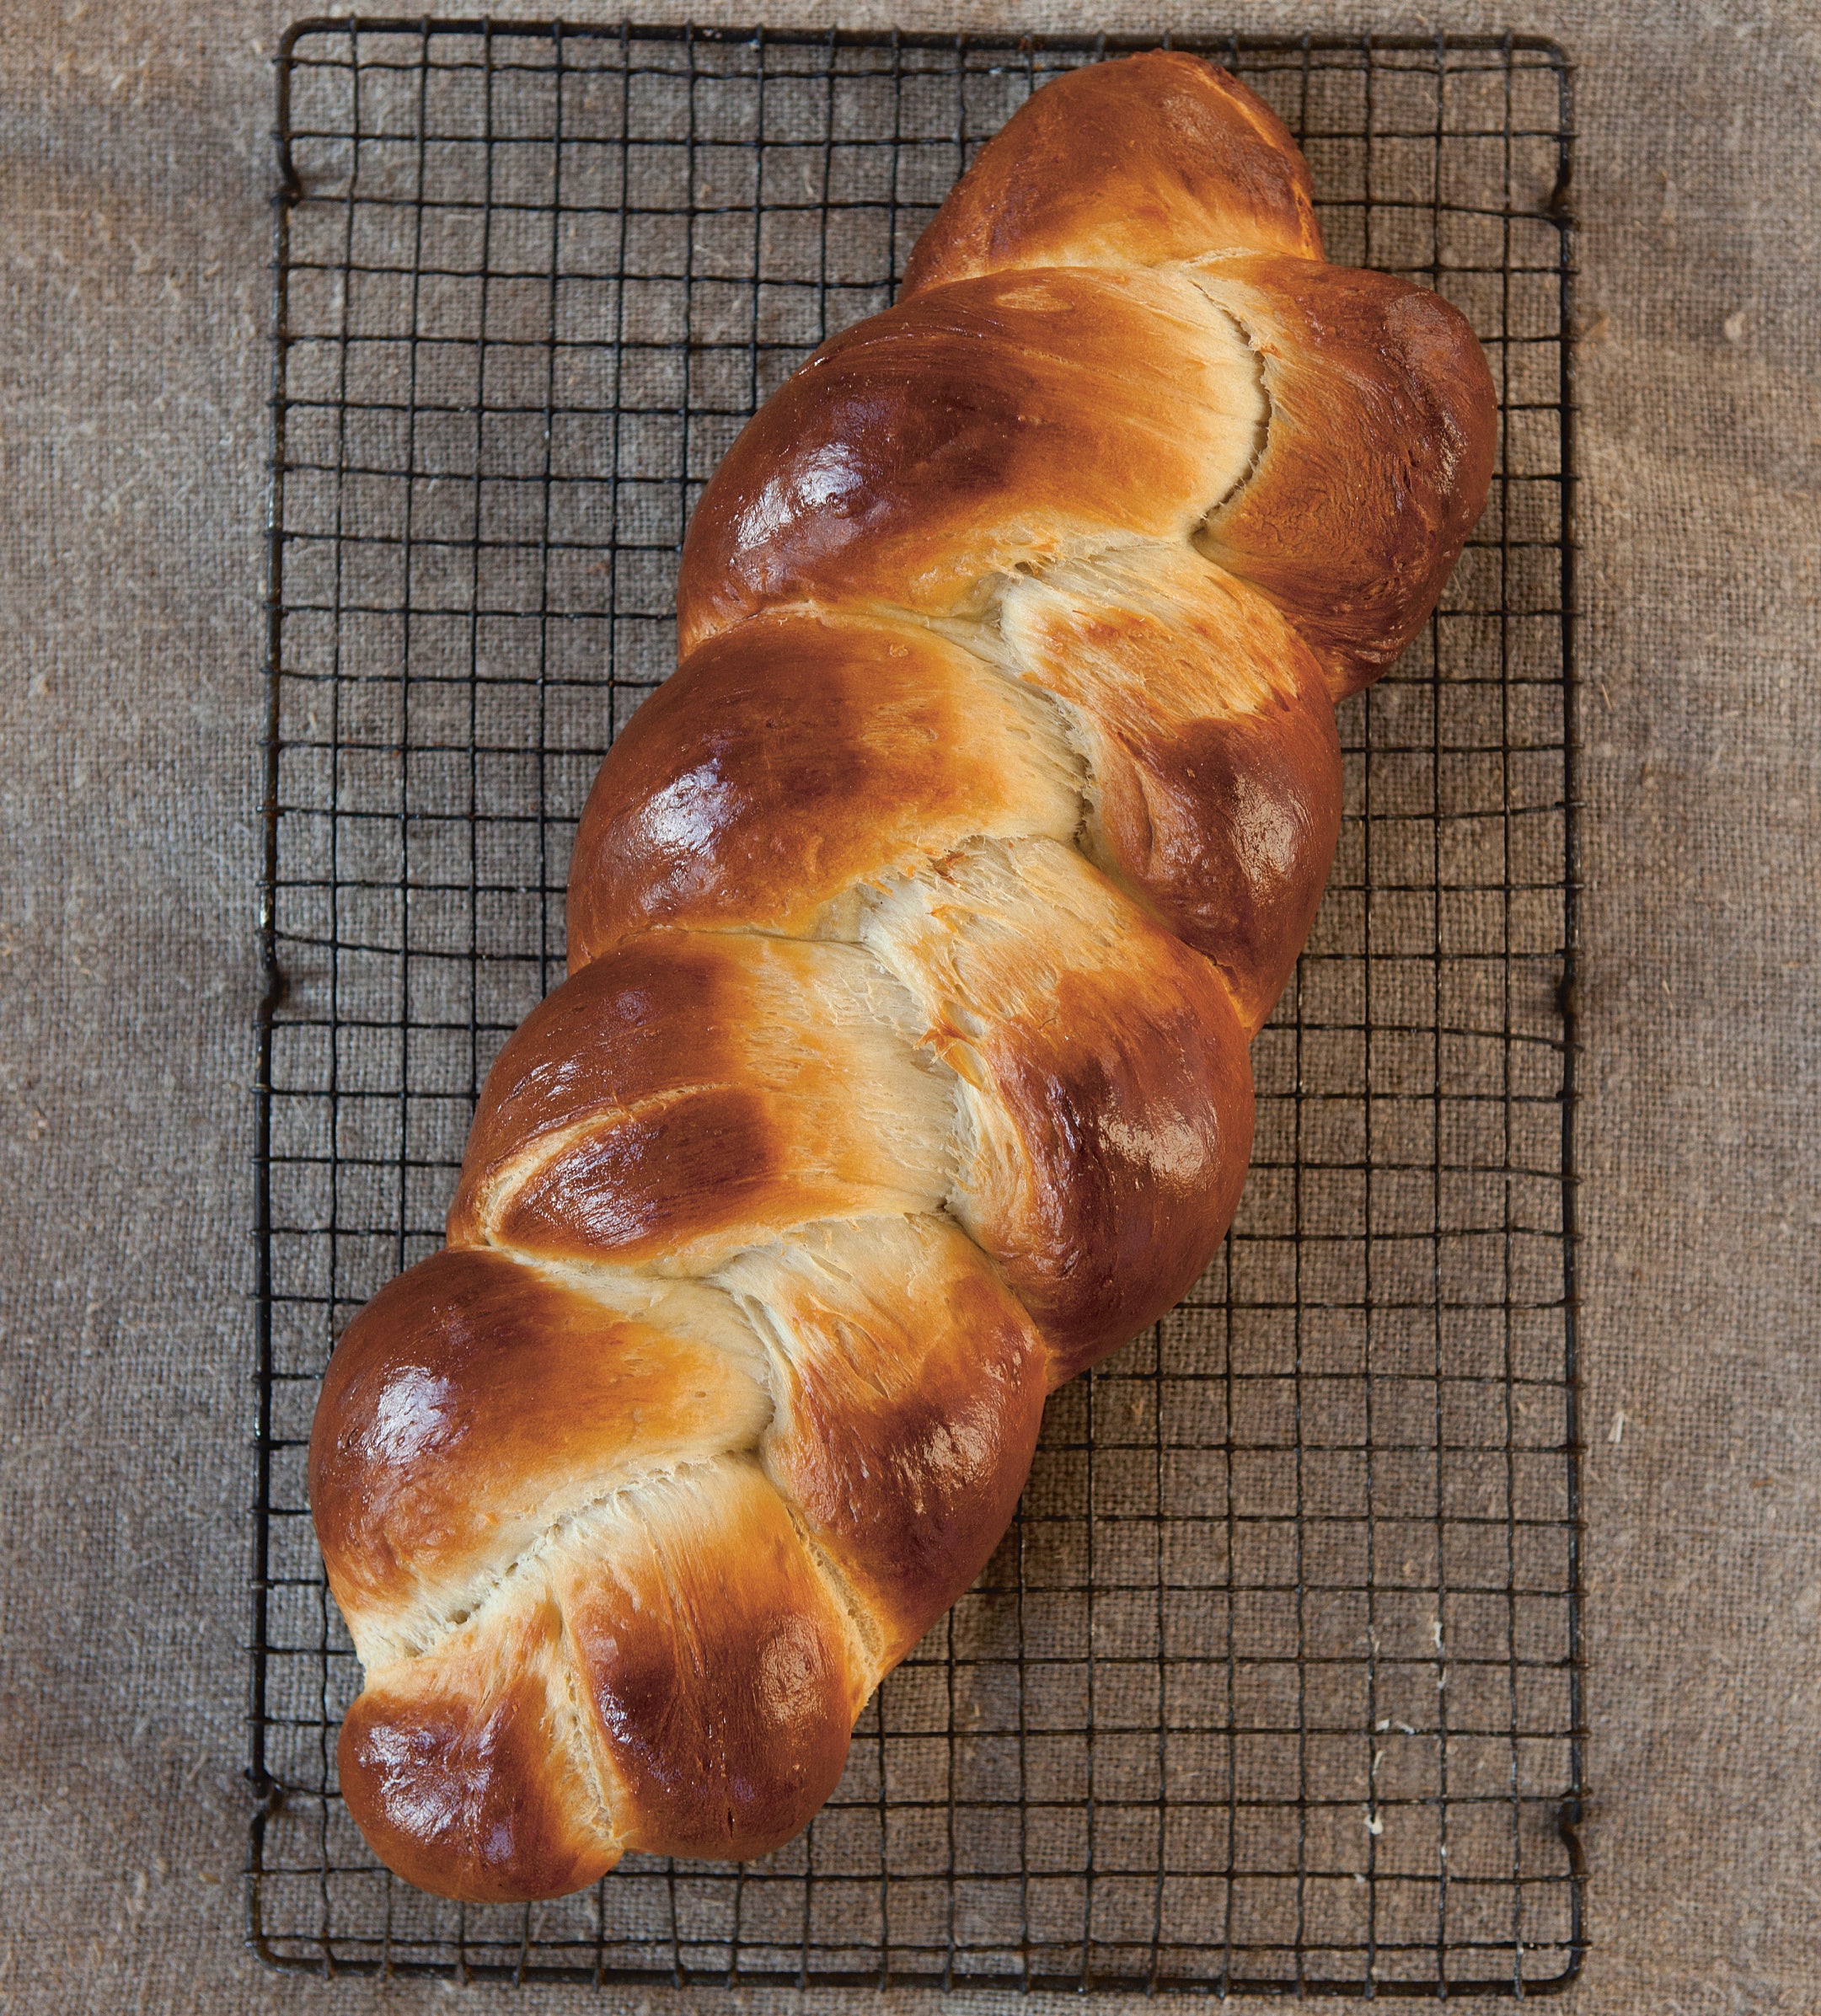
Recipe: Challah

Like the bagel, the challah is a traditional Jewish bread. It may once have been for holidays and the sabbath, but because it’s so absurdly good it has evolved into a multicultural and adaptable bread that I’m not going to allow to be isolated for religious reasons. It has a great golden colour, inside and out, and a distinctly rich flavour, through the use of plenty of eggs. And it’s woven into a plait!
Plaiting (braiding) is usually a pet hate of mine. I think it’s form over function for most breads, but I’ll concede that here it gives a tight and tearable crumb and an ultimately outstanding visual. My top tips for plaiting are to plait loosely and gently, use as little flour as you can so as not to interrupt the texture of the final loaf and finally to rest your strands for a few minutes before plaiting – this helps them relax and become more easily manipulated. This is a dry dough.
450g strong white flour
50g caster sugar
1 x 7g sachet fast-action yeast
10g salt
40g unsalted butte
r 2 medium eggs, plus 1 additional yolk
110g full-fat milk
50g tepid water
100g white sourdough starter (replace with 50g extra flour and water if you don’t have one)
egg wash (1 egg mixed with a pinch of salt)
poppy or sesame seeds, for sprinkling
1. In a large bowl, combine the flour, sugar, yeast and salt. Remember to rub the salt into the dry mix on one side of the bowl and the yeast on the other. Roughly rub in the butter, then add the eggs, milk, water and starter and combine to form a dough. Cover the mix and leave to rest for at least 30 minutes – this will really help when it comes to the plaiting.
2. Knead your dough for about 10 minutes or so or until it’s at the stage where it will pass the windowpane test, or alternatively leave it to rest for another 30 minutes and then give it a fold about. Cover and leave to prove for 1–2 hours, or until at least doubled in size. Alternatively, leave to rest in the fridge for 10–14 hours.
3. Turn your dough out on to lightly floured surface and roll into a stout sausage. Divide the sausage into three equal pieces, and then roll them individually between your hands and your surface into long baguette shapes. These are your strands.
4. Grab one end of all 3 strands and pinch them together. The one on the left is 1, the middle is 2 and the right is 3. They don’t keep these numbers, but instead whichever strand is on the left is 1, etc. Plait them by folding 1 over 2, then 3 over 2, then 1 over 2, continuing until the end. It is just like plaiting hair. Once you’ve reached the end, tuck both sides underneath to make it neat. The reason for the complicated numbering system becomes clear when we look at more complicated plaits.
5. Brush generously with your egg wash, then prove for a good final hour at room temperature on a greased baking tray, or 8–12 hours overnight in the fridge. At least 30 minutes before you’re going to bake, preheat your oven to 240°C/gas 9.
6. Once proved, brush with the remaining egg wash and sprinkle with poppy or sesame seeds. Turn your oven down to 210°C/gas 61⁄2 and bake for 30–35 minutes, until a dark and shiny golden brown all over.
Brilliant Bread by James Morton is published by Ebury Press, £20. Photography by Andy Sewell
Join our commenting forum
Join thought-provoking conversations, follow other Independent readers and see their replies
Comments