Learn to cook – and love it – with these 10 easy recipes
Ordered from easy to hard, these recipes will not only equip you with the skills to cook with confidence, says Nikita Richardson, but you’ll have 10 delicious dishes under your belt worth cooking on repeat
Your support helps us to tell the story
From reproductive rights to climate change to Big Tech, The Independent is on the ground when the story is developing. Whether it's investigating the financials of Elon Musk's pro-Trump PAC or producing our latest documentary, 'The A Word', which shines a light on the American women fighting for reproductive rights, we know how important it is to parse out the facts from the messaging.
At such a critical moment in US history, we need reporters on the ground. Your donation allows us to keep sending journalists to speak to both sides of the story.
The Independent is trusted by Americans across the entire political spectrum. And unlike many other quality news outlets, we choose not to lock Americans out of our reporting and analysis with paywalls. We believe quality journalism should be available to everyone, paid for by those who can afford it.
Your support makes all the difference.We all have to start somewhere. That’s the inspiration behind this small but mighty collection of recipes for absolute beginners. We’re talking can-hardly-boil-water beginners. Maybe you just graduated from university and are on your own for the first time, or perhaps you never quite got the hang of cooking. Not to worry! These dishes – ranging from a no-cook tuna mayo rice bowl to oven-roasted chicken thighs with potatoes and lemons – are a fantastic place to start. Because no one wakes up one day and can suddenly, say, run a marathon or, in this case, cook.
But anyone can make something good to eat. With a little help from our food writers Melissa Clark, Genevieve Ko and Eric Kim, you’ll become the cook you always wanted to be: a confident one. Start with the recipes below, which are ordered from easiest to hardest. With practice, repetition and patience, you’ll not only develop a set of skills that you can apply to other recipes, but you’ll have 10 delicious dishes under your belt worth cooking on repeat.
Tuna mayo rice bowl
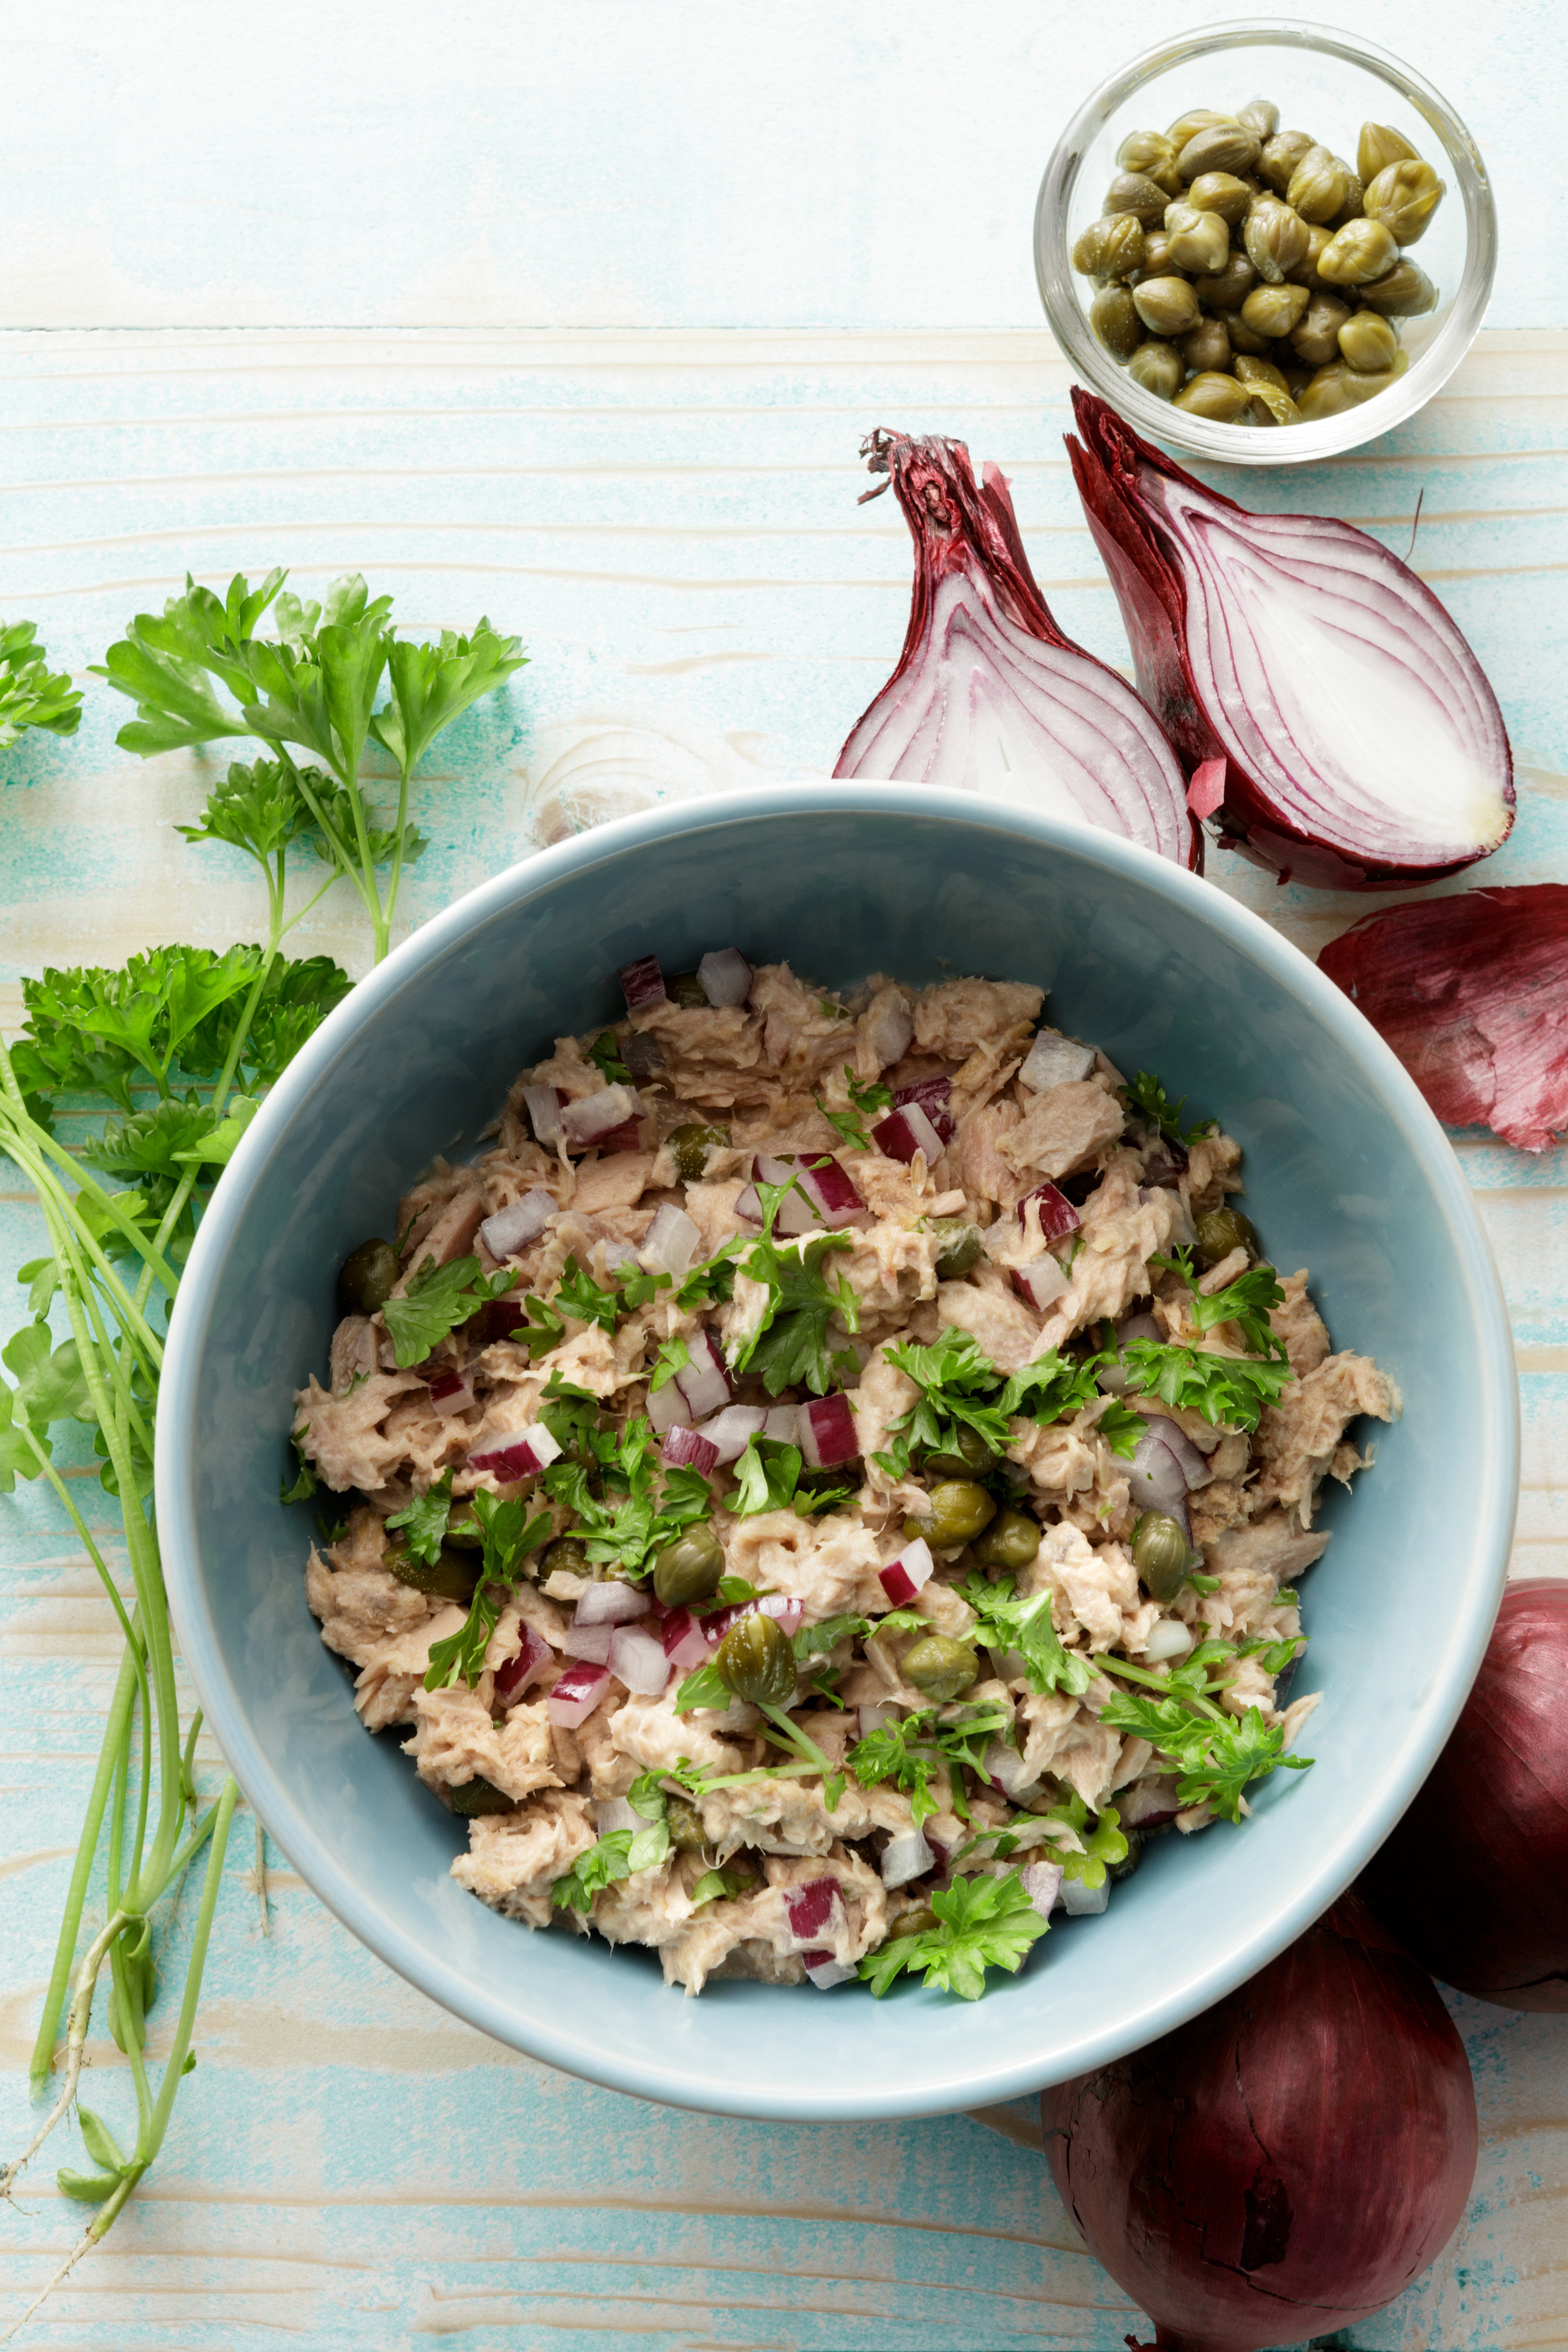
You’d be amazed by how much great cooking you can do without ever turning on the hob. Take this tuna mayo rice bowl: all you need is tinned tuna, your favourite mayo, leftover rice and whatever you want to sprinkle on top. Sesame seeds add a nutty little crunch; roasted seaweed, such as nori or furikake, offer crispy saltiness; and spring onions bring a delightful freshness. Think of it as a blank canvas and get creative.
By: Eric Kim
Total time: 5 minutes
Serves: 1
Ingredients:
1 (140g) tin tuna (preferably any variety stored in oil), well drained
2 tbsp mayonnaise
1 tsp toasted sesame oil
½ tsp soy sauce
125g cooked white rice (preferably short or medium-grain)
Toasted white or black sesame seeds, furikake or chopped spring onions, for topping (optional)
Method:
1. In a small bowl, stir the tuna, mayonnaise, sesame oil and soy sauce to combine.
2. Add the white rice to a bowl and spoon the tuna mixture on top. Sprinkle with the sesame seeds, furikake or spring onions, if using.
Guacamole
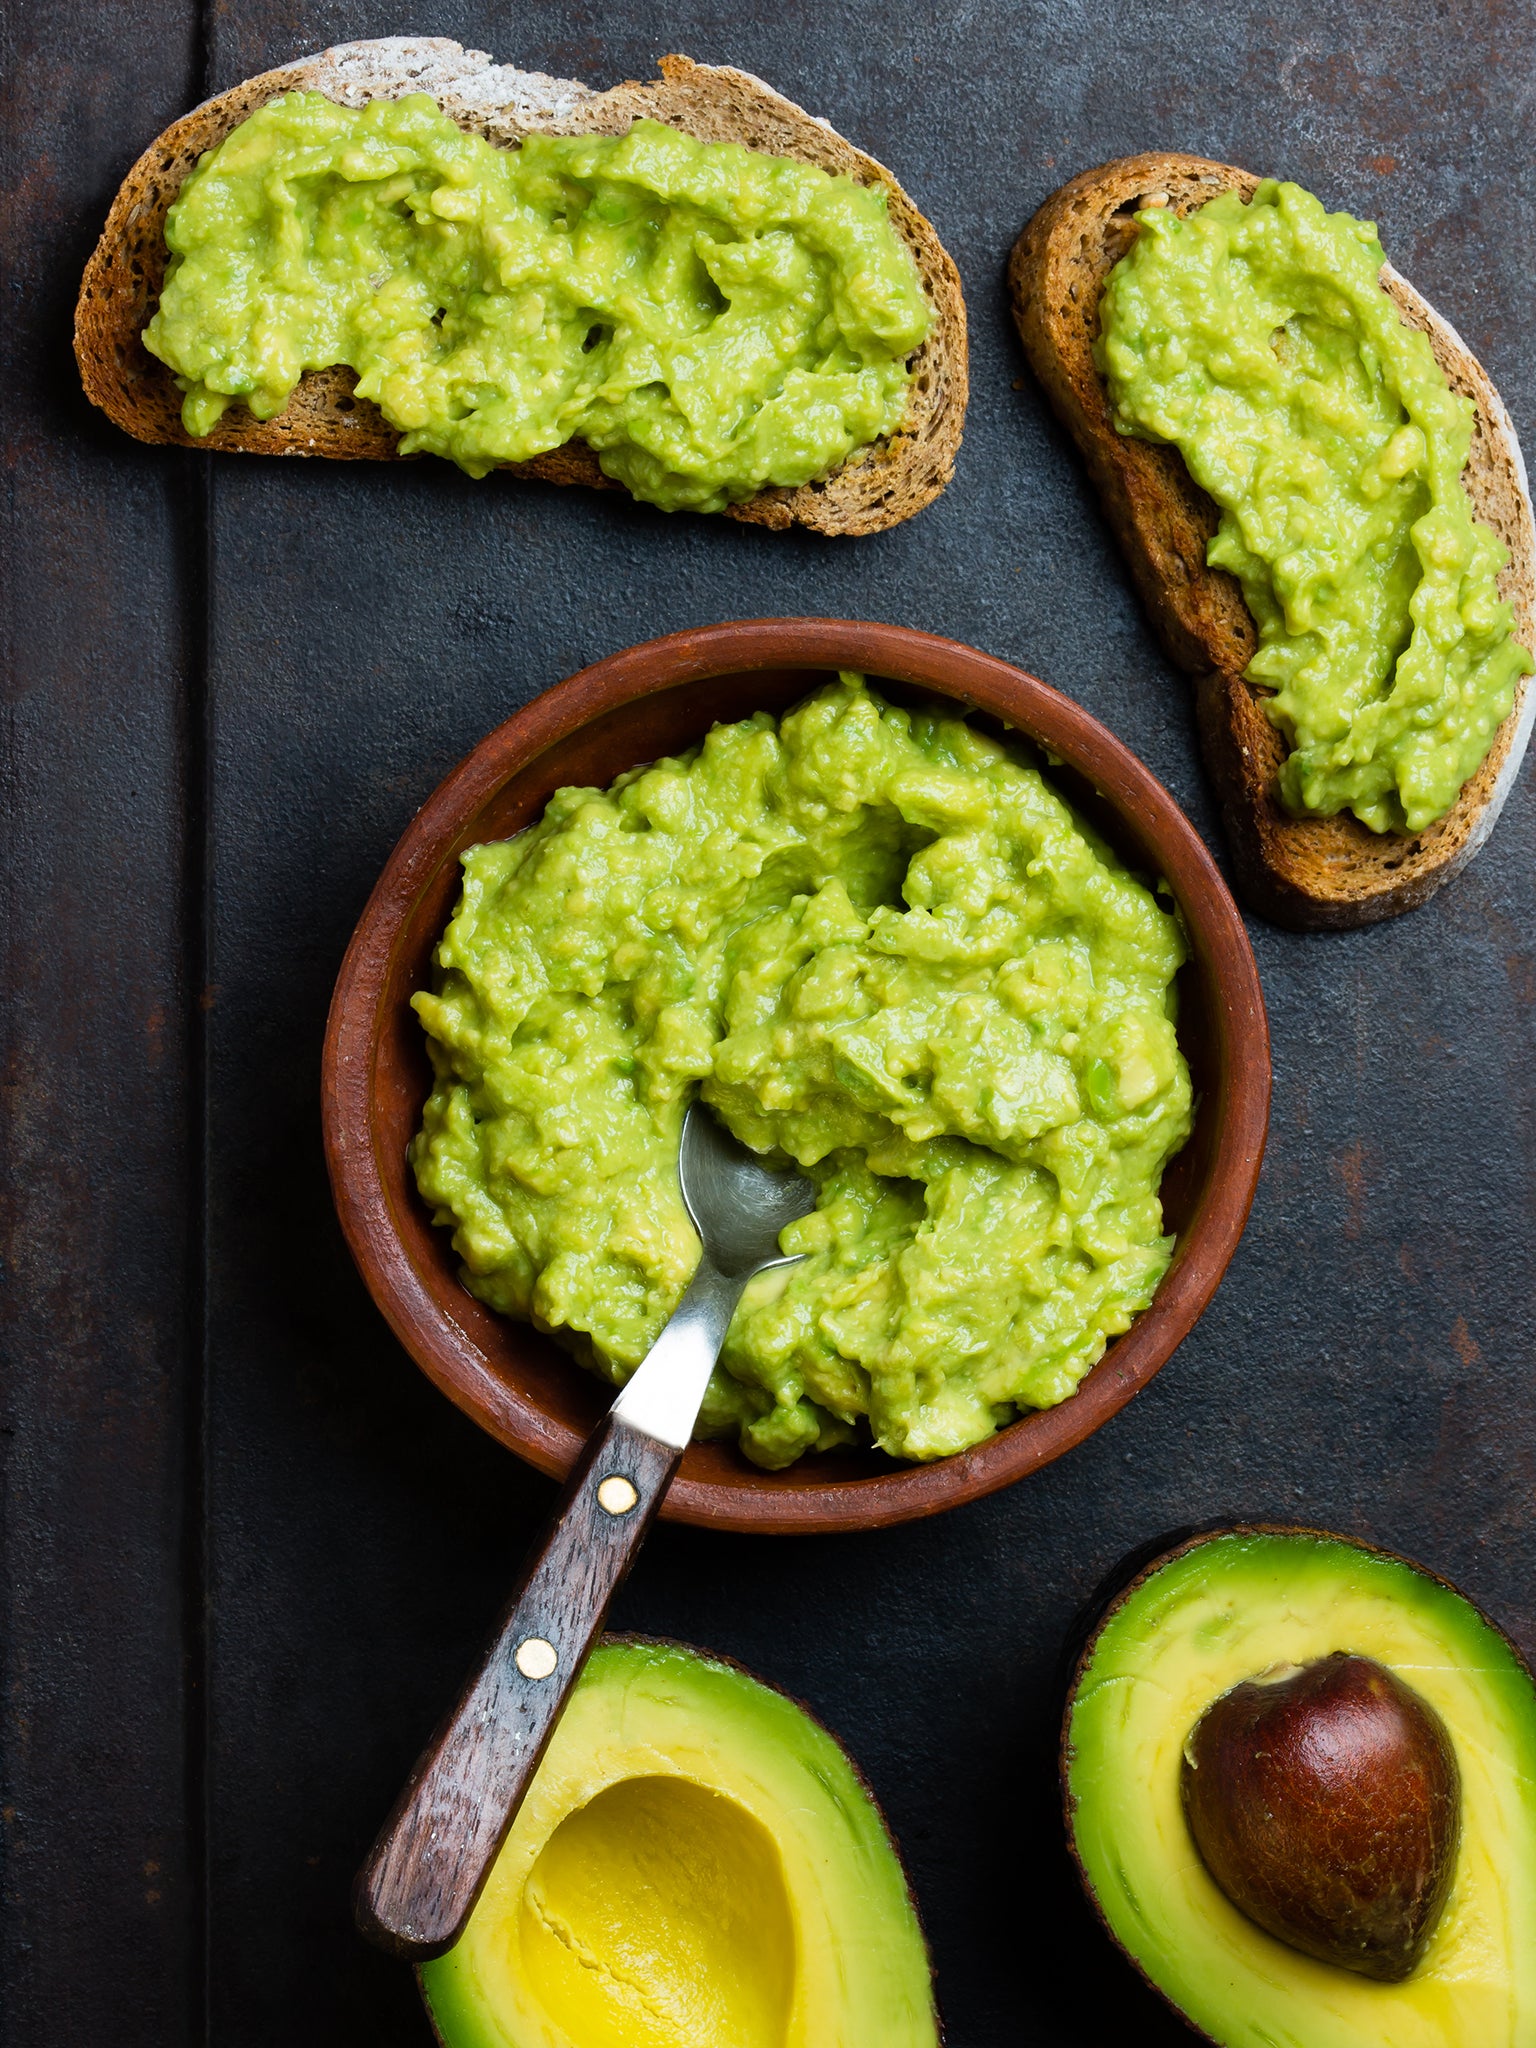
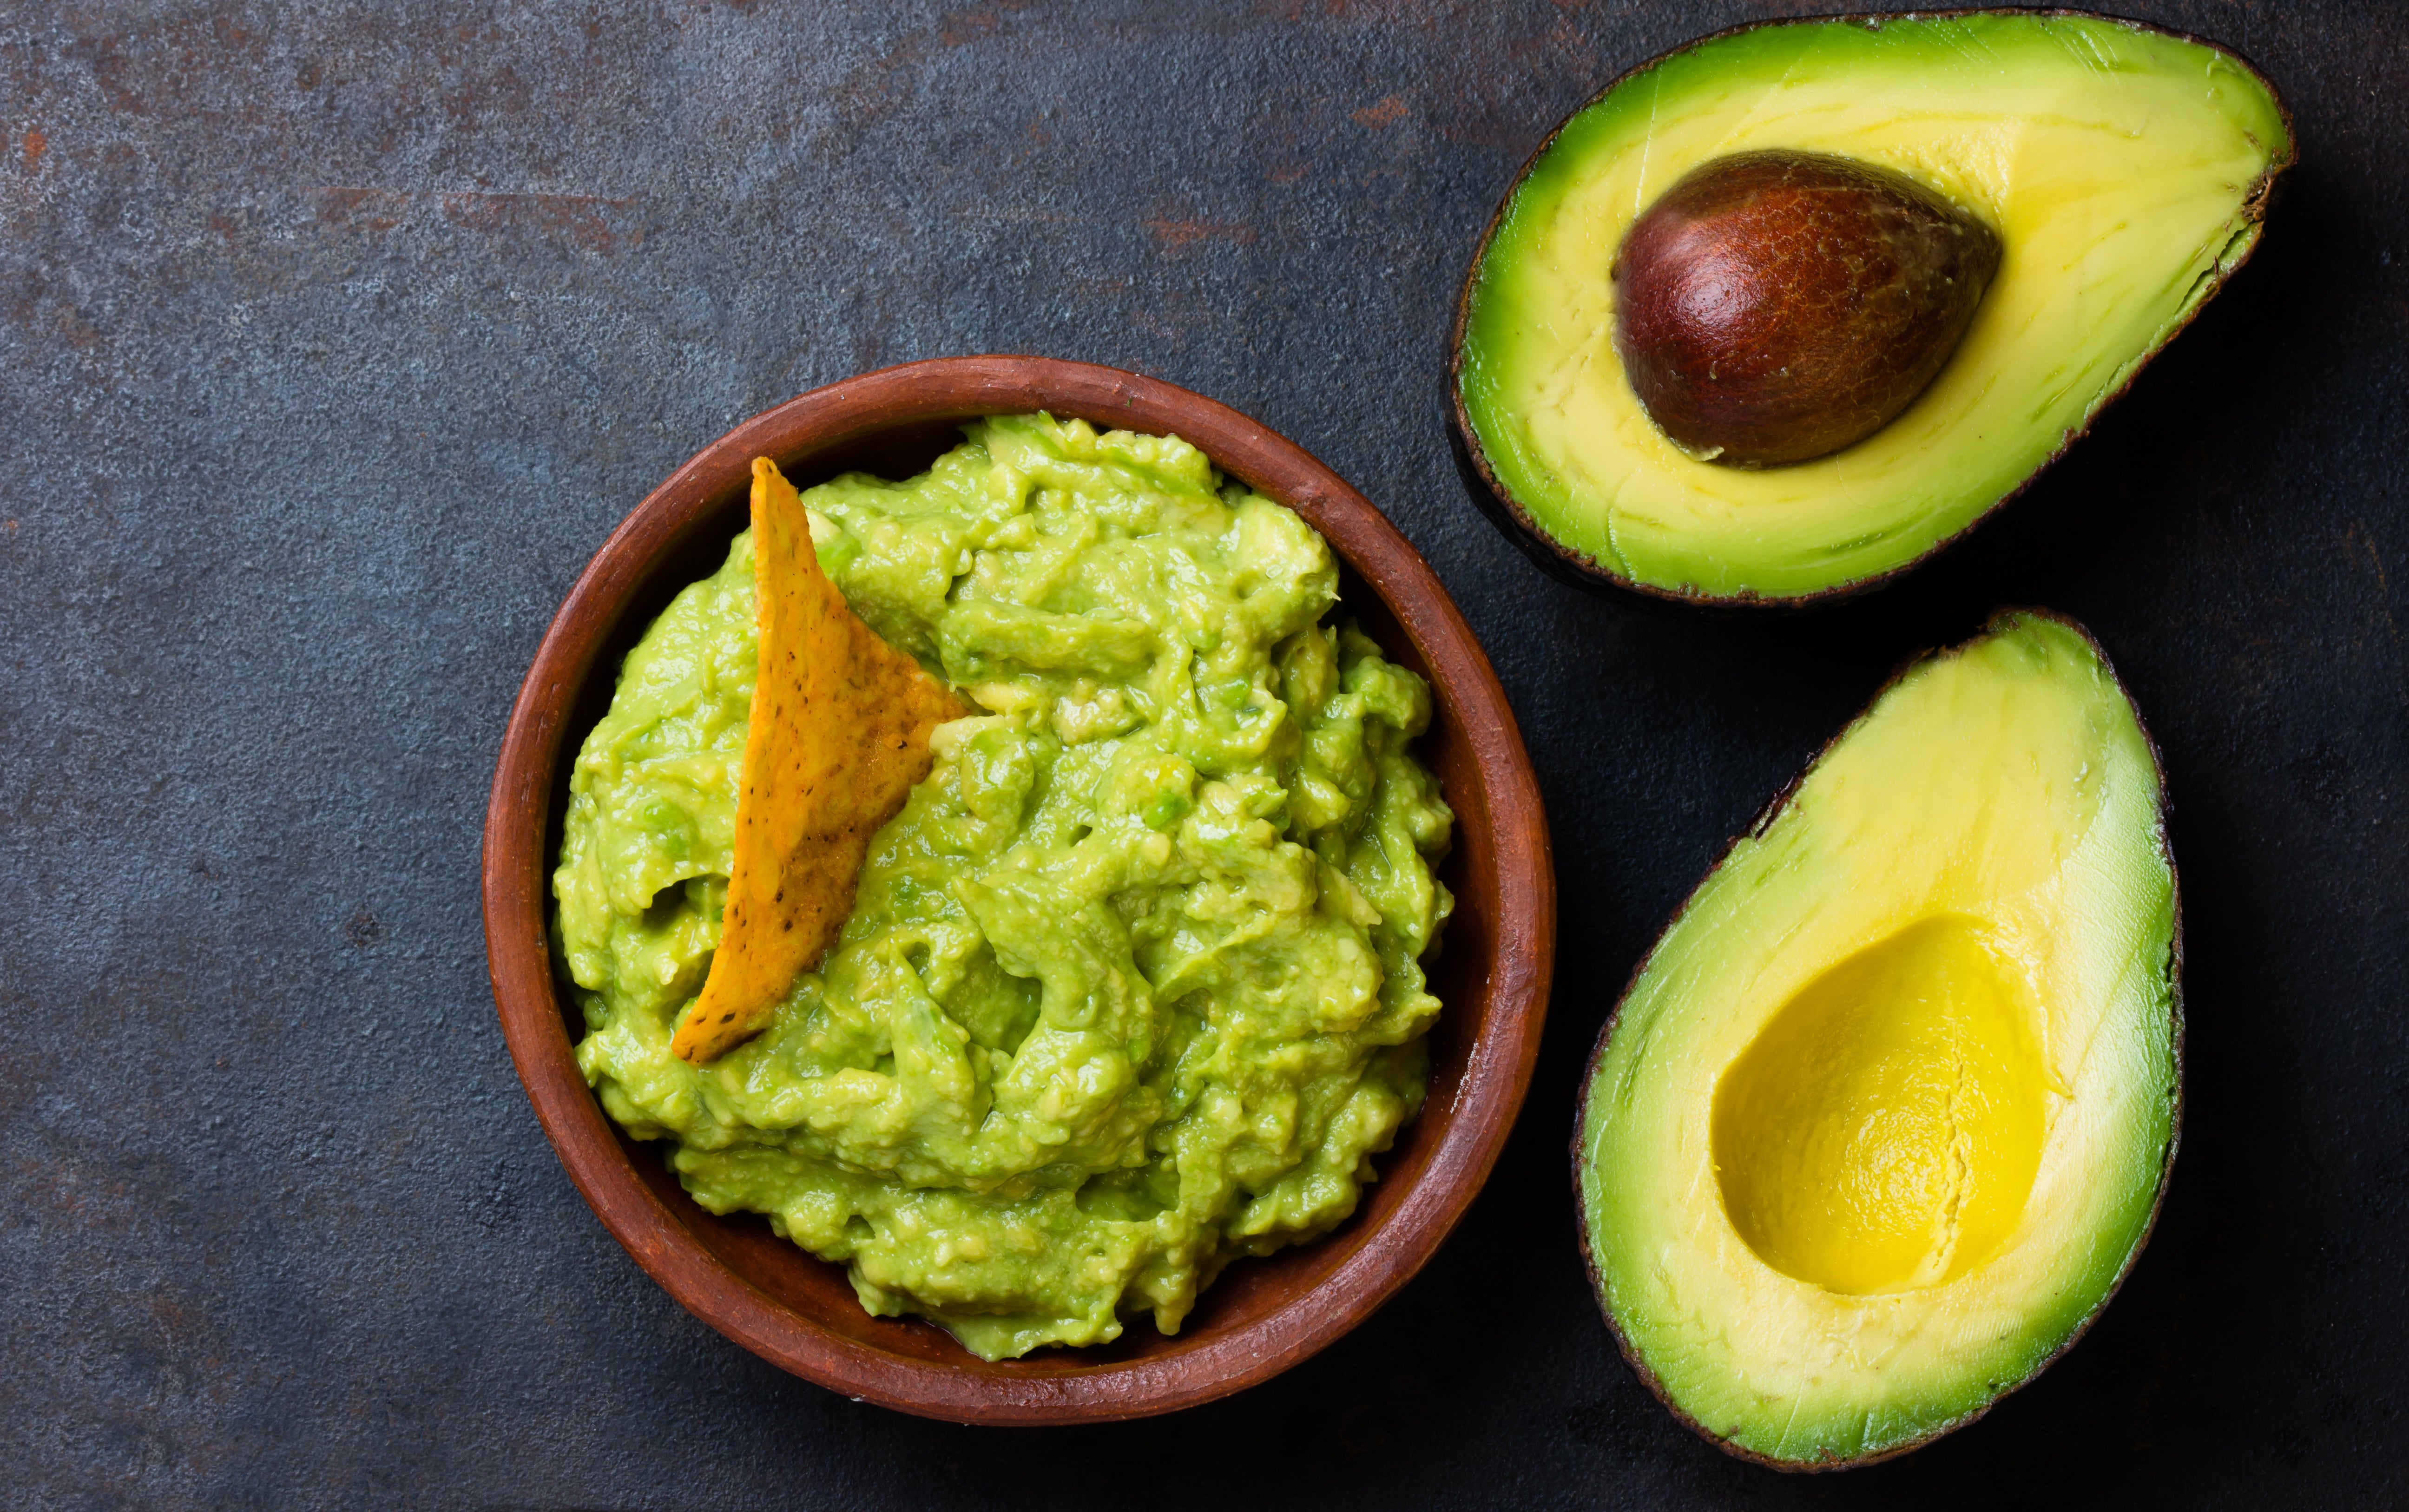
Here’s your chance to prove (and share) your culinary mettle. All you need to make this guacamole is a sturdy bowl, a fork and some elbow grease. Mash your avocados et al. until smooth – or chunky if you’re big on contrasting textures. Then, take the opportunity to learn how to taste as you go, adding salt along the way, deciding whether to throw in jalapeno seeds for spicy heat and squeezing in more lime juice if you like your guacamole tangy. Just be sure to wash your hands after handling the jalapeños! (The capsaicin that makes them spicy can also irritate your eyes and skin.)
By: Eric Kim
Total time: 10 minutes
Serves: 4 appetiser servings (250g)
Ingredients:
64g finely chopped white onion (from 1 small onion)
2 tbsp fresh lime juice (from about 1 lime)
Salt and black pepper
1 jalapeno
2 ripe avocados
Method:
1. In a medium bowl, combine the onion and lime juice, and season with salt and pepper. Let that sit as you chop the jalapeno.
2. Cut the hard stem end off of the jalapeno and discard, then slice the chilli in half lengthwise. If you don’t want the spice, use your knife or a spoon to remove the inner seeds and white membrane (this is where most of the chilli’s heat resides). If you enjoy the heat, then leave all of that in. Chop the jalapeno as finely as you can and add to the bowl with the onion and lime juice. Be sure to wash your hands very well with soap after handling spicy chillies like jalapenos, and whatever you do, do not touch your eyes after handling them.
3. Cut the avocados in half lengthwise and pull the halves apart. You can use your knife to pit the avocados, but a safer way is to hold the avocado half in one hand so that your thumb is touching the skin side where the pit is and your index and middle fingers are touching the flesh side around the pit. Gently press your fingers into each other to pop the pit out; with a ripe avocado, it should come out very easily. Use your hands to squeeze the avocado flesh out into the bowl with the other ingredients, or scoop it out with a spoon.
4. Using a fork, gently mash the avocados against the side of the bowl until they are mashed to your desired consistency, then stir them into the other ingredients until well combined. Taste and add more salt if desired.
5. Contrary to popular belief, adding avocado pits to guacamole does nothing to prevent oxidation, but if you press a good layer of plastic wrap or parchment paper directly over the guacamole and store it in the refrigerator, it will keep well for up to 2 days.
Crispy-edged quesadilla

All right, it’s time to get the stove into the mix. Grab a nonstick frying pan because it’s really going to take you places, starting with cheese-pull heaven when you make this quesadilla. Here, you’ll want to lean into mess-making, sprinkling cheese not just inside your tortilla but along the edges as well for a latticelike halo of crispy-crunchies.
By: Melissa Clark
Total time: 10 minutes
Serves: 1 quesadilla
Ingredients:
2 tsp oil (such as olive, grapeseed or sunflower oil)
1 (20cm) flour tortilla
85g grated cheese (such as cheddar)
Method:
1. Place a medium nonstick frying pan over medium heat, then add the oil. Let oil heat up for 20 seconds, swirling the pan around so the oil coats the bottom.
2. Place the tortilla in the pan and sprinkle the cheese evenly over the top. Once the cheese begins to melt, 30 seconds to 1 minute, use a spatula to fold the tortilla in half. Using the spatula, press down firmly on the top of the tortilla until some of the cheese runs out into the pan. Let the quesadilla cook until the cheese that’s leaked out solidifies and turns brown, 2 to 3 minutes.
3. Flip the quesadilla over and let cook on the other side for another 1 to 2 minutes, until the cheese is crisp and golden. Slide quesadilla onto a plate and serve immediately.
French toast
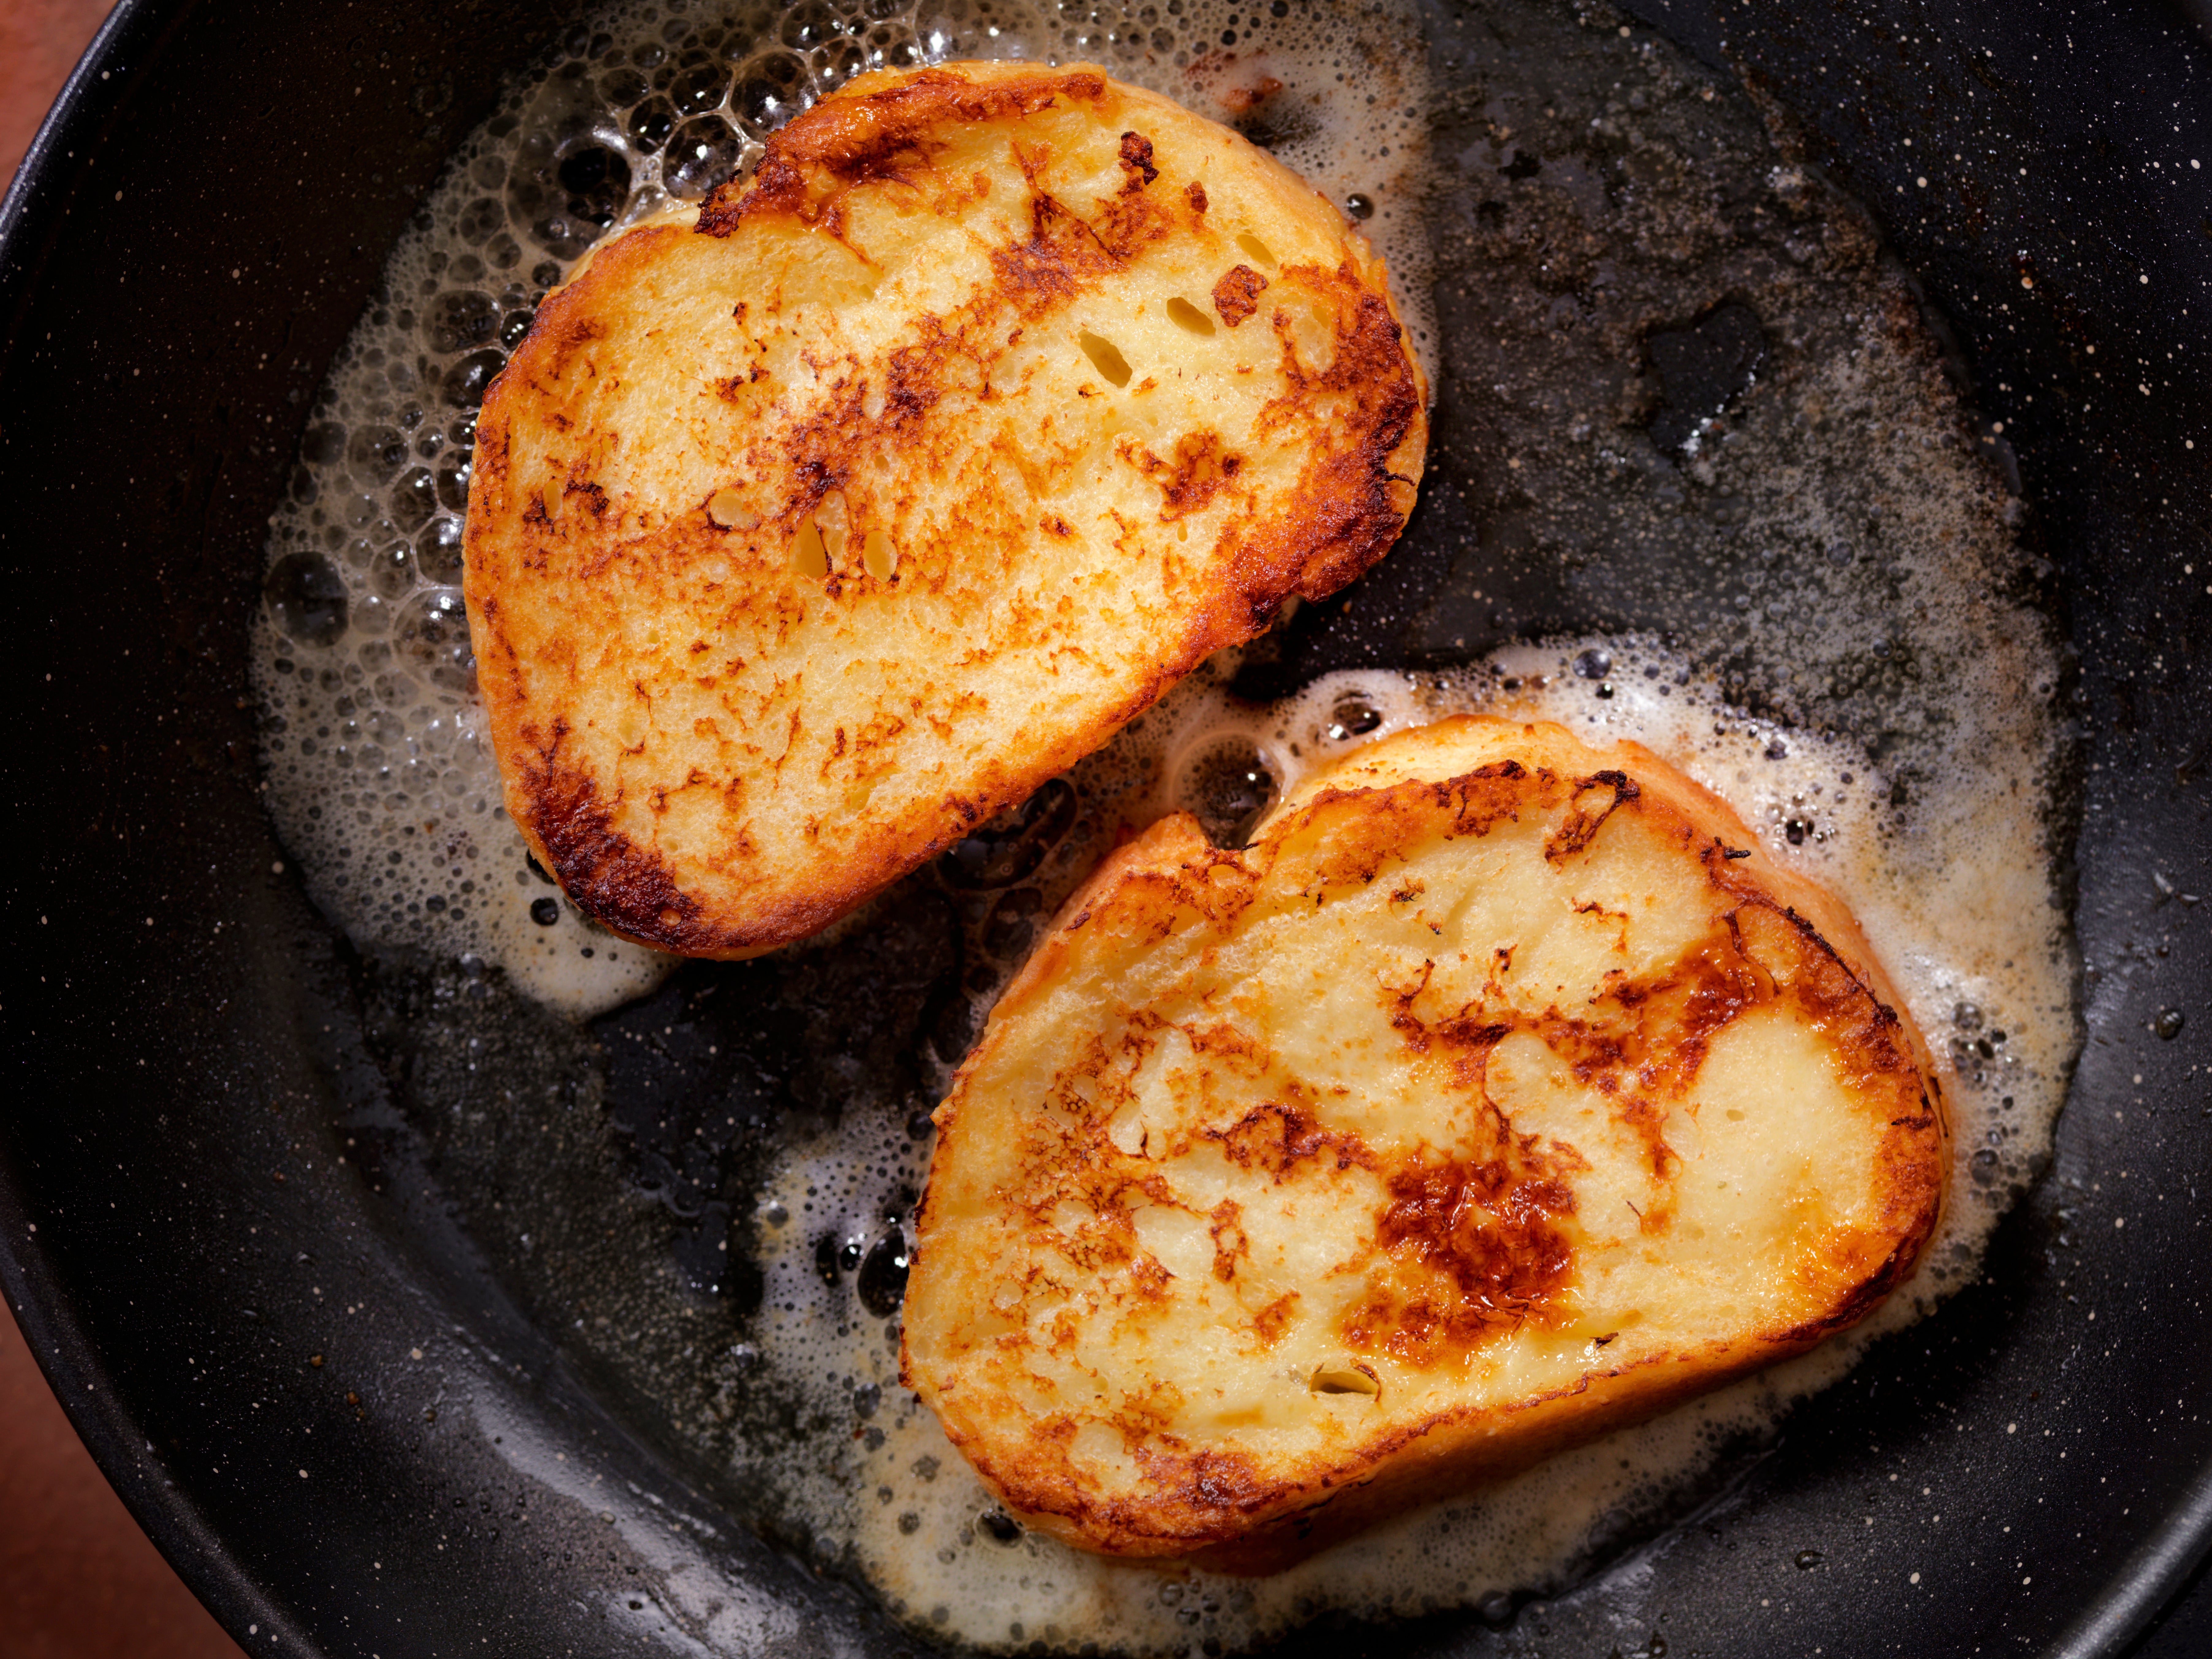
If you’re staring down a tough day, start it off strong: few dishes can do that better than really good French toast. In this case, you’re using standard sandwich bread, which becomes especially custardy because it’s thin, soft and cooks quickly, but sourdough, milk bread and brioche will all work just as well. Just give the slices a little time to soak up all that rich, eggy milk before they hit the pan.
By: Genevieve Ko
Total time: 10 minutes
Serves: 1
Ingredients:
1 large egg
60ml milk
Salt
2 slices sandwich bread
½ tbsp unsalted butter, plus more for serving
Maple syrup, jam or other toppings, for serving
Method:
1. In a bowl or shallow dish that will fit the bread, beat the egg, milk and a pinch of salt with a fork until very smooth and bubbly on top.
2. Add both bread slices (it’s OK to stack them if they don’t quite fit) and soak them, turning a few times, until the mixture is fully absorbed.
3. Set a large nonstick frying pan over medium heat. Add the butter and swirl it around the pan until it melts. The soaked bread will be really soft, so carefully pick up each slice by sliding your whole hand under it, then setting it in the pan. Cook until the bottoms are golden brown, about 3 minutes. Flip the slices, reduce the heat to medium-low and cook until the other sides are brown, 2 to 3 minutes.
4. Enjoy hot, with more butter spread over the slices and with your favourite toppings.
Cheesy eggs on toast
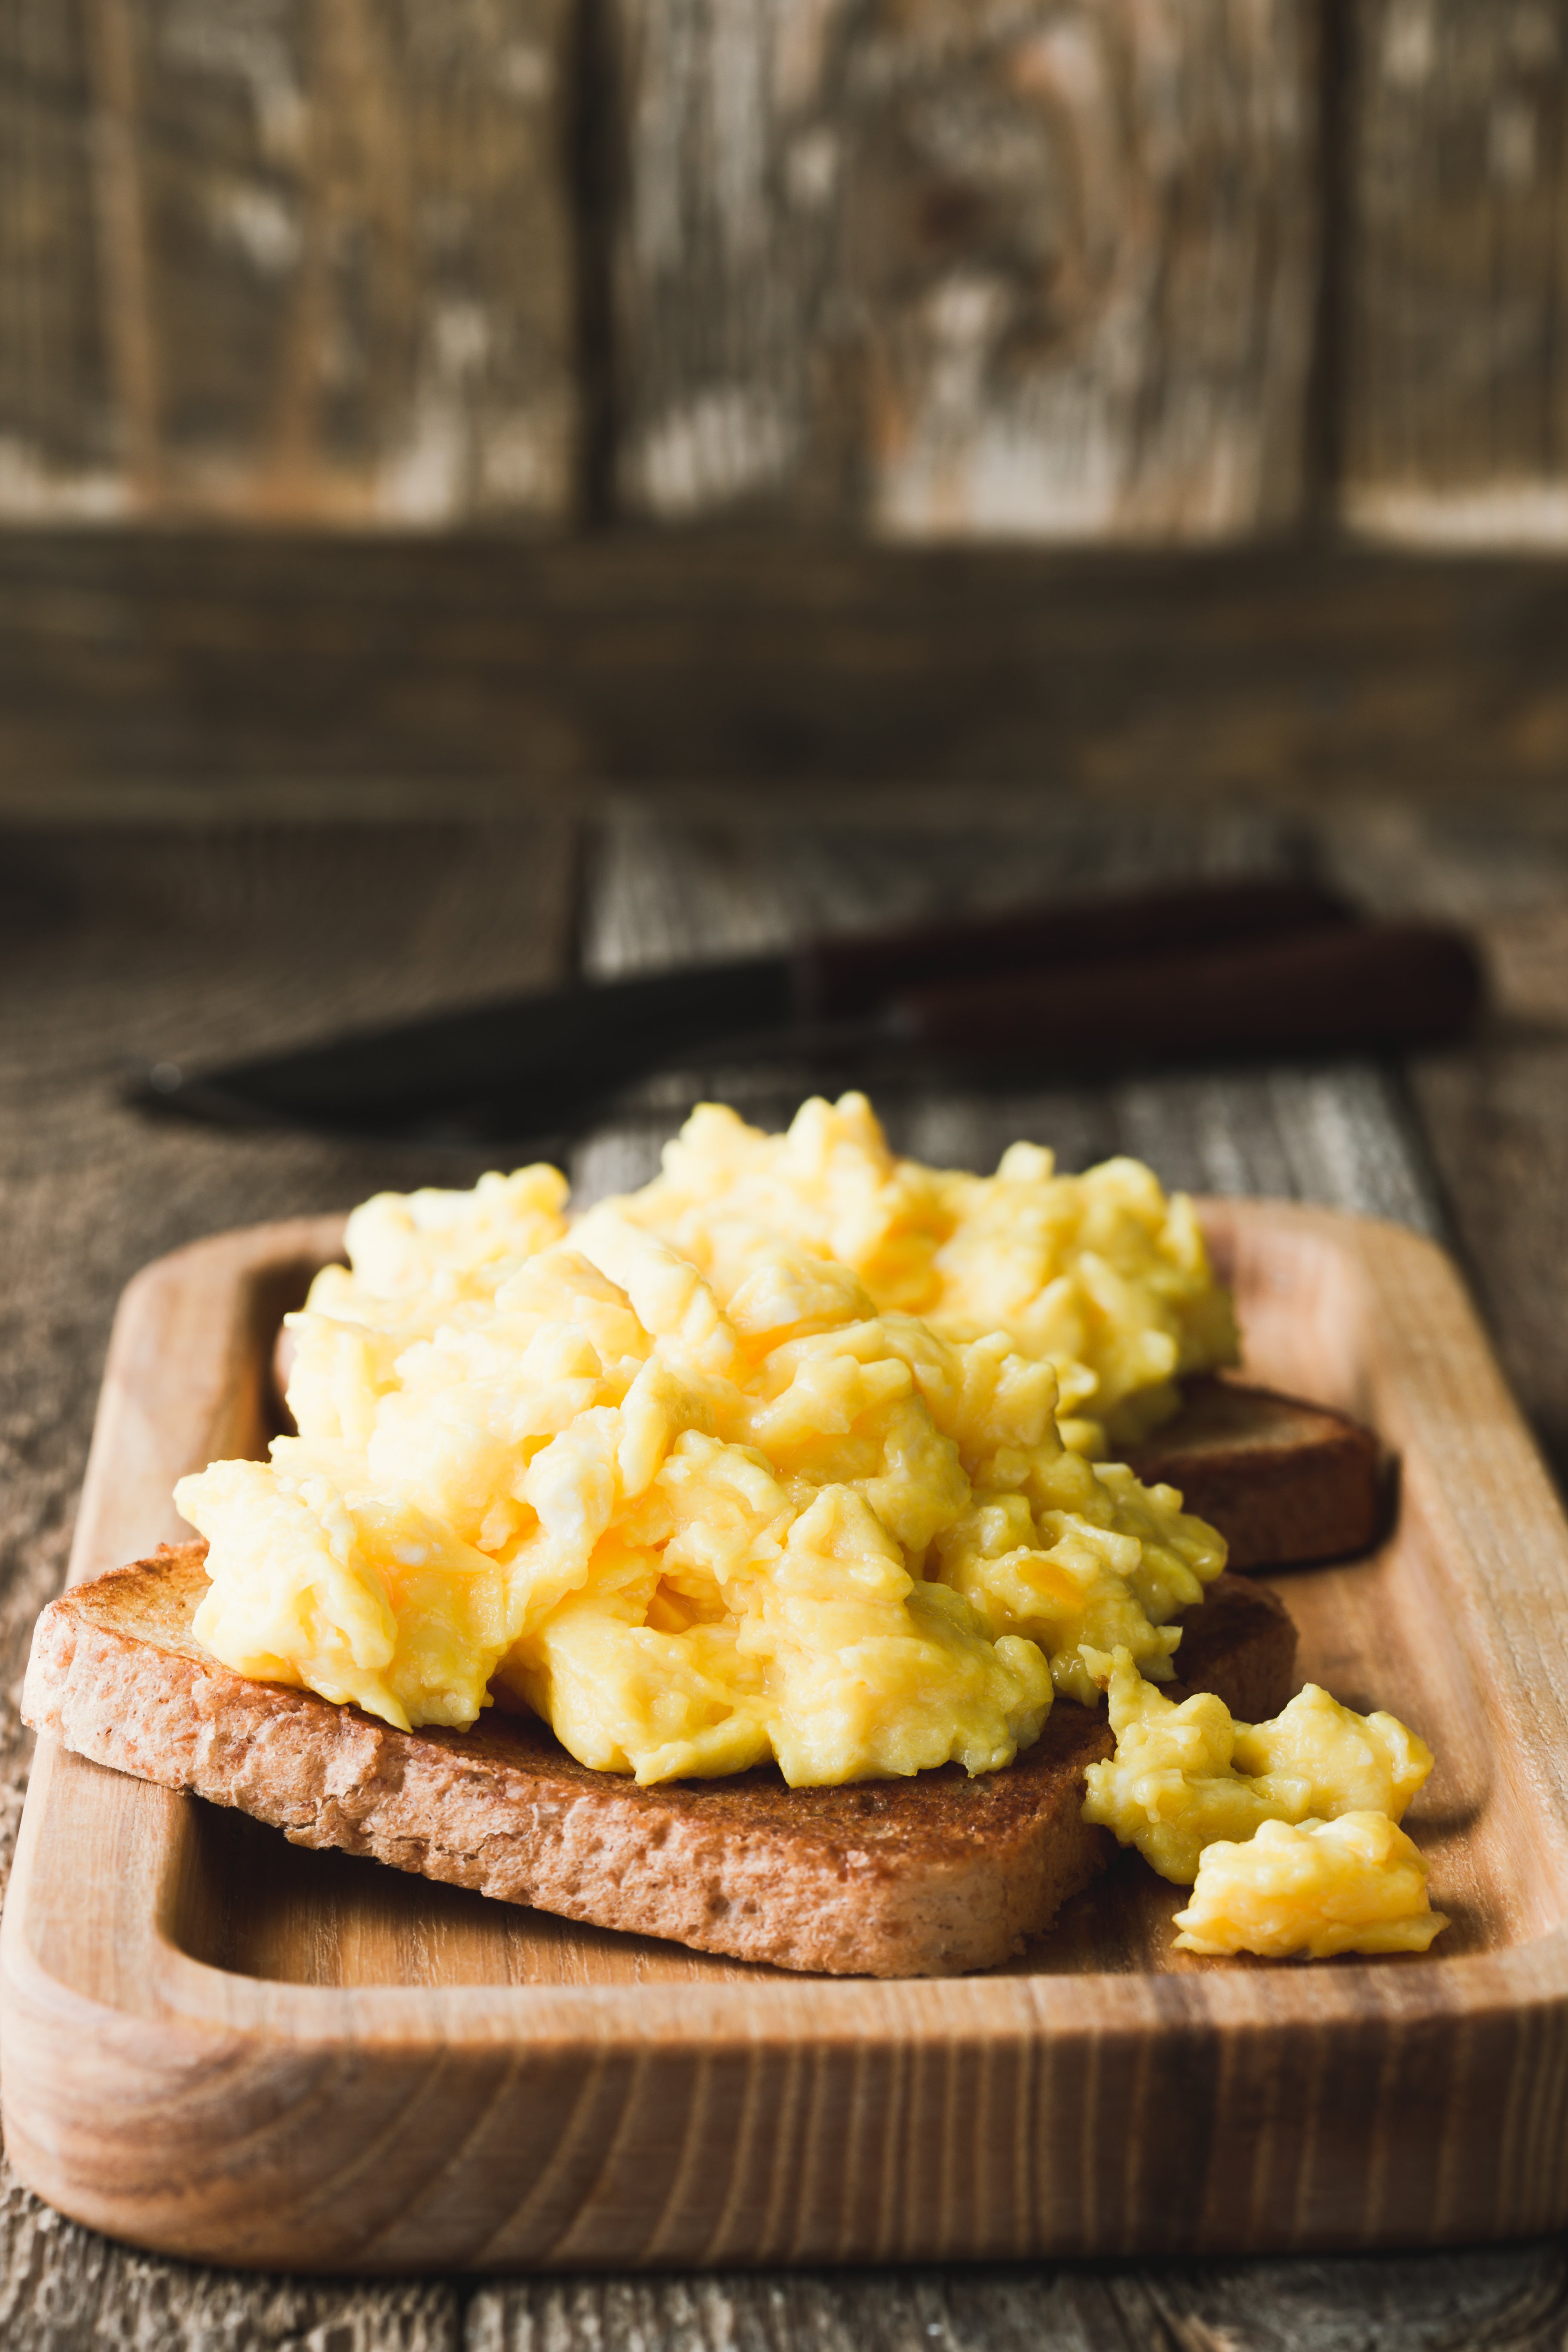
Cereal, take the day off because it’s eggs-on-toast time. Here’s your chance to practice your egg cracking skills – be confident – and to really unlock the beauty of butter-scrambled eggs. It’s also a lesson in temperature control, keeping the heat low to help you avoid overcooking your eggs. If you’re vegan, a tofu scramble is just as doable, and cooking with olive oil in place of butter will taste just as good.
By: Genevieve Ko
Total time: 10 minutes
Serves: 1
Ingredients:
2 large eggs
Salt and pepper
1½ tbsp unsalted butter
1 slice bread
30g grated cheese (such as cheddar)
Method:
1. Crack the eggs into a bowl and sprinkle generously with salt and pepper. Beat with a fork until evenly yellow. Leave the bowl next to the stove while you make the toast.
2. In a small nonstick frying pan, melt a thin slice of the butter over medium-low heat. Swipe the bread in the melted butter to soak it all up. Let sit until golden brown, 2 to 3 minutes. Add another thin slice of butter to the pan then flip the bread, swiping it in the newly melted butter until it’s all soaked up. Turn the heat to the lowest setting and let the bread sit until lightly browned, 1 to 2 minutes. Transfer to a plate.
3. Add the remaining butter and the eggs and cook, stirring gently and constantly with a wooden spoon, until the butter melts and the eggs are half wet and half solid, 15 to 45 seconds. Turn off the heat, add the cheese and continue stirring until the mixture is creamy but no longer wet, about 30 to 45 seconds. Scrape onto the toast right away and enjoy.
Roasted mixed vegetables
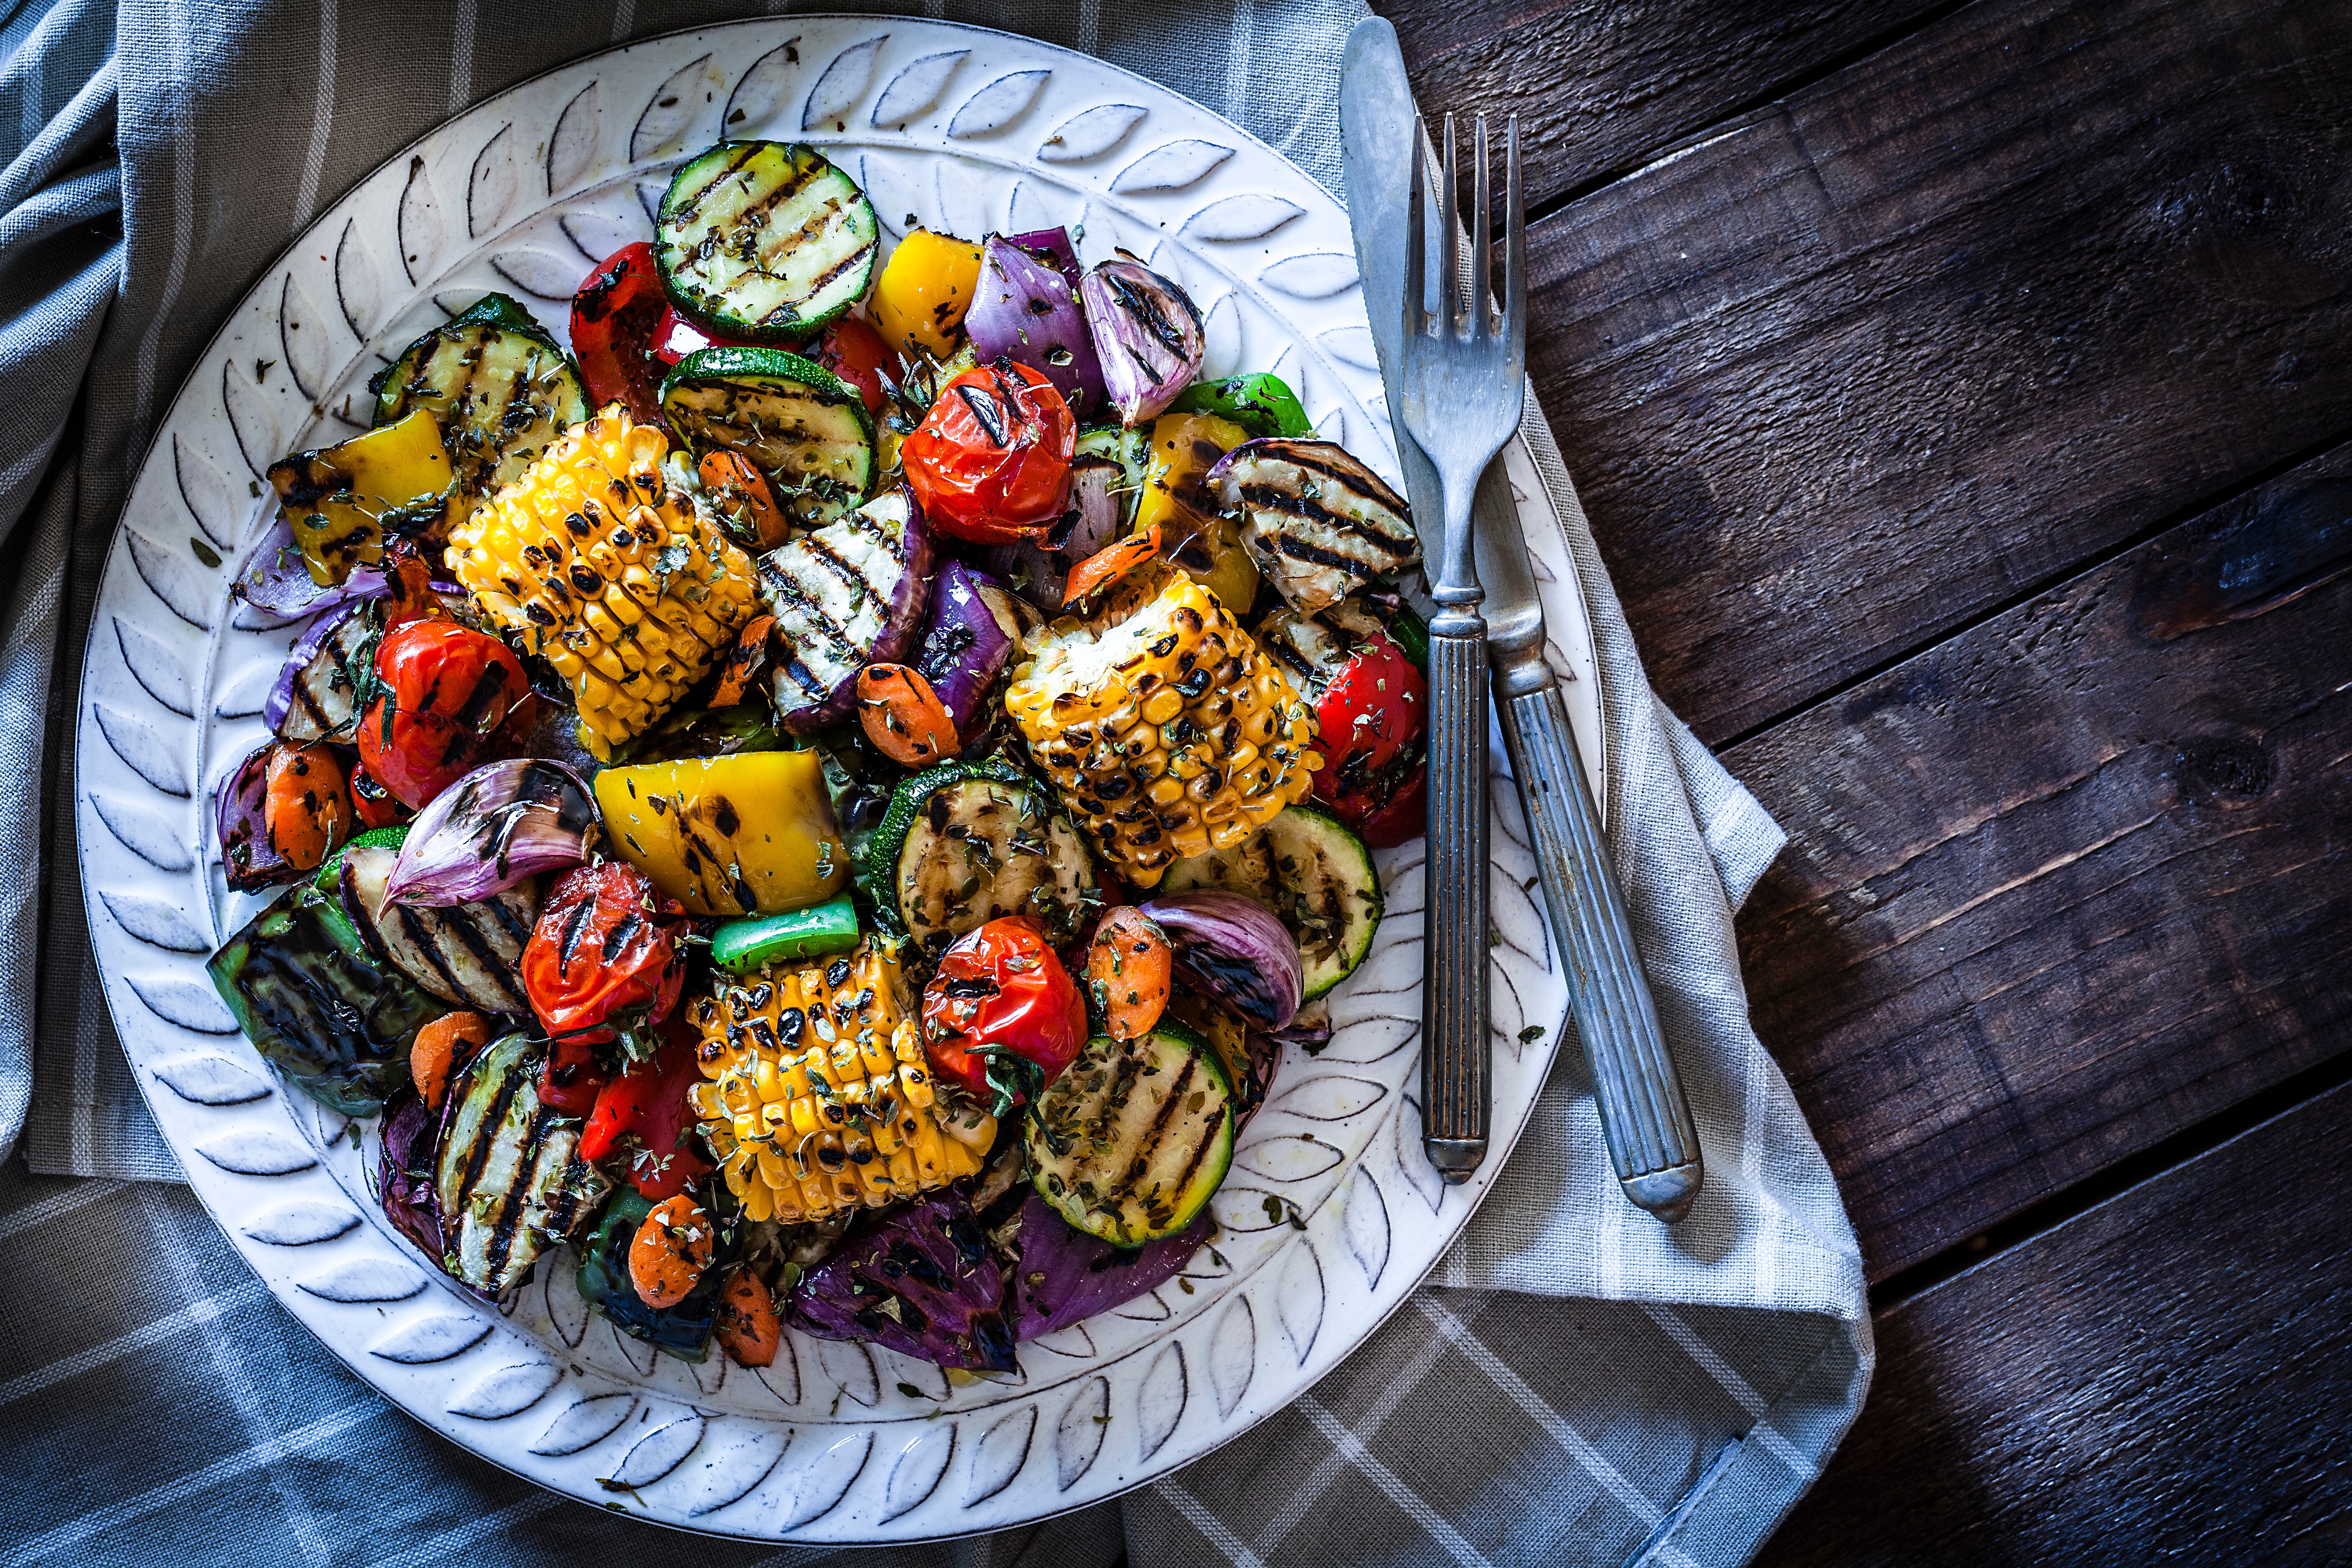
Perhaps you’ve heard about the glories of cooking on baking trays. For those who are busy, have limited means or time, or have picky eaters to feed, traybake cooking can be a lifesaver. You’ll be blown away by the flavourful, satisfying meals you can pull off with nothing but a baking tray, including these simple roasted vegetables that you can mix-and-match according to your taste.
By: Melissa Clark
Total time: 45 minutes
Serves: 2 to 3
Ingredients:
For the vegetables:
1kg vegetables (any combination of broccoli, courgette, cherry tomatoes, Brussels sprouts, mushrooms), cut into 2½cm pieces (see tip below)
2 tbsp extra-virgin olive oil, plus more for serving
1¼ tsp salt
Freshly ground black pepper
4 fresh thyme sprigs or 1 tsp dried thyme (optional)
For the (optional) garlicky yoghurt sauce:
130g whole-milk Greek yoghurt
1 to 2 garlic cloves, finely grated or minced
1 tbsp extra-virgin olive oil
Pinch each salt and freshly ground black pepper
Method:
1. Prepare the vegetables: heat oven to 200C. Add the vegetables to a rimmed baking tray. Add 2 tablespoons of oil, the salt, pepper and thyme (if using), and gently toss vegetables to coat. Use your hands to spread the vegetables out into one layer, spacing them evenly all over the tray.
2. Transfer to the oven and roast until they are tender and browned, 30 to 40 minutes, stirring at least once during roasting for even cooking.
3. While vegetables roast, you can make yoghurt sauce if you like: in a small bowl, combine yoghurt, garlic, oil, salt and pepper. Taste and adjust seasoning. Cover and place in the fridge until ready to use.
4. Serve roasted vegetables with a dollop of garlic yoghurt, if desired, and a drizzle of oil on top.
Tips: If you’d like to swap these vegetables for denser vegetables, use any combination of carrots, potatoes, sweet potatoes, turnips, butternut squash and cauliflower, cut into 2½cm chunks. Add an extra tablespoon of oil and extra ½ teaspoon of salt. Roast for 40 to 50 minutes. These vegetables take longer to cook and absorb more oil while roasting.
Grilled salmon with mustard and lemon
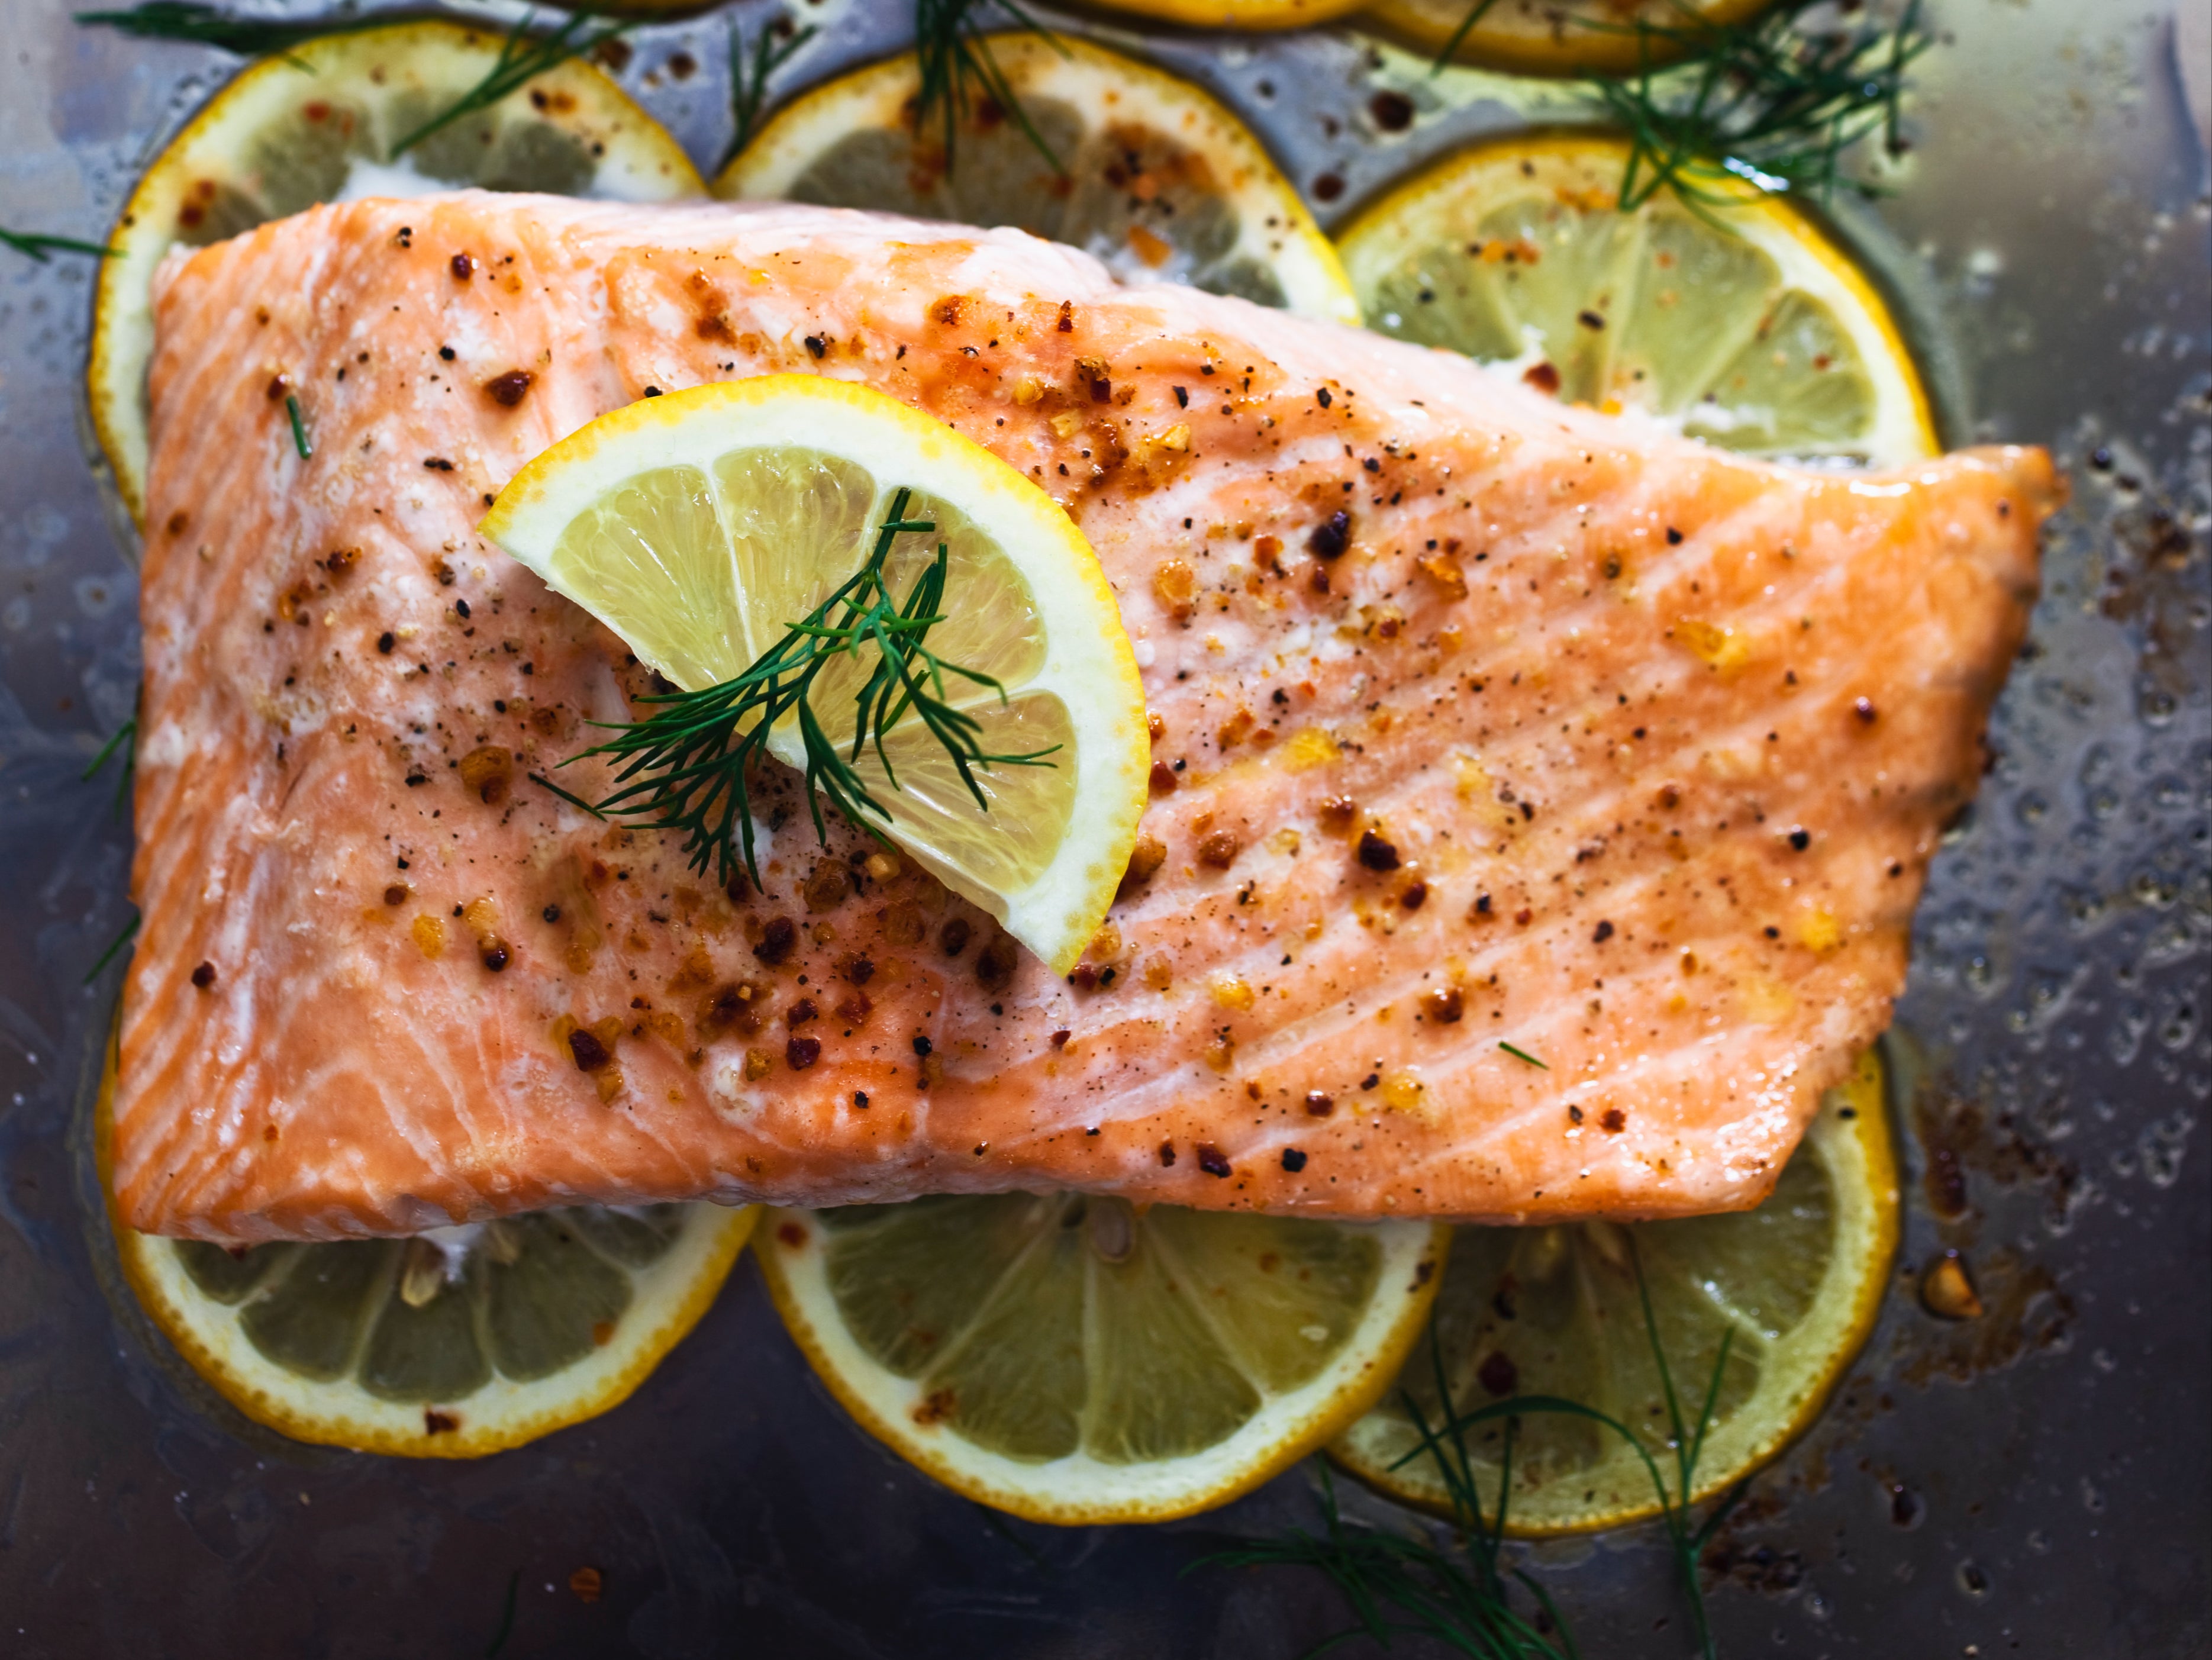
Baking trays aren’t just great for cooking vegetables. You can also put them to use when it’s time to throw some protein into the mix, as in this done-in-a-flash grilled salmon. Even better, there are all manner of ways you can flavour your salmon – brown sugar and mustard, miso and mirin, citrus and herbs – while sticking to this grilling blueprint.
By: Melissa Clark
Total time: 15 minutes
Serves: 2
Ingredients:
2 (170-225g) skin-on salmon fillets, each about 2½cm thick
½ tsp salt, plus more to taste
Freshly ground black pepper
2 tbsp extra-virgin olive oil
1 tbsp Dijon mustard
Lemon wedges, for serving
Method:
1. Position one oven rack 15cm from the grill heat source then heat the grill. Season the salmon fillets all over with ½ tsp salt and a couple of grinds of pepper and place them on an aluminum foil-lined baking tray, skin side down.
2. In a small bowl, whisk the oil and mustard until well mixed. Brush the tops and sides of the salmon with this mustard mixture.
3. Grill until the salmon is opaque with a deep brown crust, about 6 to 8 minutes for medium-rare (the centre of the fillets will be dark pink, if you pierce one with a paring knife and take a look). If your fillets are thinner, reduce cooking time by 1 to 2 minutes. If you prefer more well-done fish, add 1 or 2 minutes to the cooking time.
4. Squeeze a lemon wedge all over the cooked salmon fillets, then serve salmon with more lemon wedges on the side.
Vegetable tofu curry
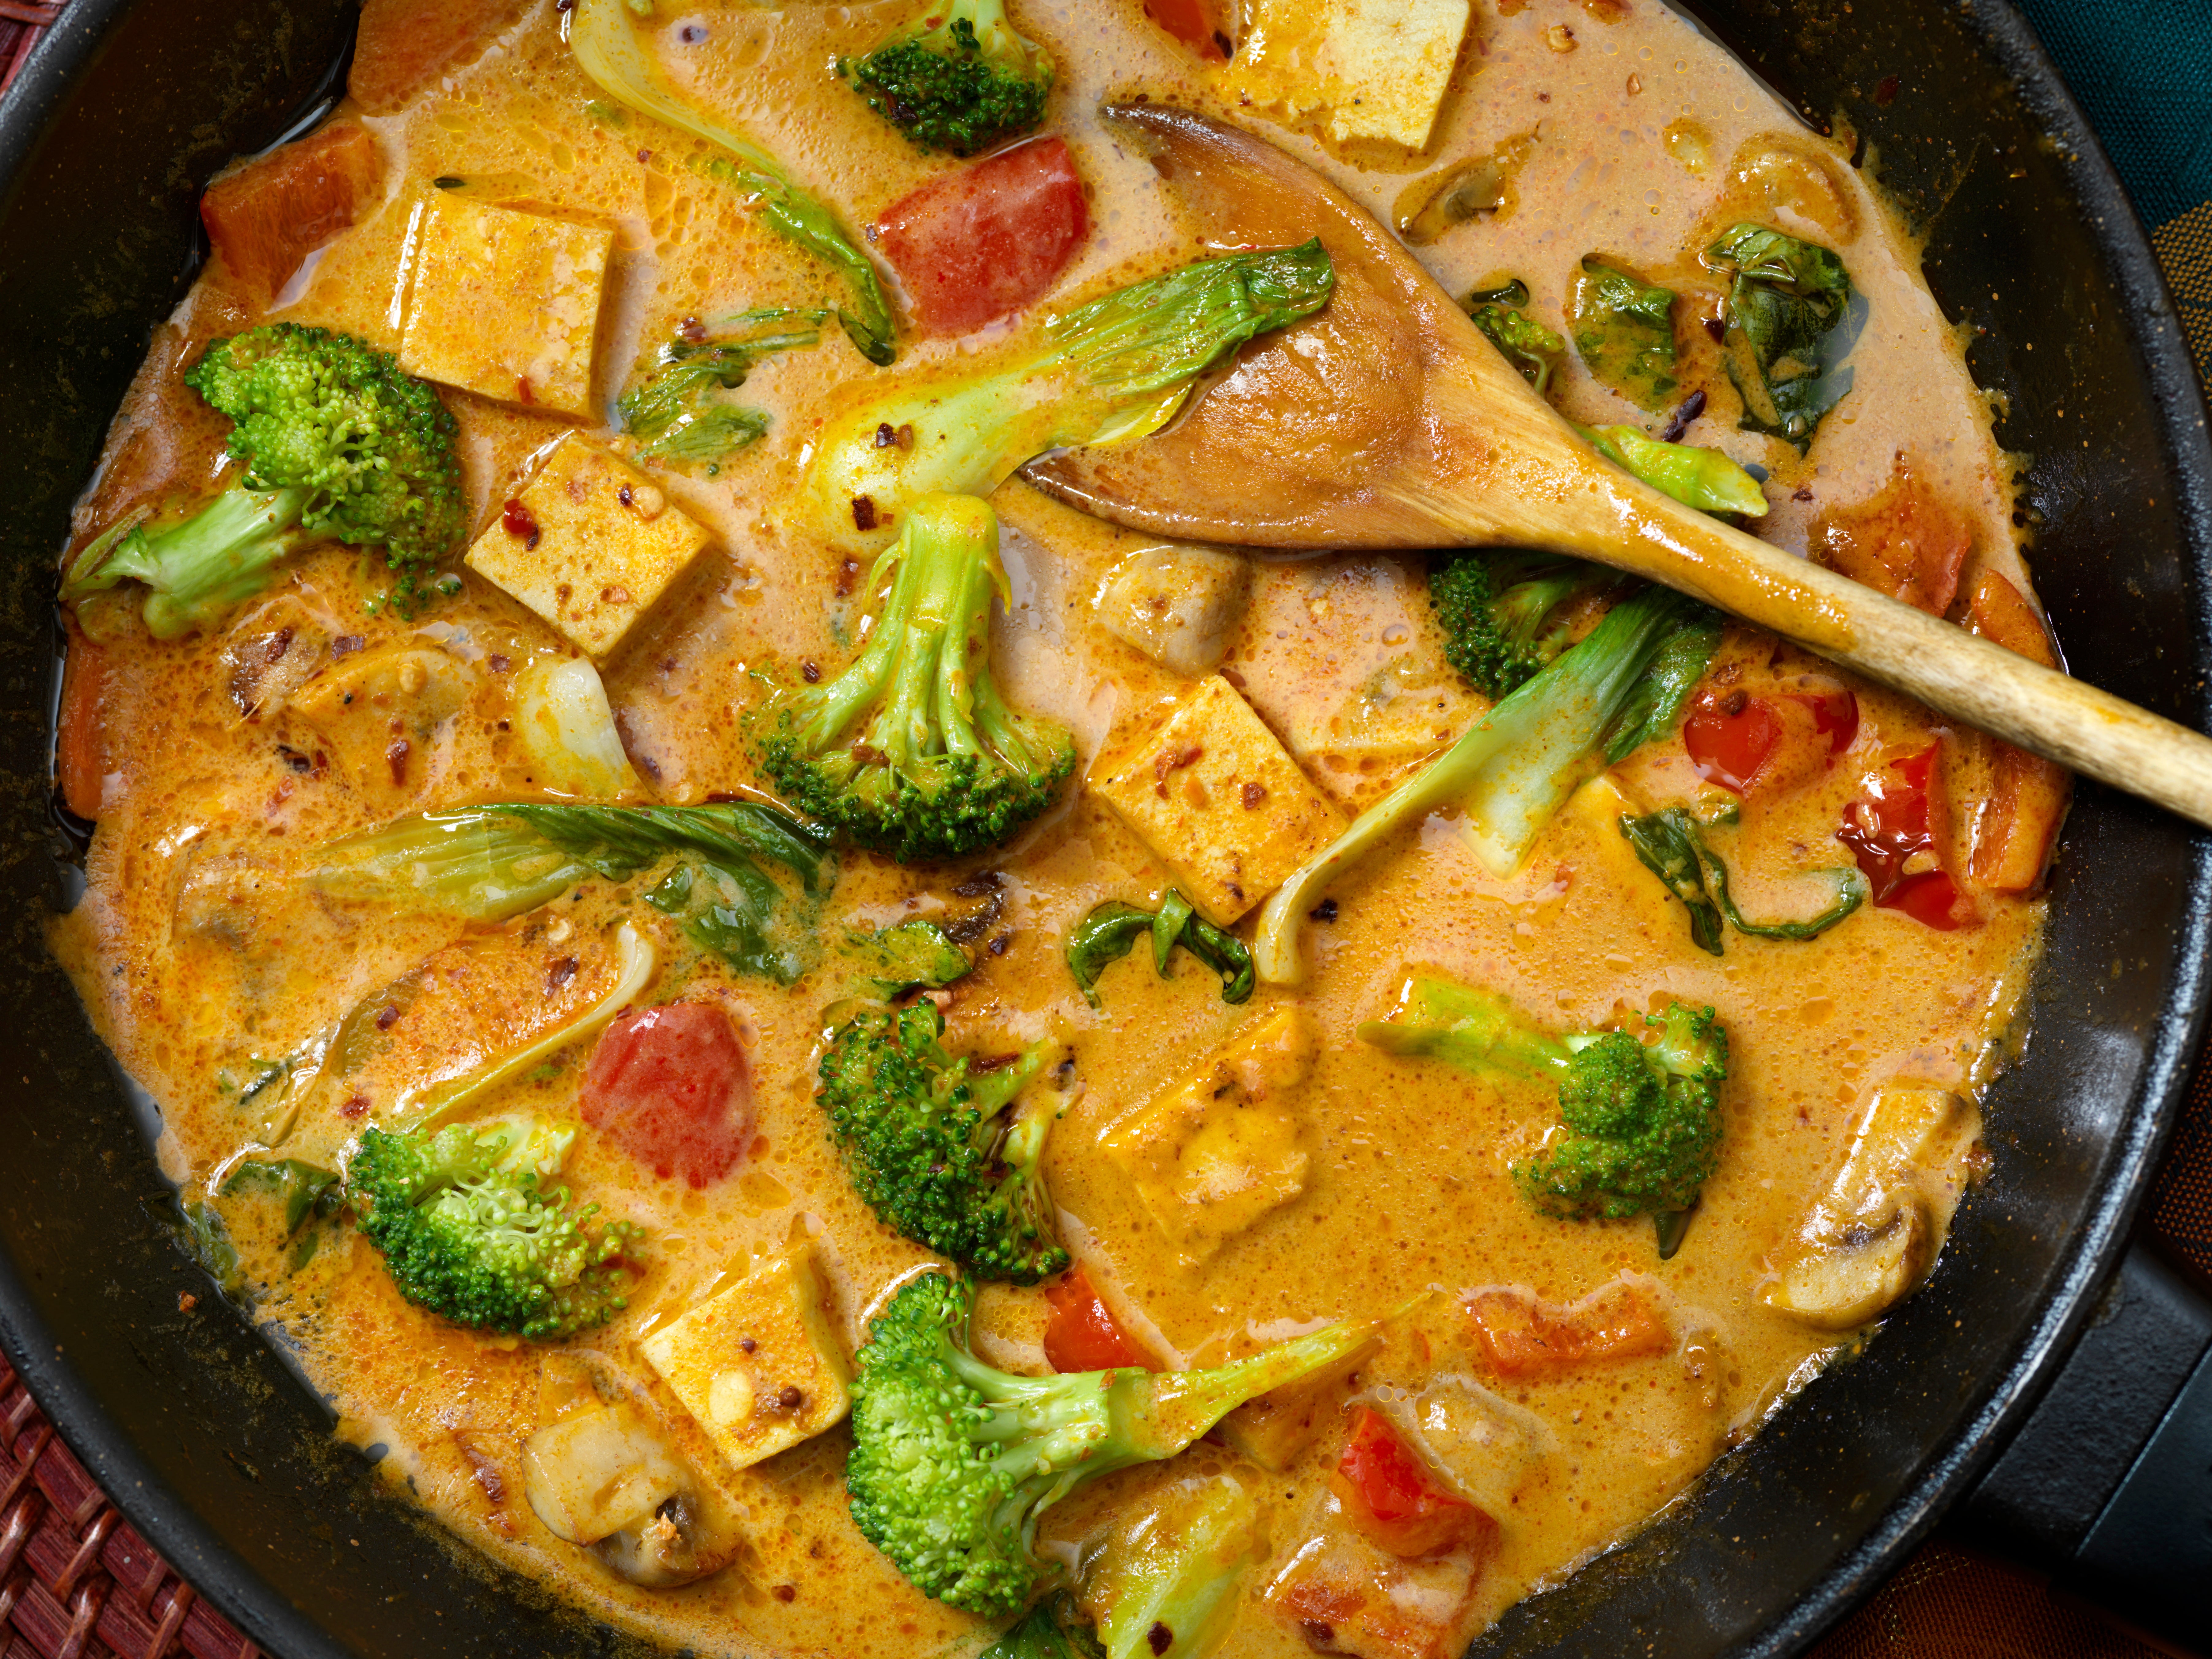
Break out the saucepan, the last of the kitchen items you’ll need to complete this cooking marathon. When it comes to one-pot meals, this tofu curry is simple to pull off, with a fragrant coconut sauce that imparts its flavour to broccoli, tofu and onions. And with all the fat and liquid coming from full-bodied coconut milk, vegan cooks will rejoice.
By: Genevieve Ko
Total time: 20 minutes
Serves: 2 to 4
Ingredients:
2 broccoli heads, 225g green beans or 280g frozen peas, or a combination
1 (400-450g) container firm tofu
1 (380g) tin coconut milk
1 medium onion, chopped
Salt and pepper
1 tbsp curry powder, plus more to taste
Cooked rice or other grains or noodles, for serving
Hot sauce, for serving (optional)
Method:
1. If using broccoli, trim the ends of the stems and discard, then cut the stems off near the base of the florets. Cut off the thick peel around the stems, then cut the stems into 1½cm slices. Cut the broccoli crowns into small florets. Drain the tofu and cut into 2½cm cubes.
2. Open the tin of coconut milk and spoon off 2½cm or so of the hard white solid part into a large saucepan with a lid (if the milk is all liquid, add a few spoonfuls). Turn the heat to medium-high. When the solids melt, add the onion and broccoli stems, if using, and sprinkle with salt and pepper. Cook, uncovered, stirring occasionally, until the onion is translucent, 5 to 7 minutes. The coconut milk liquid should have evaporated, so the onions should be sizzling in coconut oil and the milk solids should be brown and smell toasty. Scrape up any bits sticking to the bottom.
3. Turn the heat down to medium-low, add the curry powder and stir until evenly mixed, about 10 seconds. Add the remaining coconut milk, stir and bring to a simmer. Add the tofu and spread the cubes in an even layer, then top with the broccoli florets or other vegetables, sprinkle with salt and cover with the lid. Cook until the vegetables are just tender but still bright green, 5 to 7 minutes.
4. Gently stir so the vegetables are also coated in sauce. Taste and stir in more curry powder, salt and pepper if you’d like. Serve hot over rice or other grains or noodles, with hot sauce if you want.
Turkey chilli
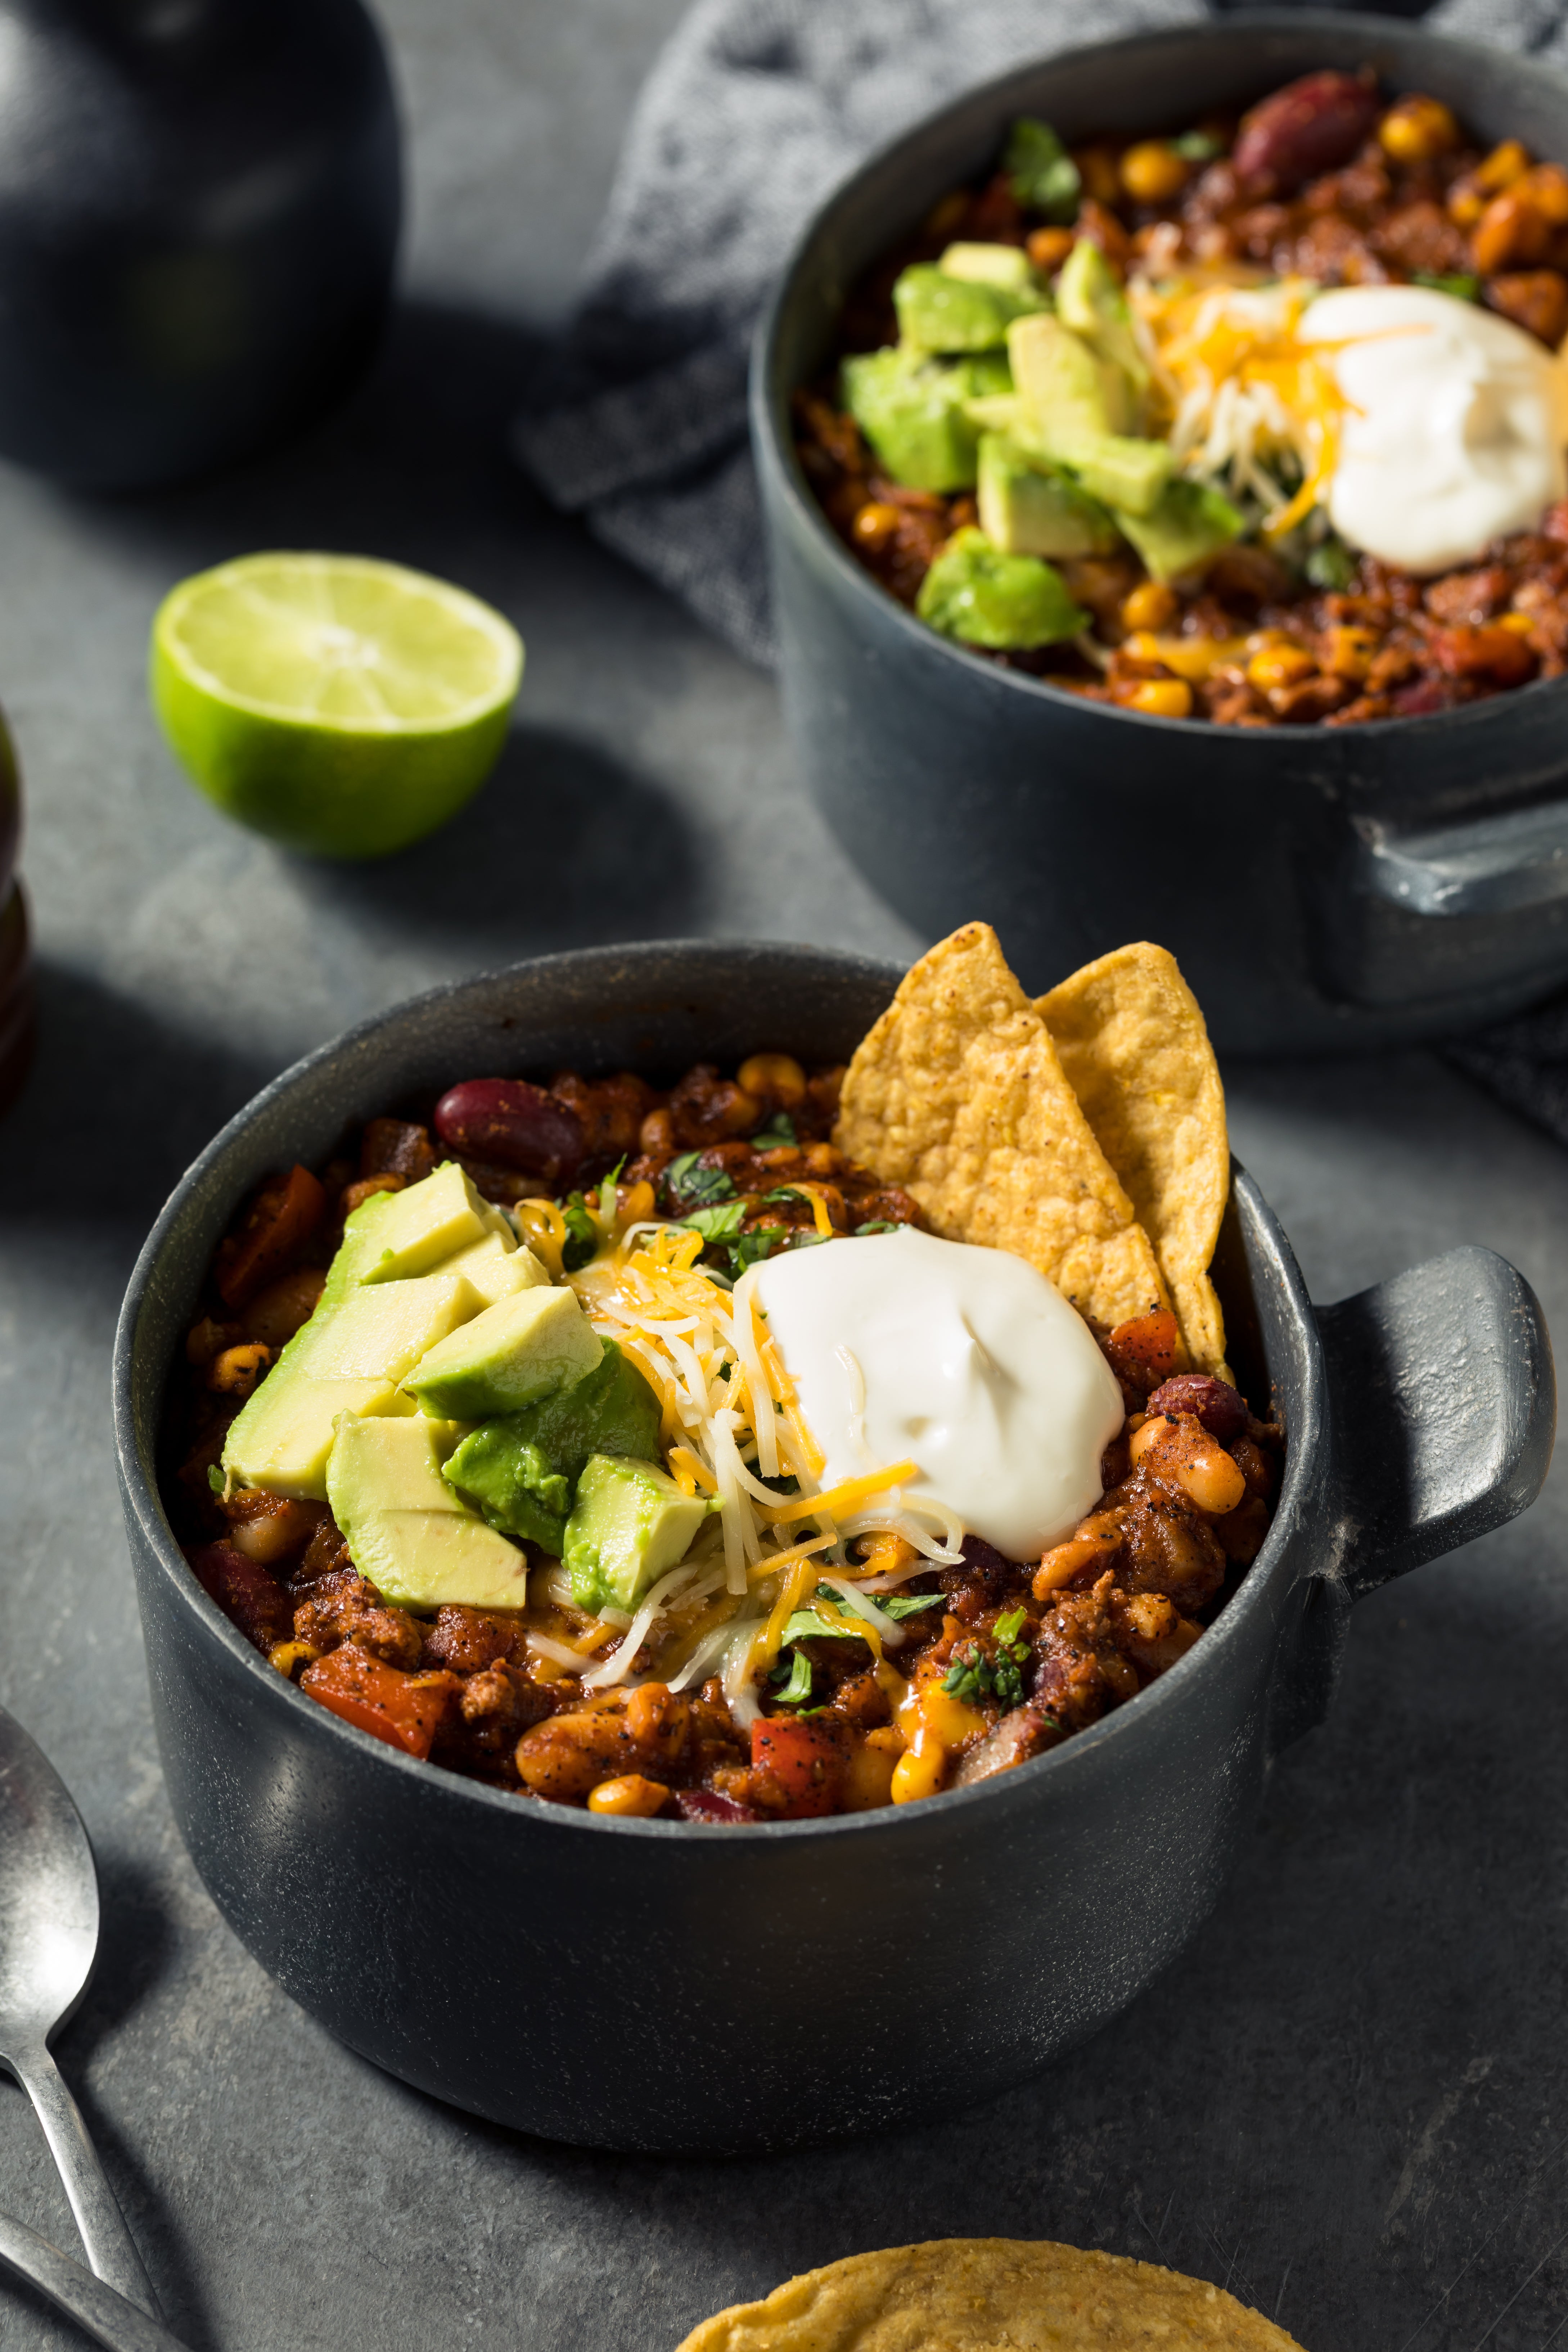
What better way to feed a big group than this hearty turkey chilli? (It’s also a great way to make lots of meals for yourself: leftovers will last for days in the fridge or a month in the freezer.) The recipe starts with frying onions and tinned tomatoes in olive oil before adding chilli powder and chipotles to the mix for spice and heat. You’ll have to let things burble away for a good 20 minutes, but you can trust that, like these 10 recipes, the process is working.
By: Eric Kim
Total time: 45 minutes
Serves: 2 to 4
Ingredients:
3 tbsp olive oil
1 large white onion, diced
1 (800g) tin whole peeled tomatoes
Salt
2 tbsp chilli powder
450g turkey mince
1 (200g) tin chipotle peppers in adobo sauce
Grated extra-sharp cheddar, sour cream and whole coriander leaves, for serving (optional)
Method:
1. In a large pot or casserole dish, heat the oil over medium-high heat. Add the onion and cook, stirring occasionally with a wooden spoon, until translucent and starting to brown at the edges, 5 to 7 minutes.
2. Use a fork to fish the tomatoes out of the tin and add them to the pot, leaving behind the juice for now. Season with salt and cook the tomatoes, breaking them up with the wooden spoon and stirring occasionally, until jammy and their liquid has reduced significantly, 5 to 7 minutes.
3. Stir in the chilli powder and cook until fragrant, just a few seconds. Add the turkey mince, season with salt and stir to combine, breaking up the meat with the spoon (don’t worry about browning or cooking it through here, as it will do so when it simmers). Stir in the reserved liquid from the tomato tin.
4. Use the fork to fish out as many chipotle peppers from the tin as you would like, starting with two or three, and add to the pot, breaking them up with the wooden spoon, along with all of the adobo sauce. The more peppers you use, the spicier your final chilli will be; if you like spice, just add the entire tin (store any peppers you don’t use in an airtight container in the refrigerator for up to a week and in the freezer for up to 2 months). Fill the empty chipotle tin with cold tap water, swish it around and add to the pot. Stir to combine.
5. Bring the chilli to a simmer over medium-high heat – you should see occasional small bubbles breaking the surface of the mixture – then cover the pot and reduce the heat to continue simmering over medium-low, stirring occasionally, until the liquid has reduced and the tomatoes have broken down, about 20 minutes. The chilli should look thick and shiny, but not too thick that you couldn’t ladle it into a bowl (if it's too watery, then simmer with the lid off for another 5 minutes, stirring occasionally). Taste and add more salt if desired. Serve with cheese, sour cream and coriander, if using.
Lemony chicken with potatoes and oregano
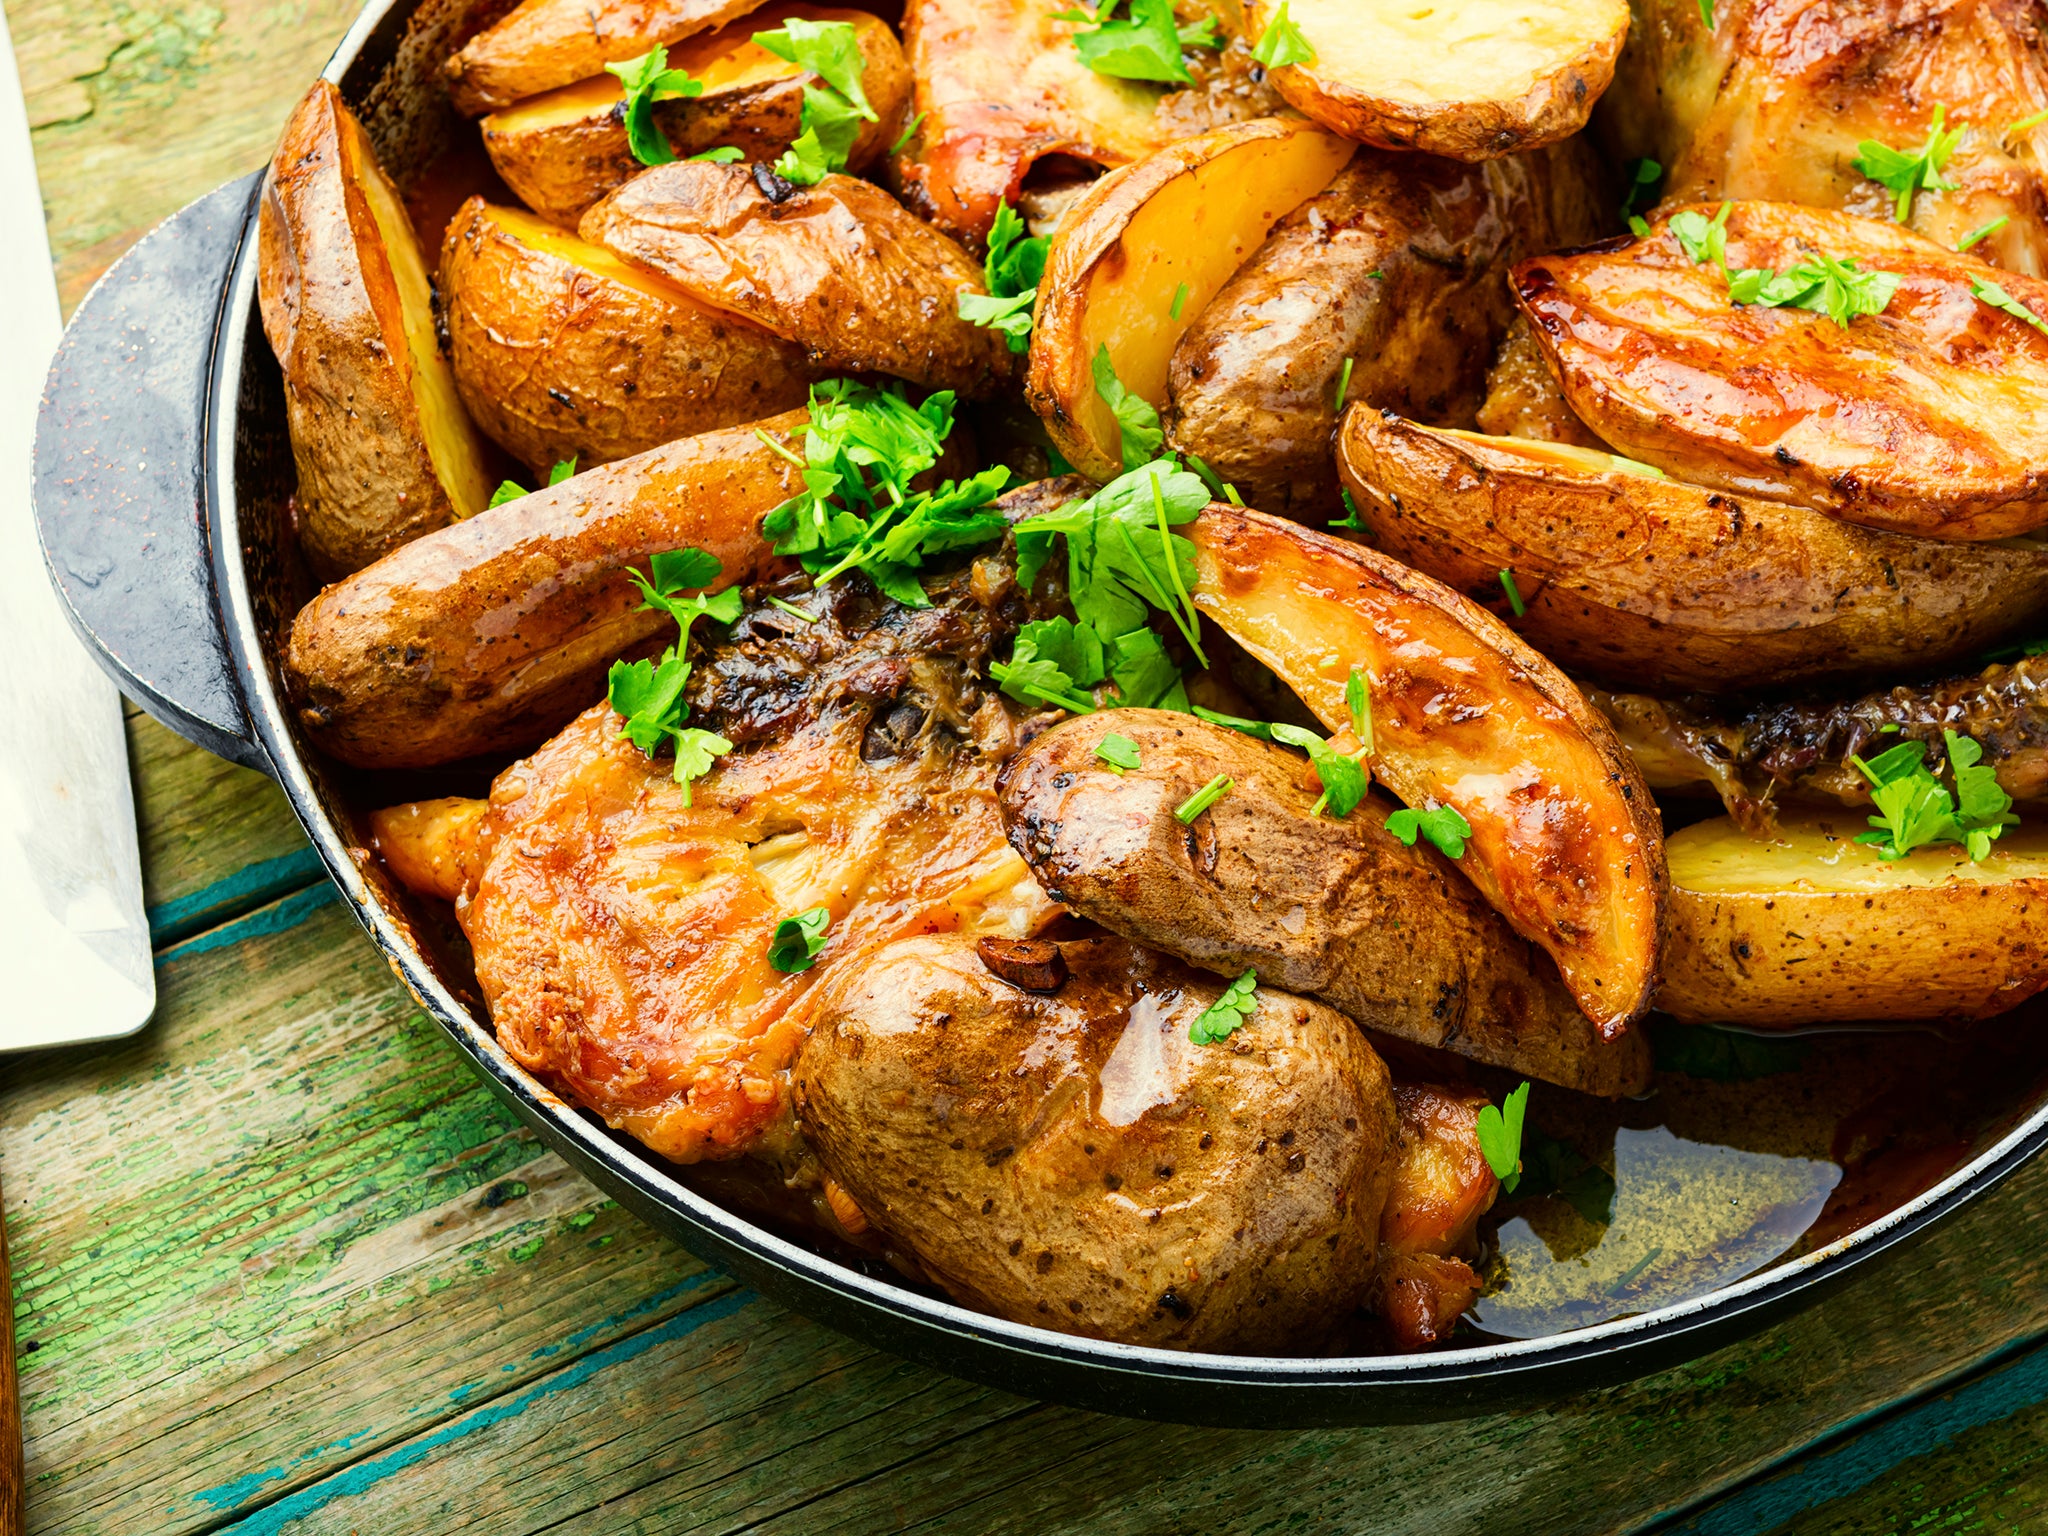
OK, time to roast a whole chicken! Just kidding: let’s start with just the thighs, and work from there. When you’re seeking comfort and an all-in-one dinner, this lemony chicken will deliver and leave you feeling very accomplished in the process. The result will warm the soul, with just a touch of zip and zing from a generous helping of lemon juice.
By: Melissa Clark
Total time: 50 minutes
Serves: 2
Ingredients:
2 lemons
560g bone-in, skin-on chicken thighs (2 to 3), patted dry with paper towels (see tip below)
560g Maris Piper potatoes, scrubbed, halved and cut into 1½cm wedges
1¾ tsp dried oregano, plus more for serving
1½ tsp salt, plus more for serving
¾ tsp freshly ground black pepper
3 tbsp extra-virgin olive oil
Mayonnaise, mustard, ketchup or hot sauce, for serving
Method:
1. Heat oven to 200C and, if you like, line a baking tray with parchment paper (not essential but helpful for cleaning up).
2. Trim the ends off 1 lemon, then cut the lemon in half crosswise. Thinly slice one half of the lemon into rounds, then cut the rounds into quarters, creating small triangles. Shake out the seeds then place the lemon quarters into a large bowl. Save the remaining lemon half for serving. Cut the remaining whole lemon into wedges, for serving.
3. Add chicken and potatoes to the large bowl with the lemon quarters. Add the oregano, salt and pepper; toss well (your hands are the best tools here). Drizzle in the oil and toss again.
4. Arrange chicken thighs skin side up on one half of the prepared baking tray, and potatoes and lemons on the other, spreading the potatoes out into one layer. Roast for 20 minutes. Using a long-handled spoon, stir the potatoes, then spread them out again in one layer (you don’t have to touch the chicken). Continue roasting until chicken and potatoes are cooked through and everything is golden and crisped, another 15 to 20 minutes (40 to 45 minutes total roasting time).
5. To serve, squeeze the juice from the lemon half all over chicken and potatoes and give everything a good stir to incorporate all the tasty juices and browned bits at the bottom of the pan. Sprinkle with more oregano and salt, and serve with additional lemon wedges and condiments on the side.
Tips: You can substitute 560g chicken drumsticks for the thighs, or use a combination of thighs and drumsticks. Bone-in, skin-on breasts can also be substituted; because they cook more quickly than dark meat does, you’ll need to start checking on them after 30 minutes of total roasting time.
This isn’t the end of the kitchen marathon – it’s just the beginning. We hope you come out of cooking these 10 recipes feeling capable enough to feed not only yourself but the people you hold nearest and dearest as well. Even at the start of this journey, you’ll find the joy in cooking. And it only gets better.
© The New York Times


Join our commenting forum
Join thought-provoking conversations, follow other Independent readers and see their replies
Comments