Fake tan guide: How to apply in six steps, according to experts
Get yourself a seamless sun-kissed look this summer

Your support helps us to tell the story
From reproductive rights to climate change to Big Tech, The Independent is on the ground when the story is developing. Whether it's investigating the financials of Elon Musk's pro-Trump PAC or producing our latest documentary, 'The A Word', which shines a light on the American women fighting for reproductive rights, we know how important it is to parse out the facts from the messaging.
At such a critical moment in US history, we need reporters on the ground. Your donation allows us to keep sending journalists to speak to both sides of the story.
The Independent is trusted by Americans across the entire political spectrum. And unlike many other quality news outlets, we choose not to lock Americans out of our reporting and analysis with paywalls. We believe quality journalism should be available to everyone, paid for by those who can afford it.
Your support makes all the difference.As the weather gets hotter, there’s nothing quite like the sensation of warmth on your skin.
But if you can’t afford to splash the cash on a summer holiday this year to get that sun-kissed glow, fear not, because fake tan offers a safer, simpler and more affordable solution.
Over the years, self-tan has earned itself a bad reputation thanks to the string of perilous pitfalls that so often come with it – think blotchy limbs, stained hands and orange bed sheets.
But the good news is that the fake stuff has come a long way since the days of sticky creams and pungent biscuit-smelling lotions.
Thanks to technological advances in the beauty industry, there is now a new generation of foolproof tanning products that take all the fear out of going faux.
Whether you’re a newbie or just in need of some tips to up your application skills, we’ve created a step-by-step guide on how to fake tan with the help of two of the industry’s best tanning professionals, Jules Von Hep – co-founder of self-tanning brand Isle of Paradise – and Michaella Bolder – a tanning expert for St.Tropez.
Step 1: Prep and prime
Often hailed as the most important step on your journey to a full-body glow, putting in the effort before you tan means you’ll reap the rewards in the long run.
Von Hep suggests removing any deodorant and make-up prior to application, however, he adds that you shouldn’t use an oil-based cleanser as this can act as a barrier to the tan’s penetration.
It’s also important to remove unwanted hair at least 24 hours before you want to apply the fake tan and to ensure your skin is exfoliated using a dry brush or scrub.
“This means your skin will have an even surface, so the final result will be even and, more importantly, it will fade evenly like a natural tan would,” Von Hep tells The Independent.
Bolder also recommends applying a generous amount of oil-free moisturiser to any dry areas such as the hands, elbows, knees and feet, to stop tan build-up and ensure a natural finish.
Step 2: Ace your application technique
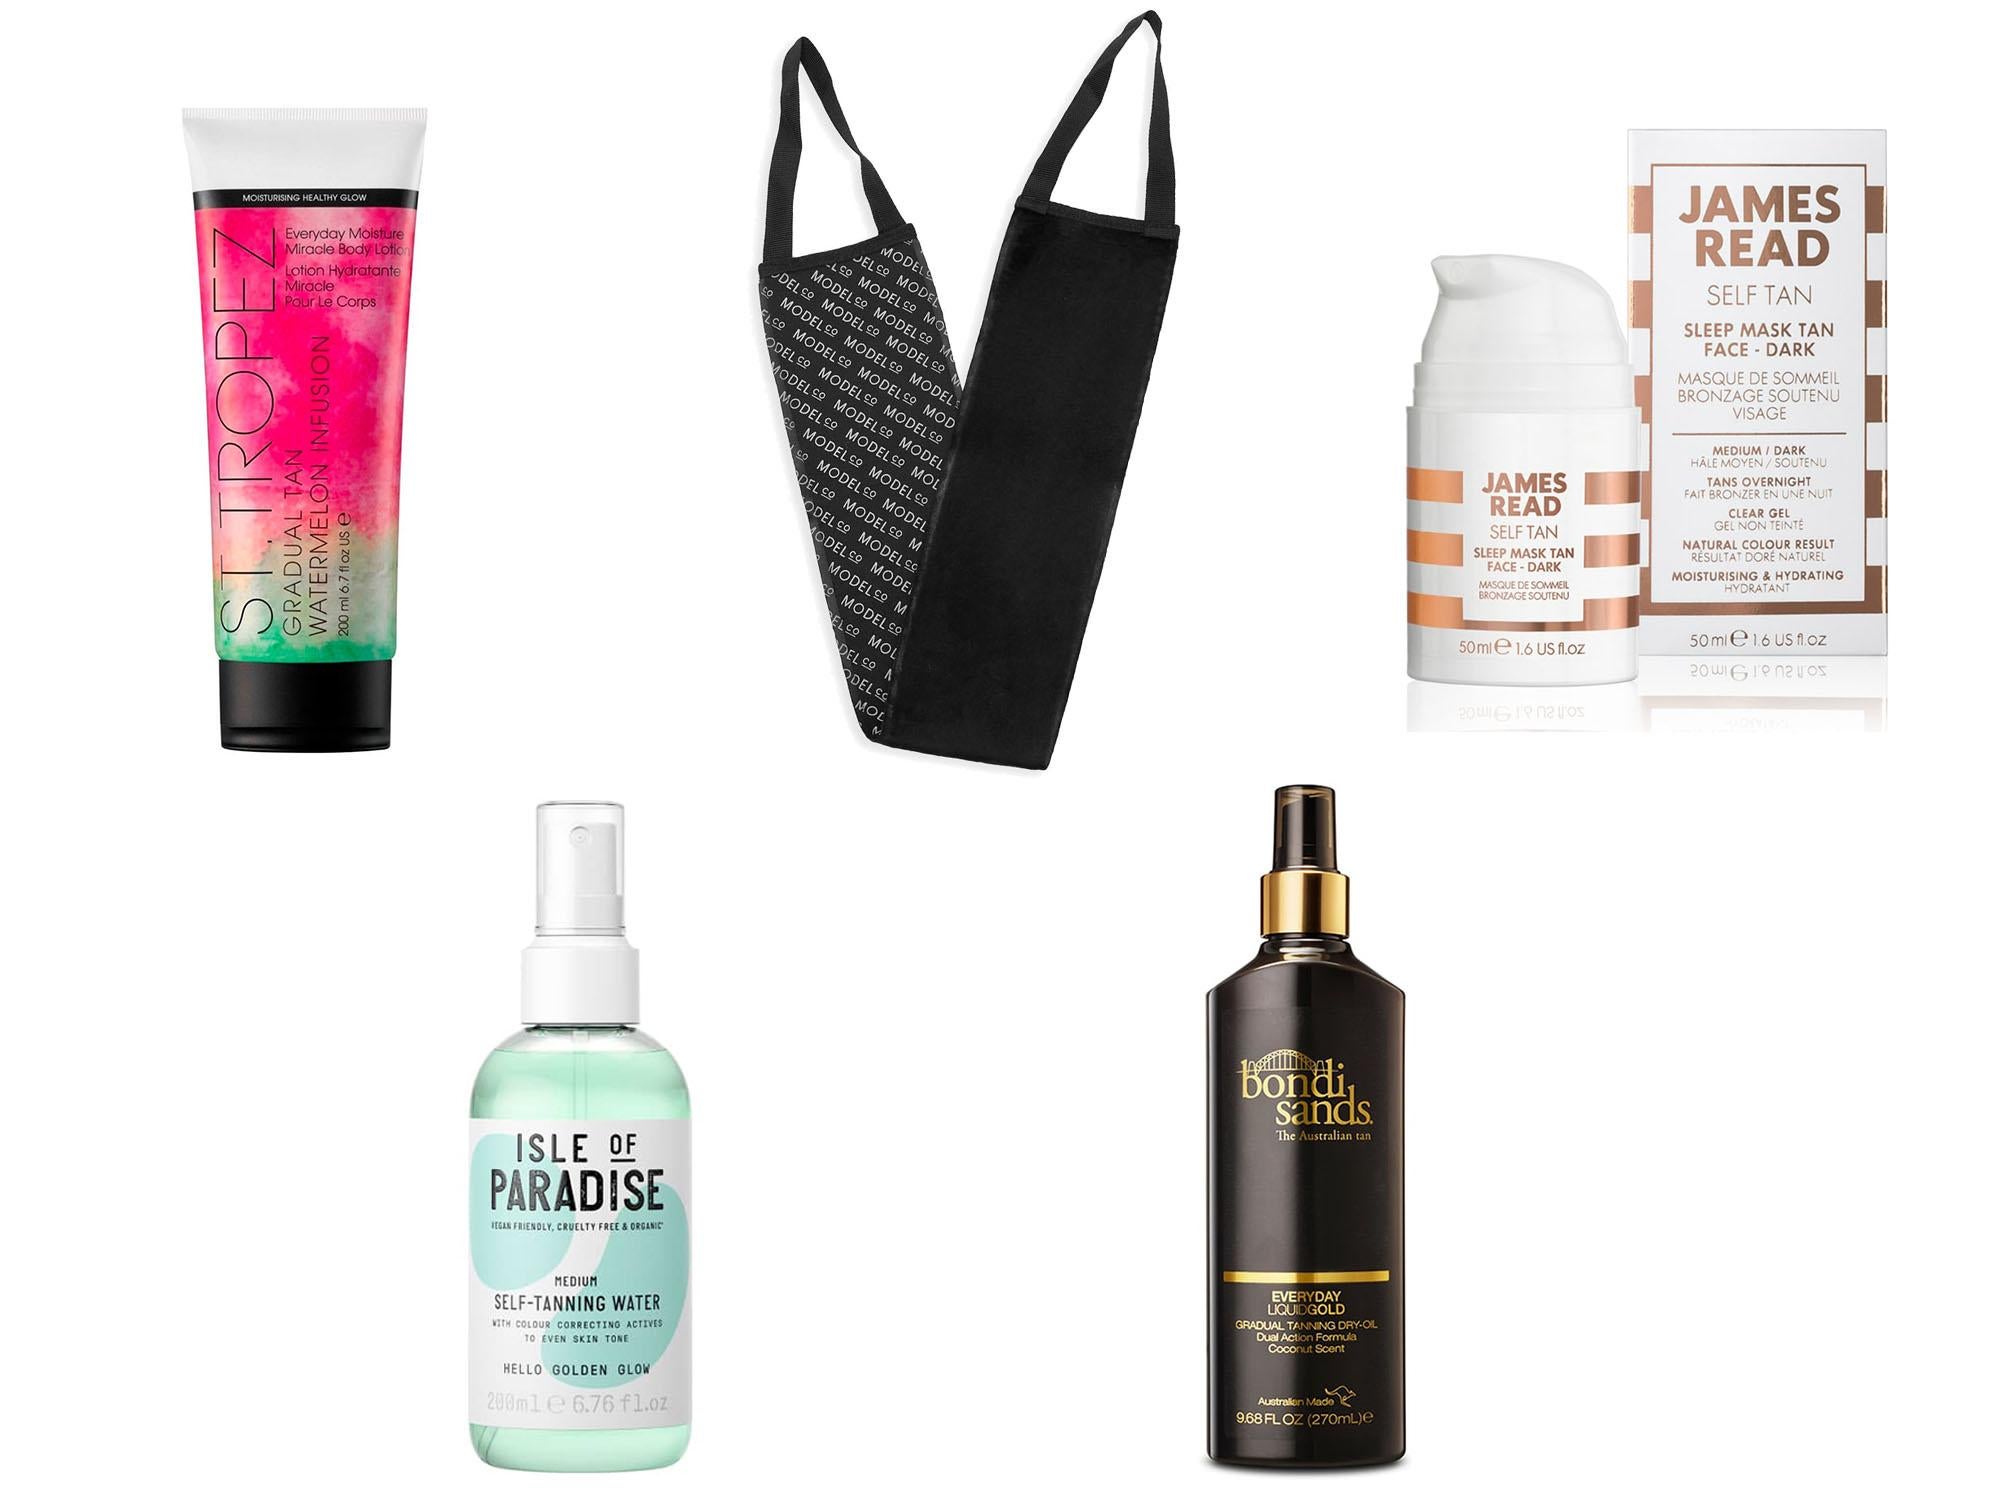
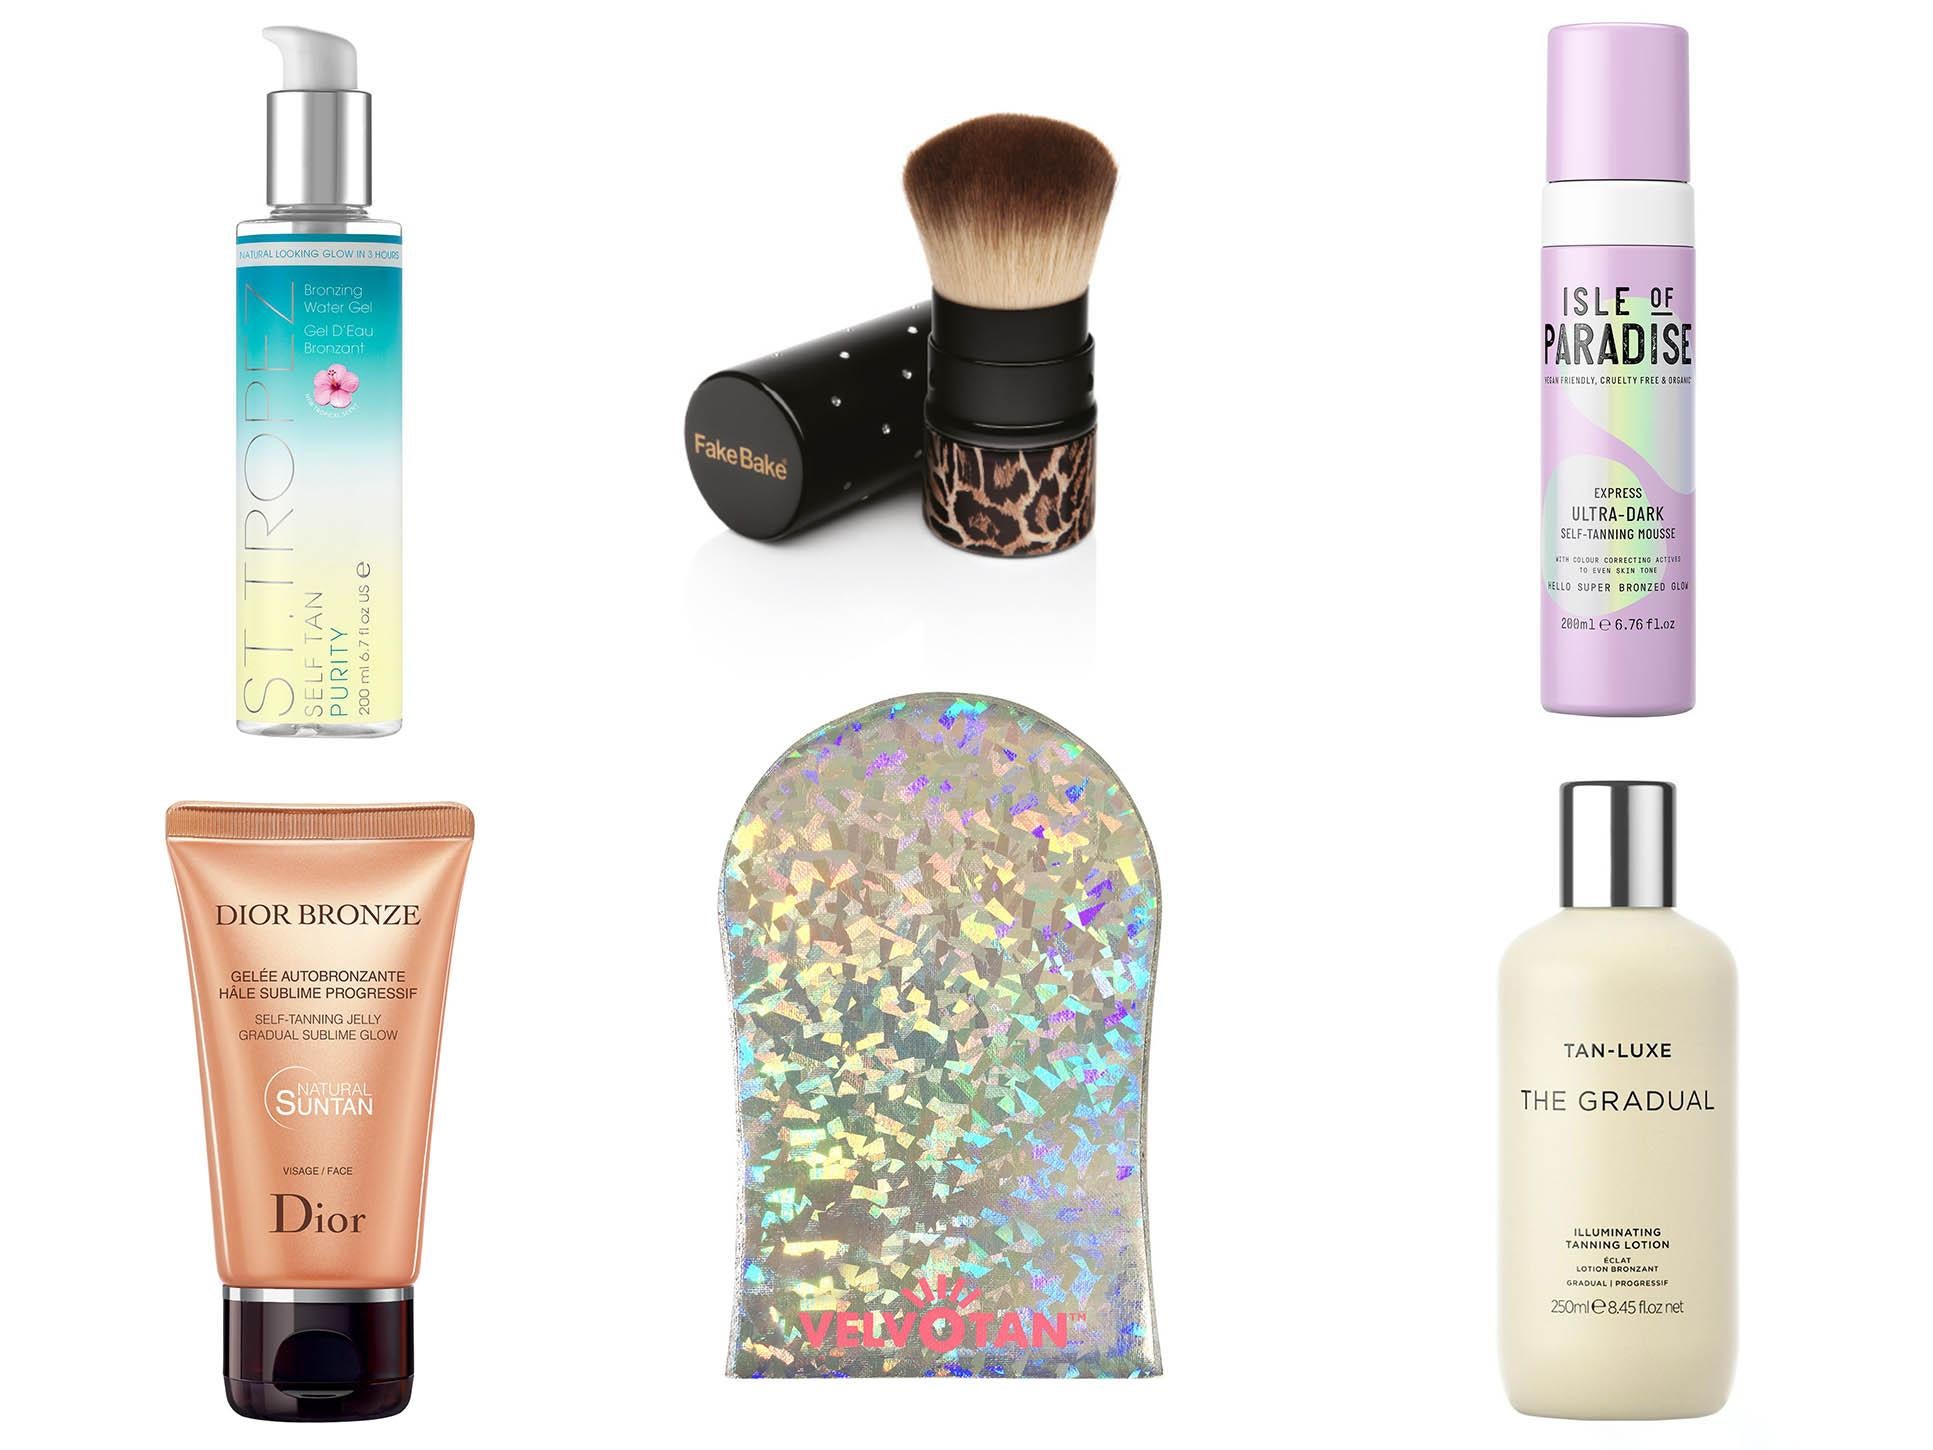
Using your bare hands to apply fake tan is likely to end in disaster so, to avoid stained palms and ensure seamless application, it’s best to invest in a tanning mitt.
When it comes to technique, Von Hep suggests starting from the ankles and working your way up to the chest in sweeping motions as this ensures the product is distributed evenly for the most natural, even-looking tan.
“When it comes to tanning the back – you can do this alone!” Von Hep adds.
“Just turn your mitt backwards and apply product directly onto skin, sweeping from side to side.”

Step 3: Layer up
Even if you want a light tan, it’s still important to layer as this will ensure depth of colour.
“With all tans, apply two coats to the body and one to the face,” Von Hep says.
“Starting at the ankles and working your way up means the tan will be dry enough to apply a second coat after a couple of minutes, just start again at from the ankles for the second layer.”
Step 4: Give your hands and feet the VIP treatment
Patchy knuckles and toes are some of the biggest tell-tale signs of a faux glow, so to avoid this Bolder suggests using a brush to apply the residual product left on the mitt to these areas.
“Take an old bronzing brush or a chunky foundation brush and dab it in your left-over tan from the mitt or add a tiny pump of product,” Bolder tells The Independent.
“Blend the brush over the mitt to remove excess before applying over your stretched hands and feet in fast and gentle circular motion.”
To finish, Von Hep recommends wiping in-between fingers and over finger nails with a damp cloth and rubbing your wrists together to remove any obvious lines.

Step 5: Find your formula
From mousses and lotions to sprays and drops, self-tan is available in myriad formulas, but which one is right for you?
If you’re a beginner or want a foolproof tan, Von Hep recommends investing in a mousse that comes with a guide colour so you can see where the product has been applied.
“These are designed for idiot-proof tanning (we have all been there) – using their guide colour, sweep the product over the skin and paint the self-tan on,” Von Hep says.
“Any brown lines you see on your skin after application means you have overlapped two coats. Any white lines mean there is an area you haven’t applied to – which will therefore streak.”
Bolder, on the other hand, recommends St.Tropez’s new range of tanning gels which transform into clear water upon contact with the skin for instant absorption and do not need to be rinsed off.
Step 6: Make it last
Now that you’ve achieved a flawless all-over glow the next step is to consider how you’re going to keep it that way.
While Bolder suggests giving your colour a boost using a gradual tanning lotion during the week, Von Hep says there are a number of things you should try and avoid, including products that contain retinol, AHA’s or BHA’s; harsh exfoliation; and chlorinated water.
Join our commenting forum
Join thought-provoking conversations, follow other Independent readers and see their replies
Comments