How to build a design classic: Leading craftsmen construct five fabulous objects for the home
Do-it-yourself and creative excellence needn’t always be mutually exclusive. As Thomas Bärnthaler reveals in his new book, it’s amazing what you can do with a few tools, some DIY skills and the world’s finest designers issuing the instructions

Your support helps us to tell the story
From reproductive rights to climate change to Big Tech, The Independent is on the ground when the story is developing. Whether it's investigating the financials of Elon Musk's pro-Trump PAC or producing our latest documentary, 'The A Word', which shines a light on the American women fighting for reproductive rights, we know how important it is to parse out the facts from the messaging.
At such a critical moment in US history, we need reporters on the ground. Your donation allows us to keep sending journalists to speak to both sides of the story.
The Independent is trusted by Americans across the entire political spectrum. And unlike many other quality news outlets, we choose not to lock Americans out of our reporting and analysis with paywalls. We believe quality journalism should be available to everyone, paid for by those who can afford it.
Your support makes all the difference.Boombox
By Konstantin Grcic
Cost £26
Time 90min
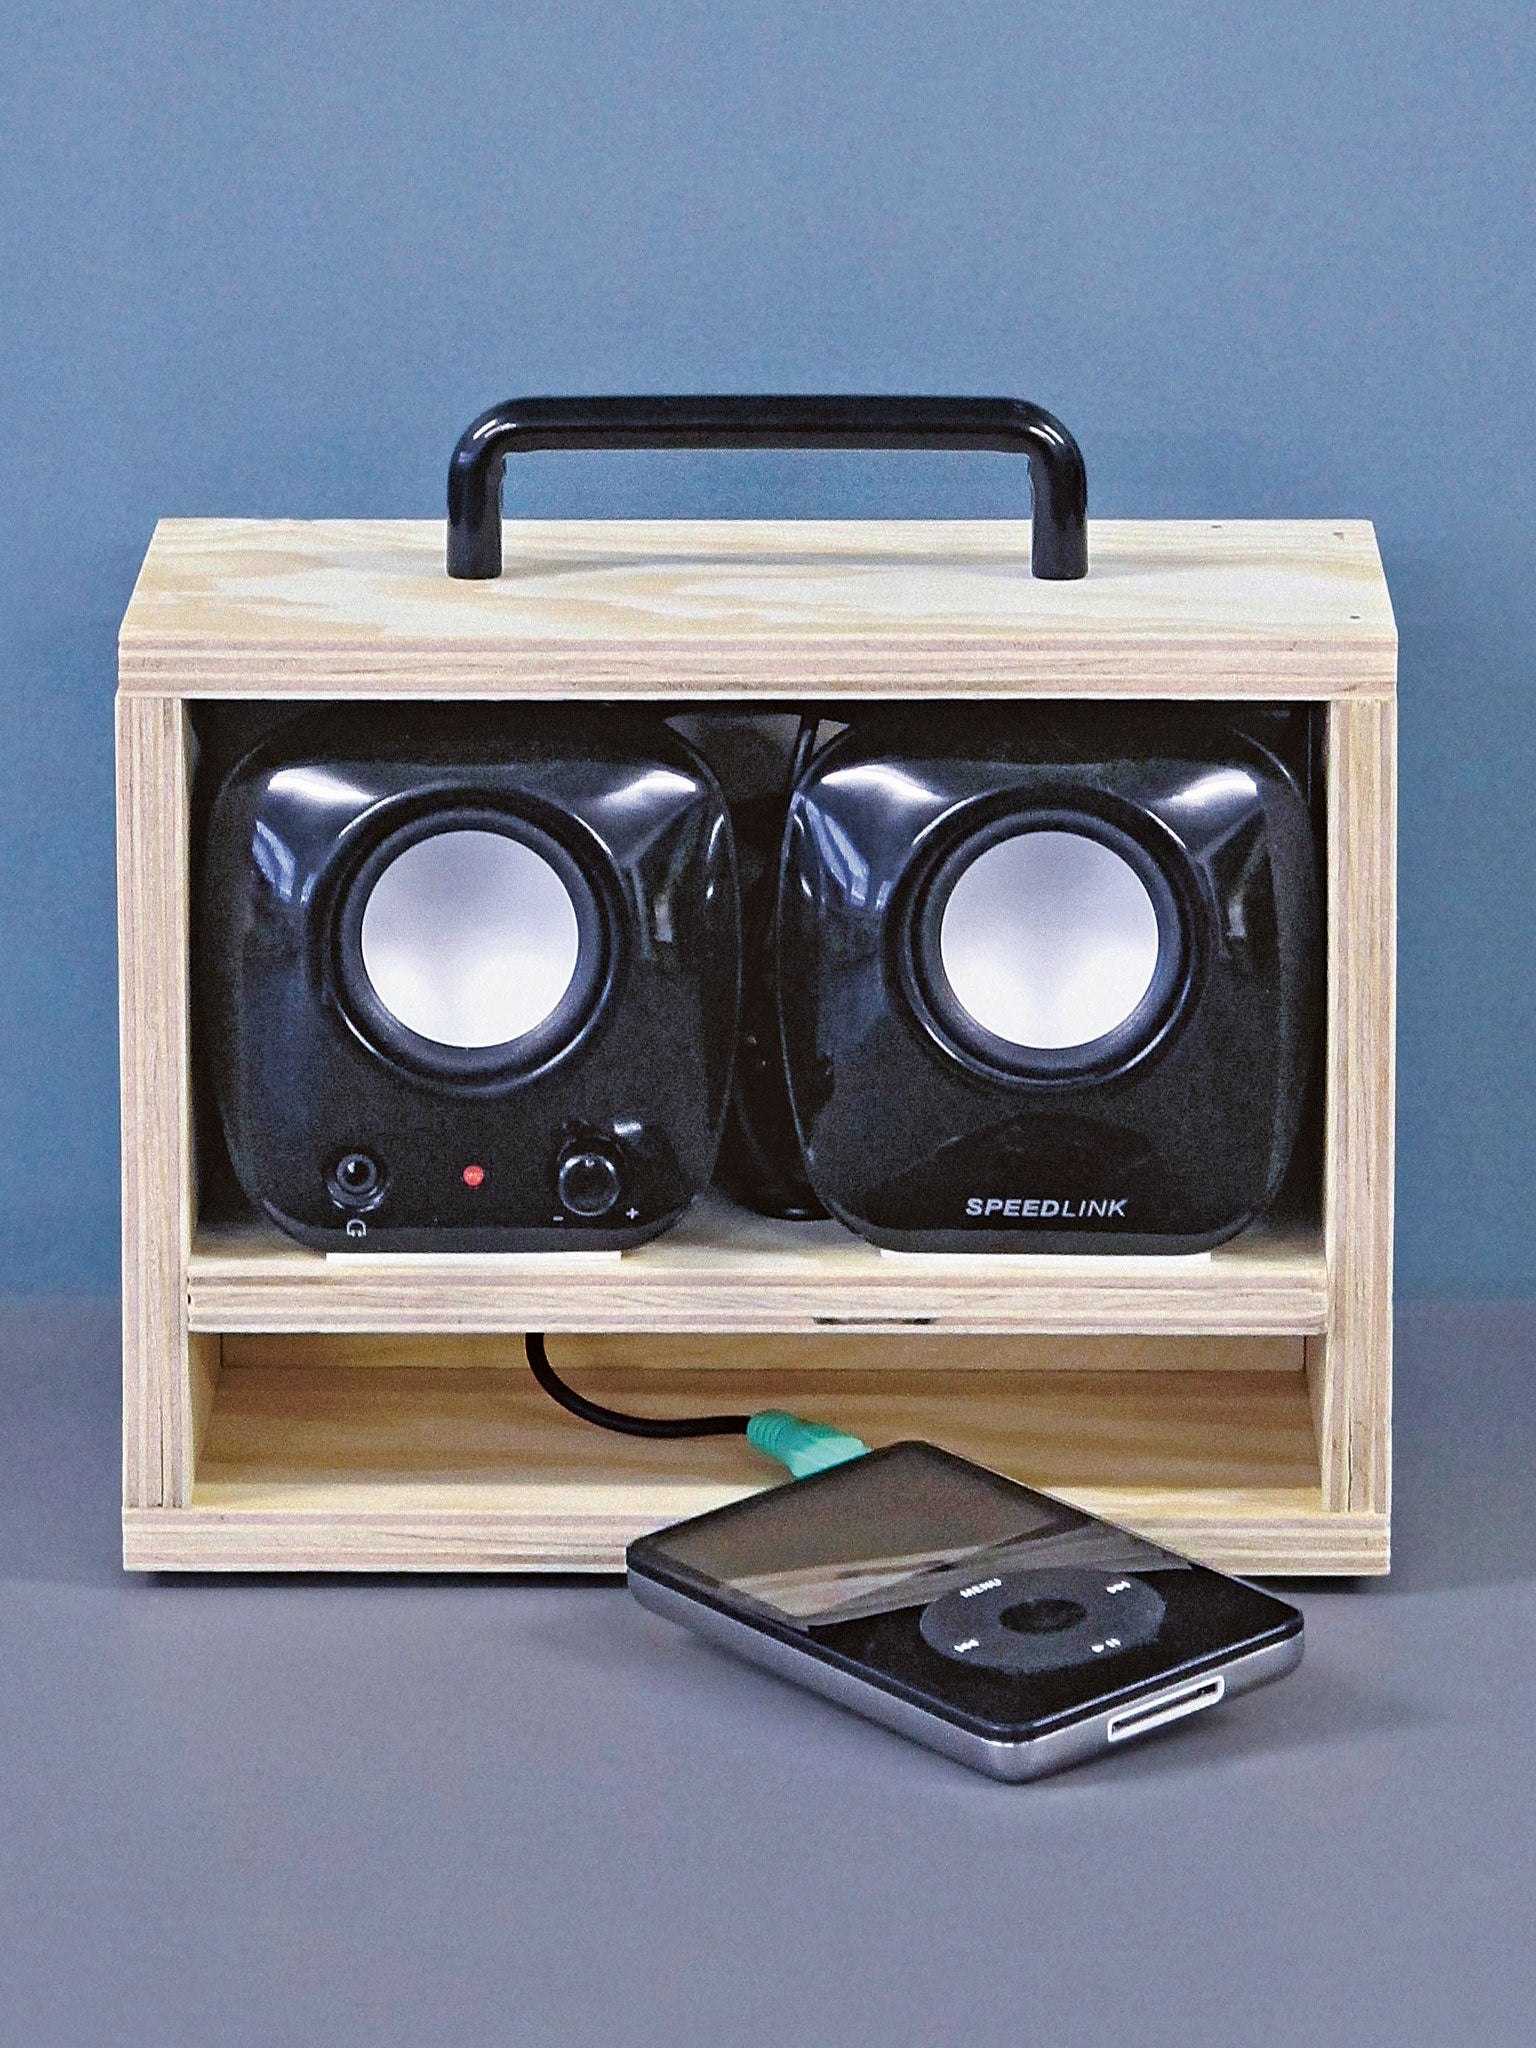
There is no shortage of speakers for MP3 players and smartphones, but Konstantin Grcic “wanted to produce something raw and cobbled together that would contrast with this polished world of gadgets”. The result is a small USB boombox for your desk.
Konstantin Grcic has a design studio, KGID, in Munich
What you need
USB stereo speakers; wood panels (cut to size); handle; self-adhesive feet (rubber or felt); USB power adapter; double-sided tape (extra strength); nails; hammer; drill; drill bits (20mm, 12mm and 5mm); pencil; ruler.
Instructions
1. Measure the width and height of the two speakers together.
2. Cut the wooden boards to the required dimensions for your speakers.
3. Bore 5mm holes in the top for the handle, and 20mm and 12mm holes in the back for the cables. Mark 4cm from the bottom of the back piece, to fit the inside shelf.
4. Mount the handle on the lid (B1) and stick the rubber or felt pads on the base (B2).
5. Nail the wooden construction together (except lid): A, B2, C, D. Attach double-sided tape to board C, pull the speaker cable through the hole, insert the speakers and fix them on to the tape.
6. Nail on the lid and pull the input cable through the hole below the shelf.
7. Attach your playback device and plug into the mains. Blast it!
Branch lamp
By Nils Holger Moormann
Cost £33
Time 150min
“The essential thing you need is a fine branch, the kind you’re most likely to find on a long hike through the woods. And please – use nice, dimmable lighting, none of those off-the-rack energy-efficient bulbs,” says designer Nils Holger Moormann. He also recommends that you look for nice lamp cord that suits the material or has a pattern.
Nils Holger Moormann’s design studio is in Aschau im Chiemgau, Germany
What you need
A beautiful branch; lamp cords (length depending on ceiling height and desired number of bulbs); bulbs; bulb sockets; wall anchors; screw hooks; screw terminals (also depending on number of bulbs).
Instructions
1. Determine how many light sources and lengths of cord you want. Attach the cables to the bulb sockets.
2. Attach anchors and screw hooks to the ceiling in the desired places to hang the lights.
3. Knot the electric cords around the branch.
4. Gather the ends leading to the ceiling and knot them in a loop. Attach the cords to the electrical power supply with the screw terminals.
5. Hang the knotted cords from the hooks. Screw in the light bulbs.
Coat rack
By Sarah Illenberger
Cost £120
Time 6hrs

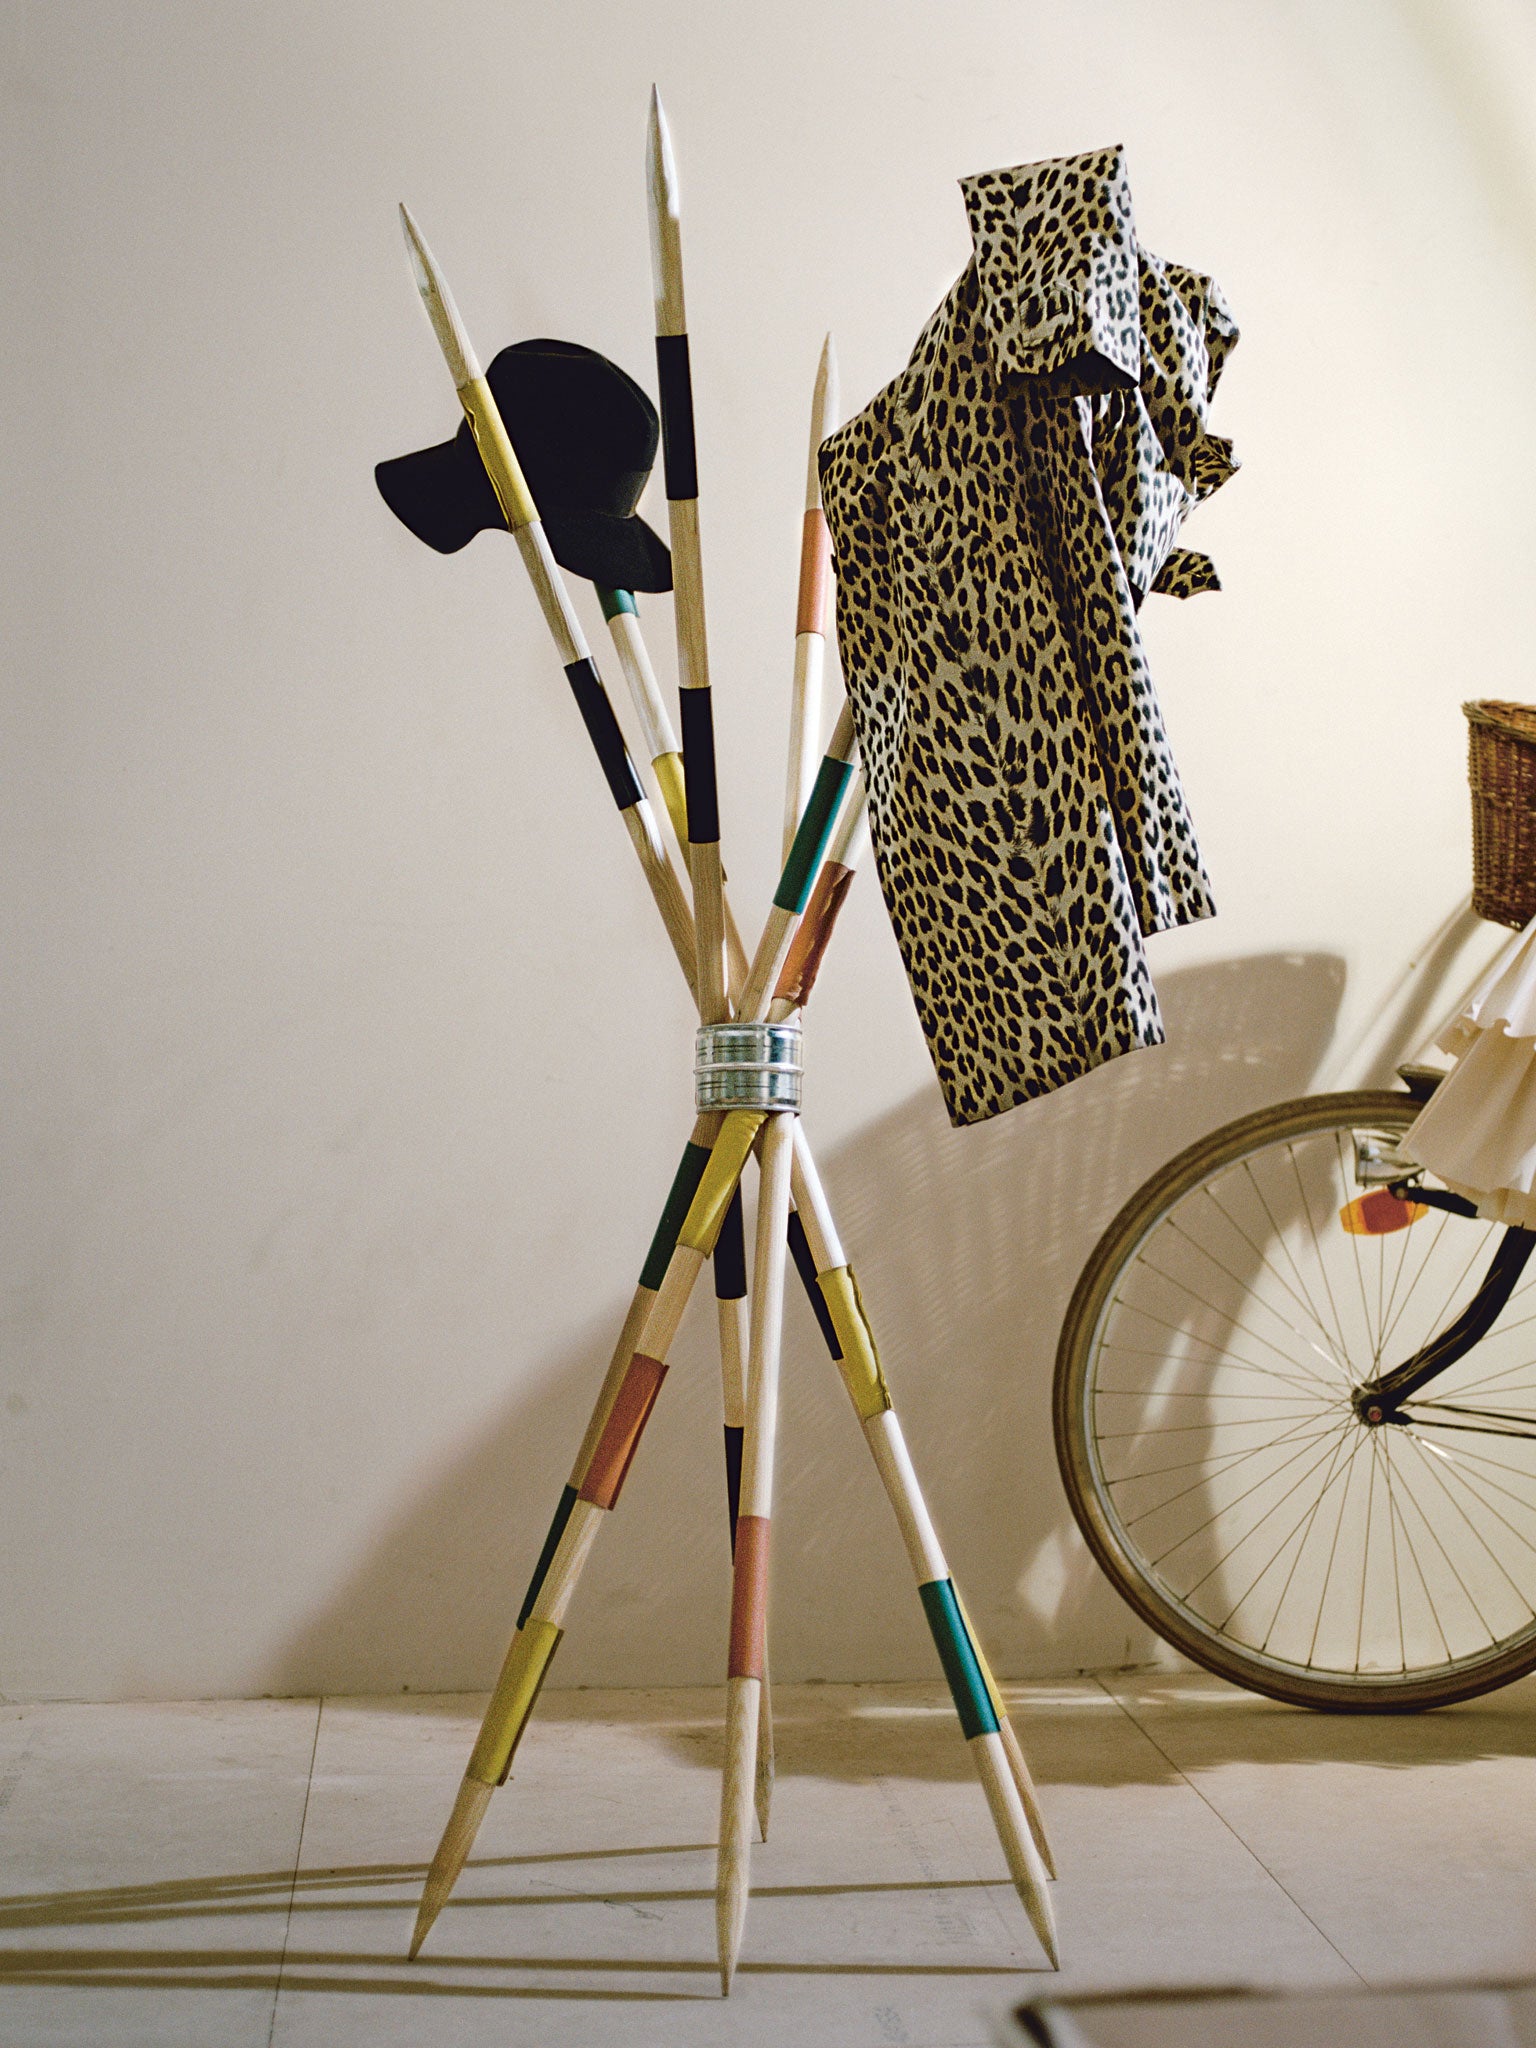
The inspiration for this coat rack is the classic game of jackstraws, or pick-up sticks. “I like the way you just need to change the size (approximate scale of 1:10) to produce something absurd,” says Sarah Illenberger. The result is a piece of furniture that is not only very practical but also a real eyecatcher. It is also a great coat rack for kids – just change the scale (1:6).
Sarah Illenberger set up her studio for visual concepts and illustration in Berlin eight years ago
What you need
Coarse and fine grit sandpaper; wood file; heavy thread; leather remnants (10cm×15cm); six wooden poles (25mm diameter, 1.7m long); sewing needle; stovepipe connection (10cm diameter); scissors.
Instructions
1. Sharpen the pole ends with a wood file, then sandpaper.
2. Cut out the leather pieces and sew them together with thread of a suitable colour.
3. Pull the leather pieces on to the wooden stakes.
4. Push the stakes through a stovepipe connection, and splay out at the top and bottom.
Hook & ledge
By Daniel Emma
Cost £33
Time 120min

Hook & Ledge consists of a hook module and a small ledge. “The idea was to create an object good for everyday purposes,” say the Australian design couple Daniel Emma. “Keys, photos and other odds and ends can find a place on the rectangular ledge. The number of hooks can be increased as desired.”
Daniel To and Emma Aiston founded their design studio Daniel Emma in 2008 in Adelaide, Australia
What you need
Hand saw; block of wood (10cm×10cm×51cm); 2 wooden poles (20mm and 45mm diameter); wood glue; spray paint; 3 magnets (10mm diameter); drill; forstner bit (45mm); drill bits (10mm and 5mm); wall screws with dowels.
Instructions
1. Take the 45mm pole and cut off a piece 2cm long. Bore a 10mm hole into the middle.
2. Cut off another three 5mm-long pieces from the 45mm pole. Spray paint with desired colour. These will be used as cover plates.
3. Take the 20mm pole and cut off a piece 2cm long. In the middle, bore a 5mm hole.
4. Glue the pieces of the hook together and screw to the wall; glue the magnets to the cover plates and attach the cover plates.
5. Bore holes on the ledge as shown, 65mm from each end. Use the 10mm bit to bore to a depth of about 35mm, then bore all the way through with the 5mm bit. Use the forstner bit to cut two 5mm-deep stud holes.
6. Screw the ledge to the wall, glue the magnets to the cover plates and attach them.
Flying shelf
By Kueng Caputo
Cost £26
Time 90min

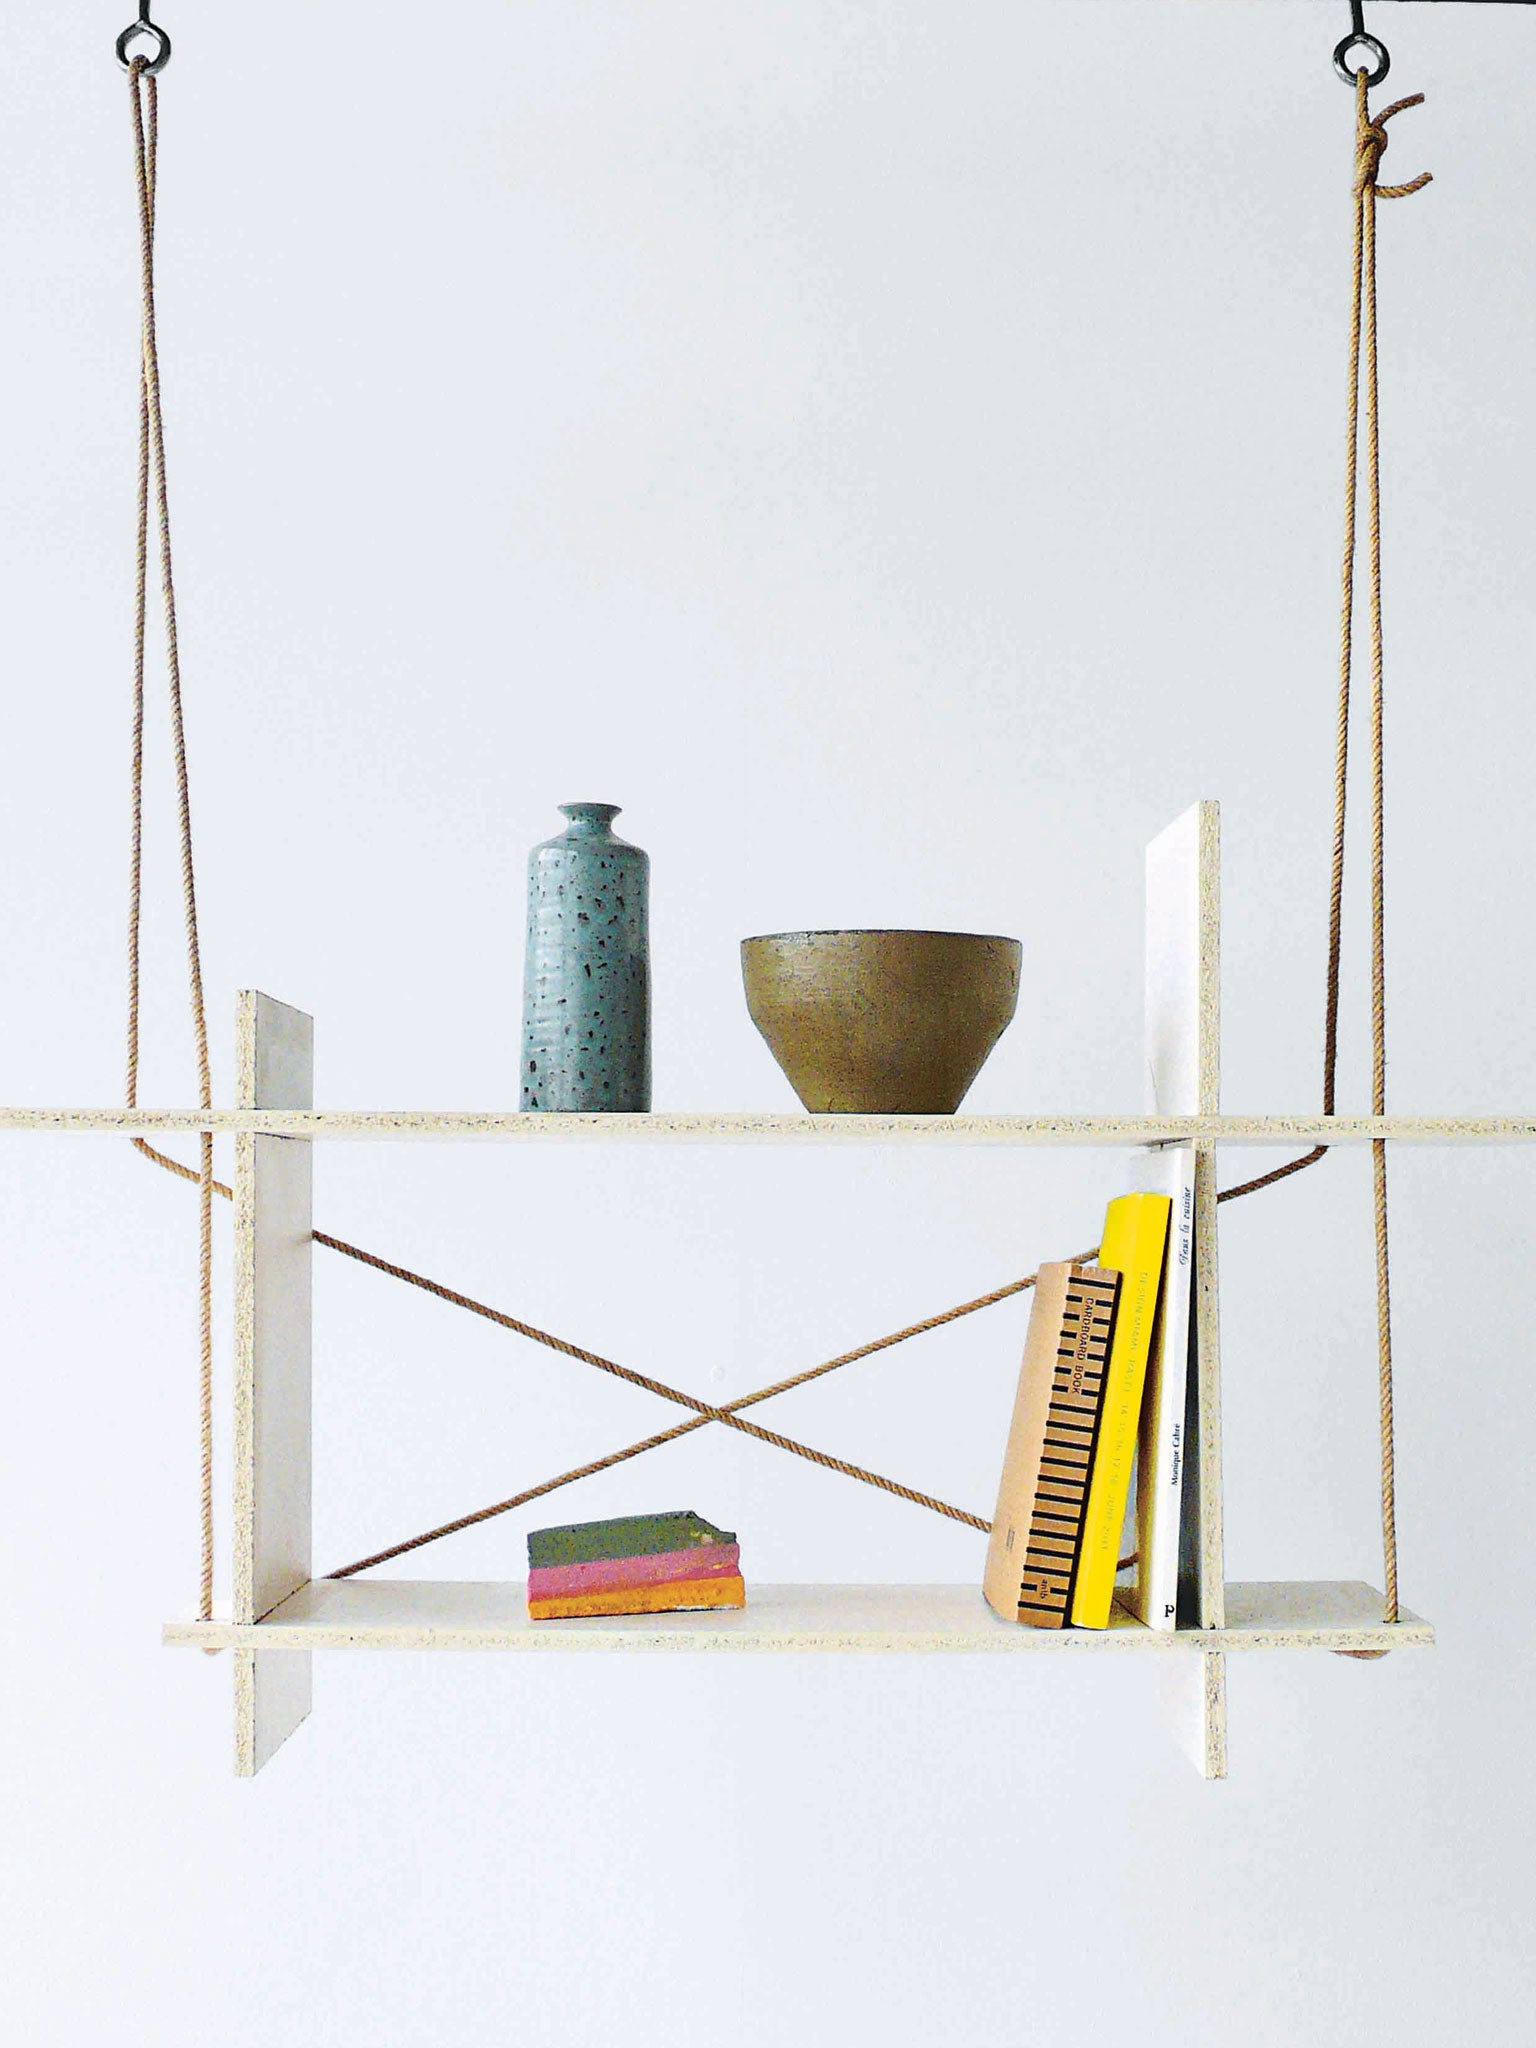
This design by the Swiss duo Kueng Caputo was exhibited at the Designeast fair in Japan in 2011. Designers were invited to devise chipboard furniture made from the ruins left by the tsunami, and the money from the sale of the plans was devoted to helping those affected by the disaster. “We like that the product continues to develop without us,” comment the designers. “Every set of shelves will look different. And if you prefer, instead of chipboard, you could use solid oak or MDF.”
Sarah Kueng and Lovis Caputo live and work in Zurich
What you need
4 wooden boards (20cm wide × 1.25cm thick, with these lengths: A: 44cm; B: 54cm; C: 90cm; D: 70cm); drill; jigsaw; 10mm drill bit; 2 eye screws; half a metre of rope, about 7mm thick.
Instructions
1. Cut two 12mm-wide slits at 70mm and 352mm from one end on A and B; at 145mm and 677mm from one end of C; and at 40mm and 572mm from one end of D. Then bore 10mm holes in the corners of C and D, 2cm from the ends.
2. Fit the pieces together to make the shelf.
3. Insert hooks in the desired position on the ceiling, around 665mm apart. Pull the rope through the holes as shown, and knot. Hang the shelf.
‘Do It Yourself: 50 Projects by Designers and Artists’ by Thomas Bärnthaler is out now (Phaidon, £19.95)
Jäger & Jäger; Sorin Morar; Fabian Zapatka; All illustrations were designed and executed for this book by Claudia Klein, based on the instructions provided by each designer
Join our commenting forum
Join thought-provoking conversations, follow other Independent readers and see their replies
Comments